
Making waffle cones at home is fun and simple! Start by mixing sugar and flour, then melt butter and combine it with your liquids. Fold in whipped egg whites for fluffiness. Use a waffle cone maker or a non-stick skillet to cook the batter until golden. Shape the cones right away, and don’t forget to seal the bottoms with melted chocolate to prevent drips. If you’re curious about toppings and flavors, there’s more to discover!
Key Takeaways
- Gather essential ingredients: egg whites, all-purpose flour, sugar, butter, vanilla, and a pinch of salt for the batter.
- Mix dry ingredients and then combine with melted butter and liquids, folding in beaten egg whites for fluffiness.
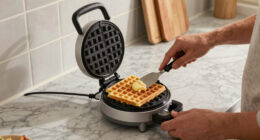
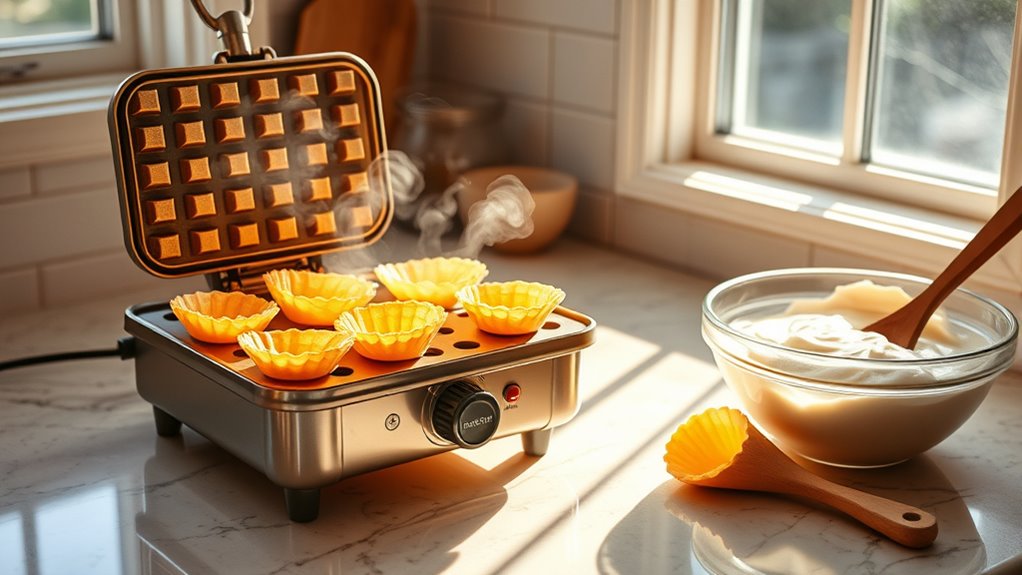
- Use a waffle cone maker or non-stick skillet to cook the batter until golden brown, shaping cones immediately afterward.
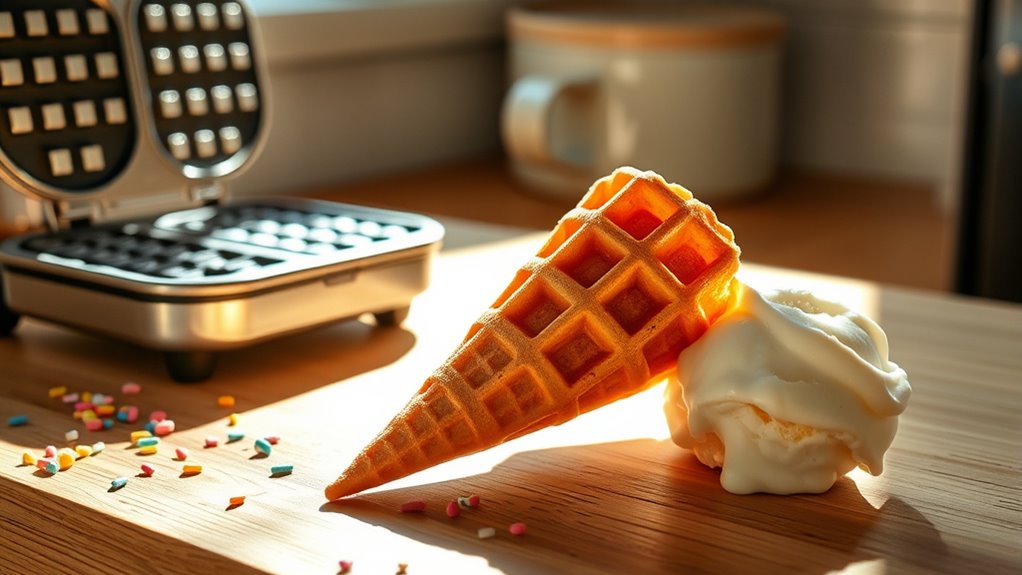
- Seal cones by dipping the bottoms in melted chocolate, which prevents drips and adds flavor.
- Fill with your favorite ice cream or gelato, and consider adding toppings like nuts or sprinkles for extra texture.
Making waffle cones at home is easier than you might think, especially when you have the right ingredients and tools at your fingertips. To get started, gather essential ingredients like egg whites, all-purpose flour, sugar, butter, vanilla, and a pinch of salt. Egg whites are vital for structure, so you’ll want to beat them until stiff peaks form. This step guarantees your cones are both sturdy and rich in flavor. Frozen yogurt pops are a great treat to fill your homemade cones, especially during hot weather. Furthermore, using fresh ingredients can enhance the overall taste and texture of your cones. Additionally, sugar-free vanilla ice cream is a delicious option to fill your cones without added sugar. A backyard greenhouse can provide you with fresh herbs and vegetables to incorporate into your desserts for an extra layer of flavor.
Once you have your egg whites ready, mix the dry ingredients—sugar and flour—together. Then, melt your butter and combine it with other liquids like milk. Carefully fold the beaten egg whites into your mixture, making sure you maintain the fluffiness that’ll help your cones rise. If you’re feeling adventurous, you can add flavored extracts for an extra touch. Sustainable fashion practices can also inspire how you approach your baking, using eco-friendly ingredients whenever possible.
Combine sugar and flour with melted butter and milk, then gently fold in beaten egg whites to keep your batter light and fluffy.
Now, it’s time to cook! A waffle cone maker is ideal for achieving that authentic shape, but if you don’t have one, you can use a non-stick skillet. Just make certain to pour the batter onto the hot surface and cook until golden brown. Work quickly here; you’ll want to shape the cones immediately after cooking. Use a cone roller or a simple mold to help you achieve the perfect cone shape while it cools. Remember to hold it firmly for a few seconds to secure its form.
While your cones are cooling, consider adding some delicious toppings. Chocolate-dipped cones are a popular choice, and you can sprinkle nuts or colored sprinkles for added texture and fun. If you want to seal the bottom of your cones to prevent drips, dip them in melted chocolate before filling them with your favorite gelato or ice cream.
If you’re short on time or just want to try something different, there are plenty of store-bought options. Brands like Joy Cone offer pre-made cones, or you can find various waffle cone mixes. If you follow a gluten-free diet, don’t worry! There are mixes available that cater to your needs, too. Additionally, using high-quality mixes like those from CoBatCo can enhance the flavor of your waffle cones while ensuring consistent results.
Waffle cones have a fascinating history dating back to the 1904 World’s Fair, where they were introduced as a novel ice cream holder. Today, they remain a beloved dessert vessel around the globe. The rise of frozen yogurt has made cones an even more popular choice for enjoying frozen treats.
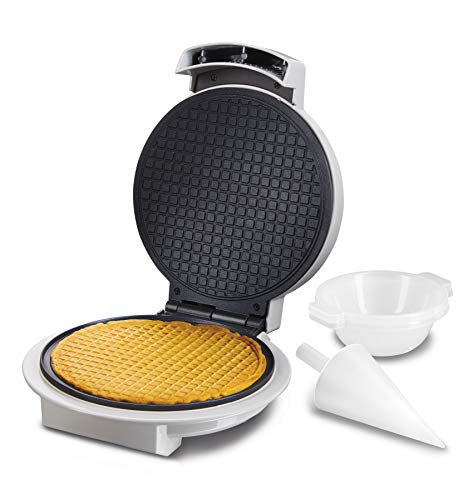
Proctor Silex Waffle Cone and Ice Cream Bowl Maker with Browning Control, Shaper Roller and Cup Press, 7.5” PFAS-Free Nonstick Plates, White (26410MN)
COOKS CRISP BUTTERY SUGAR CONES AND BOWLS QUICKLY IN 2-3 MINUTES 800 watts of power cooks batter fast…
As an affiliate, we earn on qualifying purchases.
As an affiliate, we earn on qualifying purchases.
Frequently Asked Questions
Can I Use a Regular Waffle Maker for Waffle Cones?
No, you can’t use a regular waffle maker for waffle cones.
The deep grids in a standard waffle maker create thick, inflexible waffles, which won’t work for cone-making.
You need a waffle cone maker, designed with shallow grids to produce the thin, crisp layers essential for cones.
If you want to achieve that perfect cone shape, it’s best to invest in the right equipment specifically made for this purpose.
How Do I Store Leftover Waffle Cones?
Imagine your waffle cones as delicate treasures, waiting to be preserved.
To store your leftover cones, place them in an airtight container at room temperature, away from moisture and heat.
Avoid stacking them while they’re warm; let them cool first.
If you want extra protection, use plastic storage bags inside the container.
Keep an eye on the humidity, and your cones will stay crisp and delightful for your next sweet adventure!
What Toppings Can I Add to My Waffle Cones?
You can get creative with toppings for your waffle cones! Classic options like whipped cream, chocolate chips, and sprinkles never disappoint.
If you’re feeling adventurous, try adding fresh fruit like strawberries or mango puree for a revitalizing twist.
Don’t forget unique extras like crushed waffle cone pieces or edible gold dust to elevate your treat.
With so many choices, your waffle cone can be a delicious masterpiece every time you indulge!
Can I Make Gluten-Free Waffle Cones?
Absolutely, you can make gluten-free waffle cones! Just use a 1:1 gluten-free flour blend for the best results, avoiding those heavy flours.
If you want a unique twist, try adding oat flour or different flavorings like vanilla or almond extract.
Don’t forget your eggs or egg substitutes for binding, and melt some butter or dairy-free alternative to get that perfect batter consistency.
With practice, you’ll be shaping those cones like a pro!
How Do I Prevent Waffle Cones From Becoming Soggy?
To prevent waffle cones from becoming soggy, you can coat the inside with melted chocolate or peanut butter, creating a moisture barrier.
Consider using caramel or Nutella for added flavor. A layer of crushed nuts can also help keep the cone crispy.
Store your cones in a cool, dry place and make sure they’re completely cooled before storing. An air-tight container will keep moisture away and maintain their texture.

CAROTE Nonstick Frying Pan Skillet,Non Stick Granite Fry Pan Egg Pan Omelet Pans, Stone Cookware Chef's Pan, PFOA Free,Induction Compatible(Classic Granite, 8-Inch)
Eco-friendly Classic Granite – Non-stick Granite Material, PFOS,PFOA free, our cookware ensures your daily cooking is always safer…
As an affiliate, we earn on qualifying purchases.
As an affiliate, we earn on qualifying purchases.
Conclusion
As you savor your homemade waffle cones, think of them as little boats sailing on a sea of sweet possibilities. Each cone, crafted with your hands, carries the promise of delightful ice cream adventures. Just like life, the journey of making these cones may have a few bumps, but the joy in every bite makes it worthwhile. So, set sail with your creations, and enjoy the delicious treasures that await you on this culinary voyage!

J. Hungerford Smith Cone Coating, Chocolate, 6 Pound and 13 Ounce Tin
Package contains one 6 lbs. 13 ounce Tin
As an affiliate, we earn on qualifying purchases.
As an affiliate, we earn on qualifying purchases.

Ooyhool 2Pcs Ice Cream Cone Molds, Reusable wooden Cream Horn Molds Waffle Cones Pizzelle Roller Egg Roll DIY Mold for Kitchen Cooking and Baking
Natural Material: Crafted from a single piece of sustainable acacia wood with no seams or joints for a…
As an affiliate, we earn on qualifying purchases.
As an affiliate, we earn on qualifying purchases.