
To clean your waffle iron properly, unplug it and let it cool completely. Gather essential supplies like soft cloths, mild dish soap, and a toothpick for stubborn bits. Wipe down the exterior with a damp cloth and use a non-abrasive sponge for the non-stick plates. If there’s tough residue, soak removable parts in warm, soapy water. Always check for damage and guarantee everything’s dry before storing. There’s more you can do to keep your appliance in top shape!
Key Takeaways
- Always unplug the waffle maker and let it cool completely before cleaning to prevent burns and electric shock.
- Use a damp cloth or soft sponge with mild dish soap to wipe down the exterior and non-stick plates.
- For stubborn residue, utilize a toothpick or wooden skewer to gently remove stuck food particles from crevices.
- Soak removable plates in warm, soapy water if needed, and ensure all components are thoroughly dried before reassembling.
- Regularly inspect the appliance for wear, and avoid using harsh chemicals or metal utensils to maintain its non-stick surfaces.

VEVOR Commercial Waffle Maker, 1300W Round Waffle Iron, Non-Stick Rotatable Waffle Baker Machine With 122-572℉ Temp Range and Time Control, Teflon-Coated Baking Pan Stainless Steel Body 120V
Quickly Make Delicious Waffles: Our 1300W high-power round waffle maker can easily make a piece of 1-inch thick...
As an affiliate, we earn on qualifying purchases.
Essential Cleaning Supplies
When you’re ready to clean your waffle iron, having the right supplies on hand makes the process much easier.
Start with soft cloths or sponges to gently wipe down the non-stick surfaces without causing damage. For tougher spots, use mild dish soap, steering clear of harsh chemicals that can harm the coating.
A toothpick or wooden skewer is perfect for removing stubborn batter bits from the grid safely. Keep paper towels handy to absorb excess oil and crumbs after each use, which simplifies maintenance.
Finally, prepare a small bowl of warm water mixed with mild detergent for soaking removable parts, making it easier to scrub away any food residues.
These cleaning tips will help keep your waffle iron in top shape!

VEVOR Commercial Waffle Maker, Dual-Head Round Waffle Baker Machine, 2460W Non-Stick Stainless Steel Belgian Waffle Iron with Temp and Time Control, Handle, for Restaurant Bakery Snack Bar Family
Quickly Make Delicious Waffles: Our 2460W high-power round waffle maker can easily produce a 1-inch thick waffle in...
As an affiliate, we earn on qualifying purchases.
Initial Preparation Steps
Before you start cleaning your waffle iron, make certain to unplug it and let it cool completely to avoid any burns.
Gather your cleaning supplies, like a soft cloth and mild detergent, to guarantee you’re ready for the task.
These initial steps set the foundation for a thorough and safe cleaning process.
Unplugging the Waffle Maker
To guarantee a safe and effective cleaning process, always unplug your waffle maker immediately after use. Unplugging the waffle maker not only prevents accidental activation but also allows it to cool down, reducing the risk of burns.
Here are some essential steps to follow:
- Confirm the power cord is positioned safely away from hot surfaces.
- Verify that the indicator lights are off after unplugging.
- Make it a habit to unplug before any cleaning or maintenance.
- Allow the appliance to cool down completely for safer handling.
- Always prioritize safety to promote good kitchen practices.
Cooling Time Importance
After unplugging your waffle maker, it’s important to let it cool down completely. This cooling time is essential for your safety; cleaning a hot appliance can lead to burns.
Furthermore, allowing it to cool helps loosen any baked-on batter or residue, making your cleaning process much more effective. If you try to clean while it’s still hot, you risk damaging the non-stick coating, which can shorten the waffle maker’s lifespan.
In addition, the cooling period allows residual steam to dissipate, reducing the chance of moisture getting trapped during cleaning.
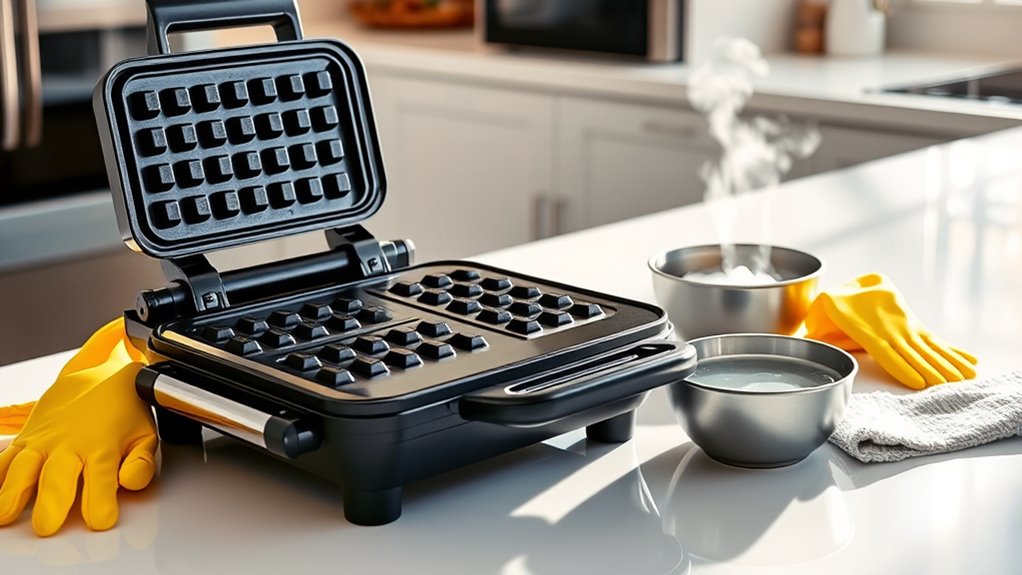
Gathering Cleaning Supplies
While your waffle maker cools down, it’s the perfect time to gather your cleaning supplies. Having everything ready will make your task smoother and help you achieve a clean waffle maker.
Here’s what you’ll need:
- A soft cloth
- A sponge
- Mild detergent
- A toothpick or wooden skewer
- Paper towels
Prepare a mixture of warm water and mild soap in a bowl or sink. This will be your go-to solution for cleaning the non-stick surfaces.
Don’t forget to verify that all removable parts of the waffle maker are accessible for thorough cleaning. Keeping additional cleaning tools like a damp cloth nearby will help you quickly wipe down surfaces as needed.
Happy cleaning!

Waffle Maker, 1400W Belgian Waffle Maker, Double Waffle Iron 180° Flip, Rotating Nonstick Plates, Adjustable Browning Control, Locking Buckle & Cool Touch Handle, Removable Drip Tray, Stainless Steel
【STAINLESS STEEL WAFFLE MAKER】This double-layer waffle maker is newly upgraded and made of stainless steel, which is scratch-resistant,...
As an affiliate, we earn on qualifying purchases.
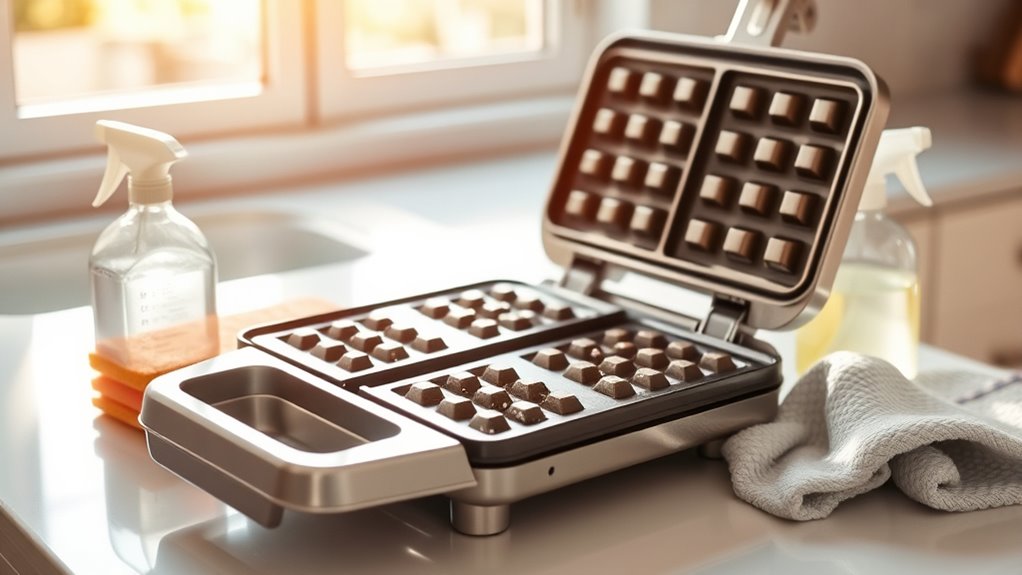
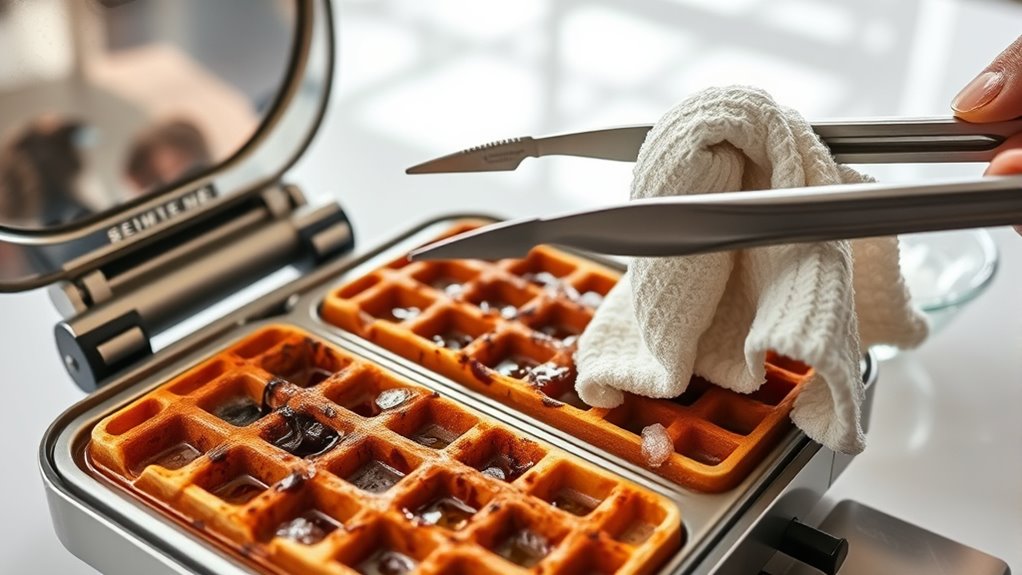
Cleaning the Exterior
To keep your waffle maker looking great, start by wiping down the exterior with a damp cloth.
Make sure to steer clear of abrasive cleaners that could scratch the surface.
Regularly cleaning it after each use will help prevent grease and crumbs from building up.
Wipe With Damp Cloth
Cleaning the exterior of your waffle iron is essential for maintaining its appearance and functionality. After each use, you should wipe with a damp cloth to remove dust and grease.
Remember to let the waffle maker cool completely before you start cleaning. Here are some tips to keep in mind:
- Use a cloth that’s not overly wet to prevent moisture from seeping into electrical components.
- For stubborn stains, add a bit of mild dish soap to your damp cloth.
- Regular cleaning helps prevent build-up that can impact performance.
- Make it a habit to wipe down after every use.
- Always check the cloth for any residual soap before wiping.
Avoid Abrasive Cleaners
When it comes to maintaining your waffle iron, steering clear of abrasive cleaners is essential for preserving its exterior. These harsh products can scratch and damage the surface finish, affecting both appearance and functionality.
Instead, opt for a damp cloth or sponge with mild soap to effectively remove dirt without harming the exterior. Always make certain your waffle iron is unplugged and cooled down before cleaning to prevent burns and damage.
Regularly wipe down the exterior after each use to avoid grease and grime buildup, which can become tougher to remove over time. Additionally, check the manufacturer’s instructions for any specific recommendations about cleaning products or techniques to guarantee you maintain the integrity of your waffle iron.

POPFOODEX Belgian Waffle Maker, 110V Industrial Waffle Maker w/Non-Stick Coating and Adjustable Temperature (122-572°F), 1200W Rotary Commercial Waffle Machine w/Timer, Restaurants and Food Trucks
Easy Release & Quick Cleanu: This flip Waffle Maker is coated with a double-layer of Teflon, ensuring that...
As an affiliate, we earn on qualifying purchases.
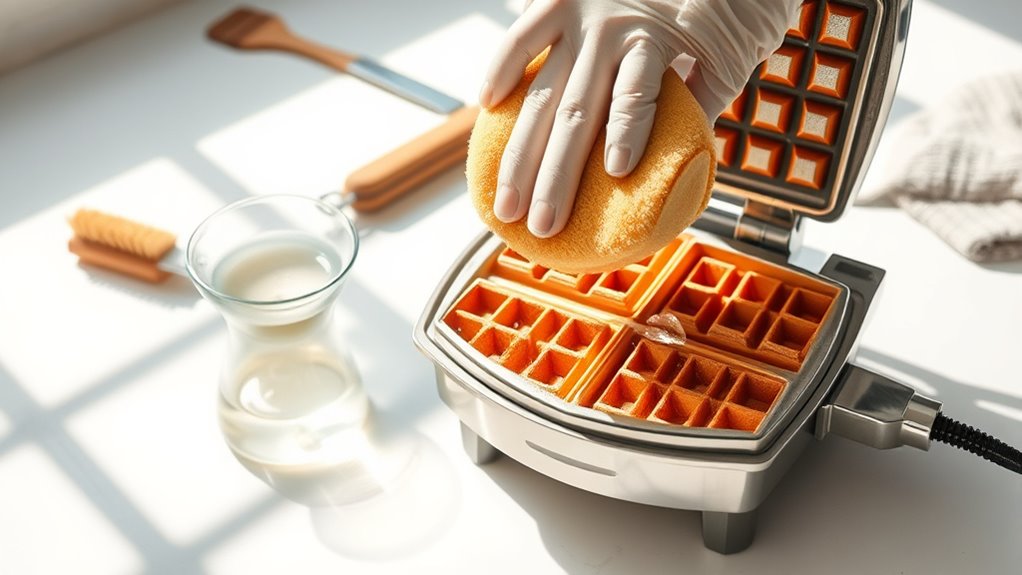
Cleaning the Non-Stick Plates

Keeping your waffle iron in top shape starts with properly cleaning the non-stick plates. To guarantee your appliance stays functional and your waffles come out perfectly, follow these steps:
- Unplug the waffle maker and let it cool completely.
- Use a damp cloth or soft sponge to gently wipe the plates, steering clear of abrasive cleaners.
- For stubborn batter residue, use a toothpick or wooden skewer to dislodge bits without harming the coating.
- If necessary, soak removable plates in warm water mixed with mild dish soap to tackle tough stains.
- Always dry the non-stick plates thoroughly before reassembling to prevent moisture buildup.
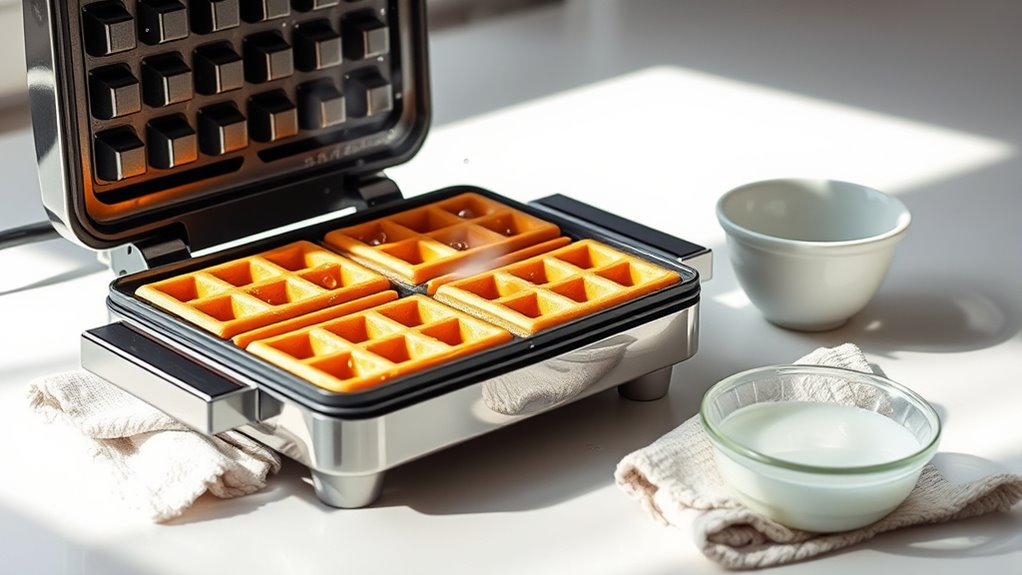
Dealing With Stubborn Residue
Even if you’ve been diligent about cleaning your waffle iron, stubborn residue can still cling to those non-stick plates. To tackle that baked-on batter, try these methods:
| Method | Steps |
|---|---|
| Cooking Oil | Apply a few drops, let it sit for a few minutes, then wipe with a damp cloth. |
| Baking Soda Paste | Mix baking soda with lukewarm water, apply, and let it sit for 30 minutes before scrubbing gently. |
| Toothpick or Skewer | Carefully dislodge stuck bits from grooves without damaging the surface. |
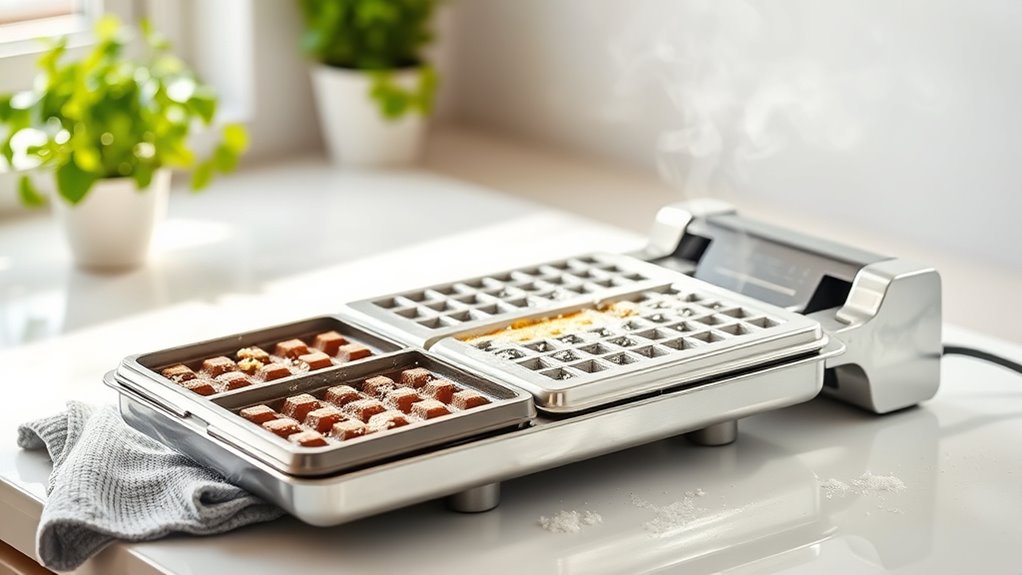
Deep Cleaning Removable Parts

After tackling stubborn residue, it’s time to focus on the removable parts of your waffle iron for a deeper clean.
Start by detaching the removable plates to make the cleaning process easier. Here’s what to do next:
- Soak the removable plates in warm, soapy water for 10-15 minutes to loosen residue.
- Use a soft brush or sponge to gently scrub the plates, taking care with tough stains.
- Rinse the plates thoroughly with clean water to remove any soap residue.
- Allow the plates to dry completely before reassembling your waffle maker.
- Make sure there’s no moisture left to prevent rusting or damage.
Maintenance Tips for Longevity

To guarantee your waffle iron lasts for years, it’s vital to prioritize regular maintenance.
Clean your waffle maker after each use to prevent batter buildup and residue, which makes cleaning tougher later. Always check the manufacturer’s instructions for specific guidelines to ascertain you’re taking proper care of your appliance.
Store your waffle maker in a clean, dry place to avoid dust accumulation and protect the non-stick surfaces. Avoid harsh chemicals or abrasive materials that could scratch the coating, maintaining its effectiveness for future use.
Regularly inspect your waffle maker for signs of wear or damage, and address any issues promptly to maintain peak performance.
Following these tips will help you enjoy delicious waffles for many years to come.
Safety Precautions During Cleaning
When you’re ready to clean your waffle iron, remember that safety should always come first.
To guarantee a safe cleaning process, follow these safety precautions:
- Always unplug the waffle maker to prevent electric shock.
- Let the appliance cool down completely to avoid burns.
- Keep cleaning supplies out of children’s reach for their safety.
- Avoid metal utensils or abrasive cleaners that can scratch the non-stick surfaces.
- Dispose of food debris properly and clean spills immediately to maintain a safe kitchen environment.
Frequently Asked Questions
What’s the Best Way to Clean a Waffle Iron?
To clean a waffle iron effectively, start by unplugging it and letting it cool.
Wipe away crumbs with a dry paper towel or damp cloth right after use.
For tougher residue, apply a few drops of cooking oil to loosen it, then wipe clean.
Use a chopstick wrapped in a paper towel with vinegar to reach any stubborn spots.
Regularly maintaining it after each use guarantees your waffle iron stays in great shape!
How Do You Get Baked on Grease off a Waffle Iron?
Picture a canvas, splattered with stubborn paint—your waffle iron’s baked-on grease.
To reclaim its beauty, start by applying a few drops of cooking oil, letting it sit to loosen the residue. Wipe it away with a damp cloth.
For those tougher spots, mix baking soda with lukewarm water into a paste, apply it, and wait.
Is It Necessary to Grease Waffle Irons?
Yes, it’s necessary to grease waffle irons to prevent sticking. A light coating of cooking oil or non-stick spray before you start cooking guarantees your waffles come out easily.
How Do You Keep Waffles From Sticking to the Waffle Iron?
To keep waffles from sticking to the waffle iron, start by applying a light coating of cooking oil to the grid before each use.
You should also consider the fat content in your batter, as higher fat helps reduce sticking.
Preheat the iron thoroughly and use a refillable spray bottle or pastry brush for even oil distribution.
Finally, avoid overfilling the iron to prevent excess batter from creating a sticky mess.
Conclusion
Now that you’ve mastered the art of cleaning your waffle iron, you can enjoy delicious, fluffy waffles without the worry of sticky leftovers. Isn’t it funny how a little maintenance can lead to a world of tasty breakfasts? With your waffle iron sparkling and ready, you might even find yourself whipping up waffles more often, sharing them with friends, and creating memorable brunches. So, keep it clean, and let the waffle-making adventures begin!