
Classic buttermilk waffles are a breakfast delight with a crispy outside and fluffy inside. They’re easy to make with simple ingredients like all-purpose flour, baking powder, buttermilk, and eggs. Preheat your waffle iron for the best texture, then mix the wet and dry ingredients without overmixing. Enjoy them topped with syrup, fresh fruit, or whipped cream for a delicious twist. There’s so much more behind these tasty treats waiting to be discovered.
Key Takeaways
- Classic buttermilk waffles are known for their crispy exterior and fluffy interior, enhanced by the tangy flavor of buttermilk.
- The recipe requires basic ingredients like all-purpose flour, sugar, baking powder, baking soda, salt, eggs, buttermilk, and melted butter.
- Preheating the waffle iron is essential for achieving the perfect texture and golden-brown color.
- Waffles can be customized with various toppings like fruits, syrups, whipped cream, or even savory options for a unique twist.
- Making waffles can be a joyful family activity, encouraging creativity and bonding over home-cooked meals.

Cuisinart Waffle Maker, 1250W Round Classic Waffle Iron, 5-Setting Adjustable Browning Control, WMR-CANAS, Brushed Stainless
SUPERIOR FUNCTION: This Cuisinart Waffle Maker offers professional quality for home use, making delicious breakfast waffles fast and…
As an affiliate, we earn on qualifying purchases.
As an affiliate, we earn on qualifying purchases.
Recipe

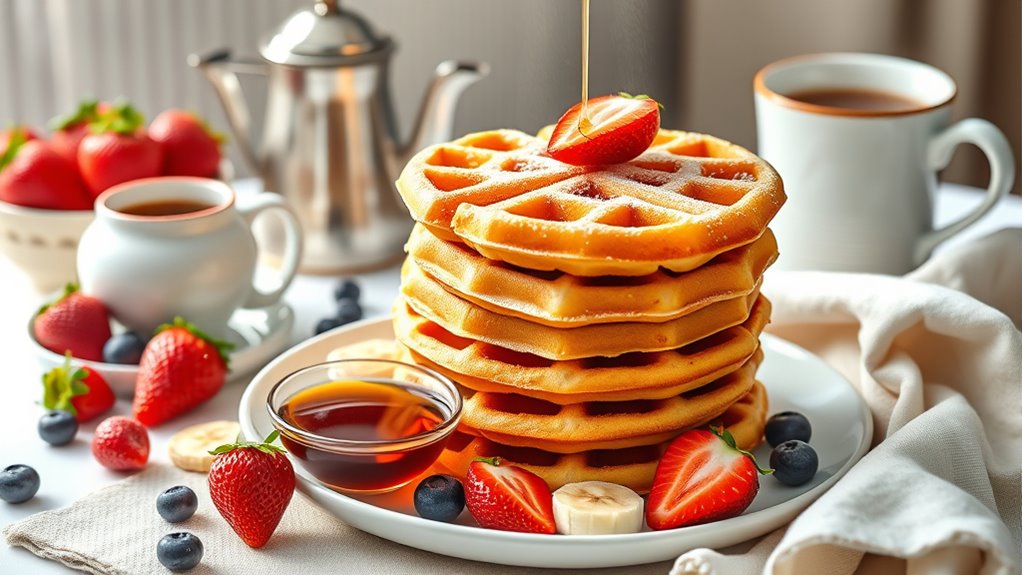
Classic buttermilk waffles are a delightful breakfast option that combines a crispy exterior with a light and fluffy interior. The tangy flavor of buttermilk adds a unique twist to traditional waffle recipes, making them irresistibly delicious. Whether you enjoy them plain or topped with fresh fruits, syrup, or whipped cream, these waffles are sure to please everyone at the breakfast table.
Classic buttermilk waffles offer a perfect blend of crispy and fluffy textures, making them a deliciously satisfying breakfast choice.
Making buttermilk waffles is a simple process that requires just a few basic ingredients. The key to achieving the perfect waffle texture lies in the balance of wet and dry ingredients, as well as the right cooking temperature. With a well-preheated waffle iron, you’ll be on your way to creating a batch of golden-brown waffles that are perfect for any occasion.
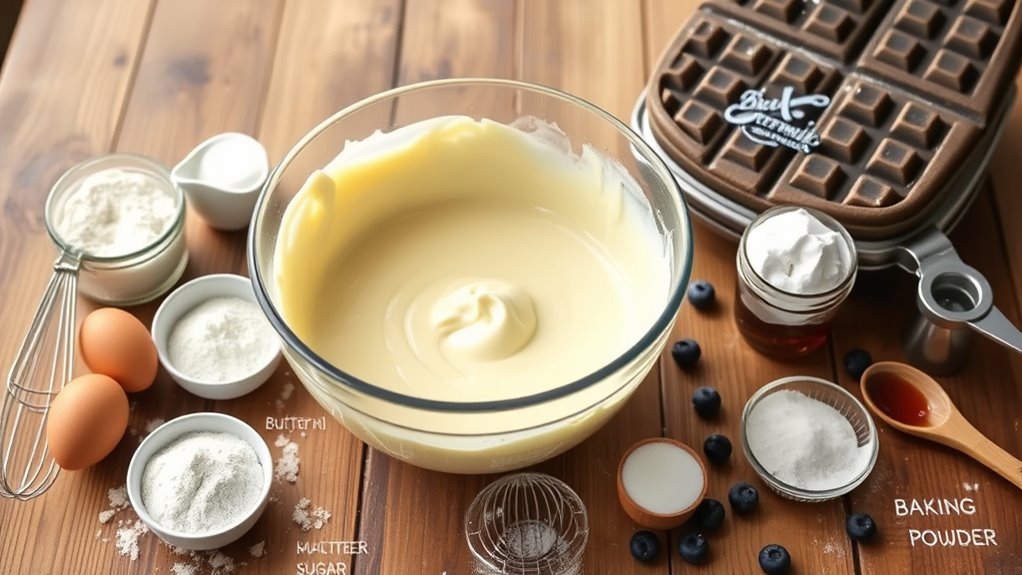
Ingredients:
- 2 cups all-purpose flour
- 2 tablespoons sugar
- 1 tablespoon baking powder
- 1/2 teaspoon baking soda
- 1/2 teaspoon salt
- 2 large eggs
- 2 cups buttermilk
- 1/2 cup unsalted butter, melted
- 1 teaspoon vanilla extract
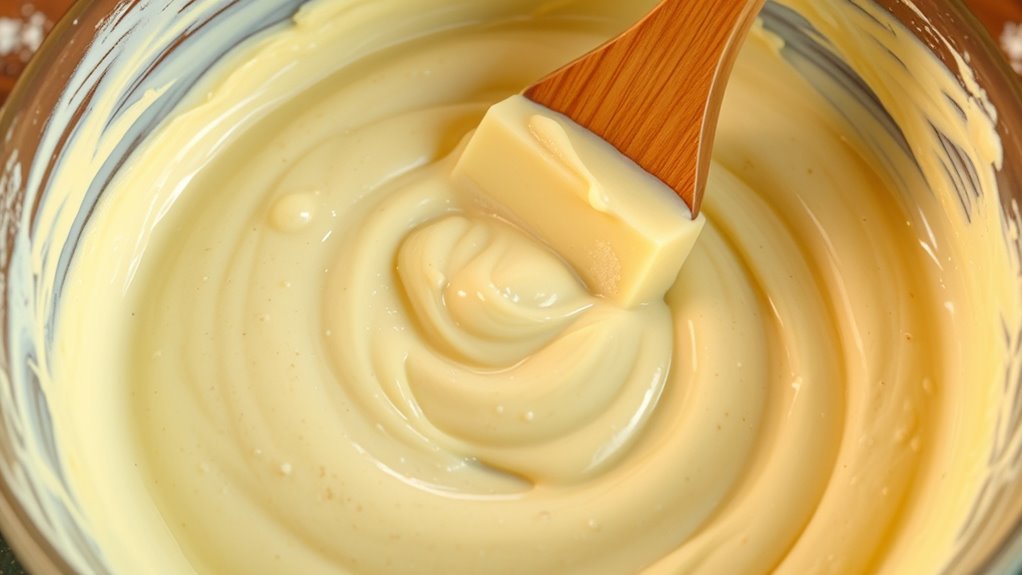
In a large mixing bowl, whisk together the flour, sugar, baking powder, baking soda, and salt. In a separate bowl, beat the eggs, then stir in the buttermilk, melted butter, and vanilla extract. Gradually pour the wet ingredients into the dry ingredients, mixing until just combined.
Preheat your waffle iron according to the manufacturer’s instructions. Once hot, lightly grease the waffle plates and pour the batter onto the iron, spreading it evenly. Close the lid and cook until the waffles are golden brown and crisp, usually about 4-5 minutes. Carefully remove the waffles and serve immediately with your favorite toppings.
For the best results, make sure to preheat your waffle iron thoroughly before adding the batter, as this ensures a crispy texture. If you want to keep the waffles warm while making multiple batches, place them in a single layer on a baking sheet in a low-temperature oven (around 200°F or 93°C).
Feel free to experiment with add-ins like chocolate chips or blueberries for extra flavor. Additionally, using proper airtight containers for storage will help maintain the quality of any leftovers, which can be kept in the refrigerator for up to three days, and reheat them in a toaster for a quick breakfast option.

Mrs. Butterworth's Complete Buttermilk Pancake and Waffle Mix, 32 oz
Makes whipping up a warm batch of pancakes a cinch
As an affiliate, we earn on qualifying purchases.
As an affiliate, we earn on qualifying purchases.
Cooking Steps

To get started on making your classic buttermilk waffles, you’ll need to preheat the waffle iron first.
Then, mix the dry and wet ingredients separately before combining them to create the batter.
Once the batter’s ready, you’ll be just a step away from cooking those delicious waffles until they’re golden brown.
Step 1. Preheat the Waffle Iron
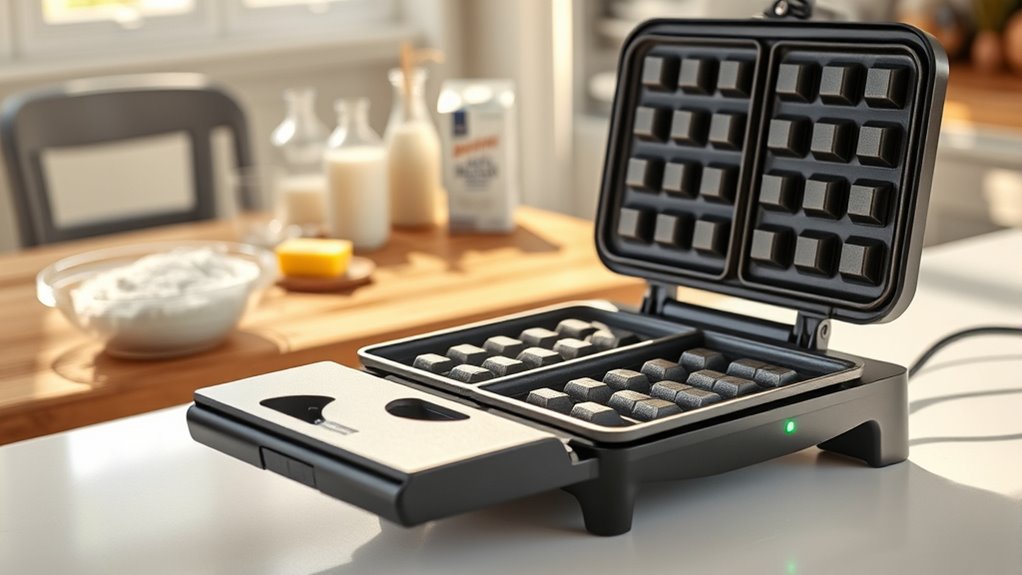
Before you start mixing the batter, preheating your waffle iron is essential for achieving that perfect golden-brown crisp.
Turn on your waffle iron and set it to the desired temperature, usually medium to high, depending on your model. If your waffle iron has an indicator light, keep an eye on it; it’ll let you know when it’s ready.
While you wait, gather your other ingredients and equipment, so everything’s at hand when you start cooking. This preheating step ensures that the batter cooks evenly and creates a delightful texture.
Once the iron reaches the right temperature, you’ll be ready to pour in the batter and watch those waffles transform into a delicious breakfast treat!
Step 2. Mix Dry Ingredients Together
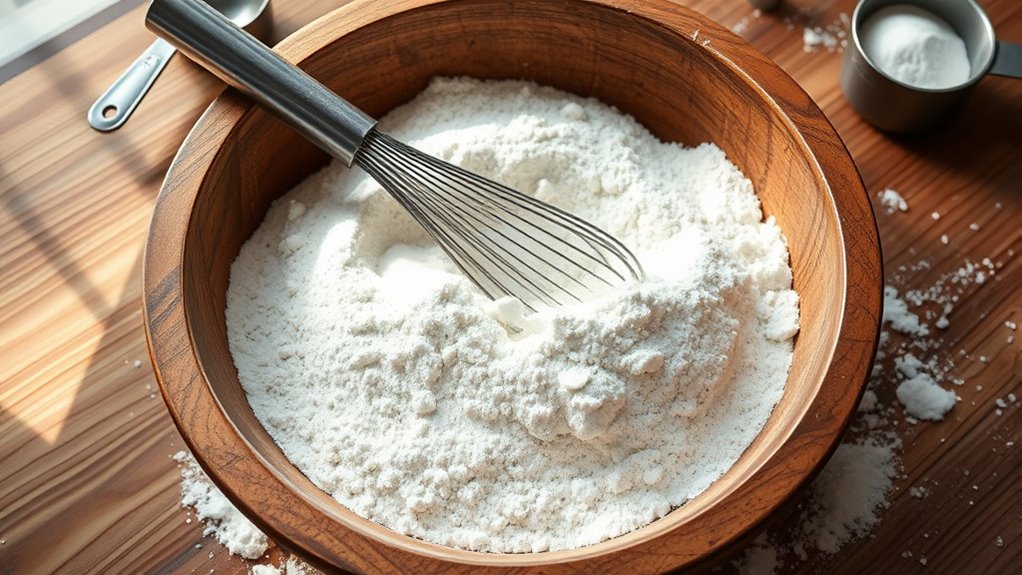
Start by sifting together the dry ingredients in a large mixing bowl. You’ll need all-purpose flour, baking powder, baking soda, salt, and sugar.
Sifting helps eliminate lumps and evenly distributes the leavening agents, ensuring your waffles rise beautifully. Once you’ve combined them, use a whisk to mix everything thoroughly, breaking up any remaining clumps.
This step is crucial for achieving a light, airy texture in your waffles. Make sure the mixture appears uniform, with no visible streaks of flour or sugar.
You can also create a small well in the center of the dry mixture, which makes it easier to incorporate the wet ingredients later on. Preparing your dry ingredients well sets the foundation for delicious waffles!
Step 3. Combine Wet Ingredients
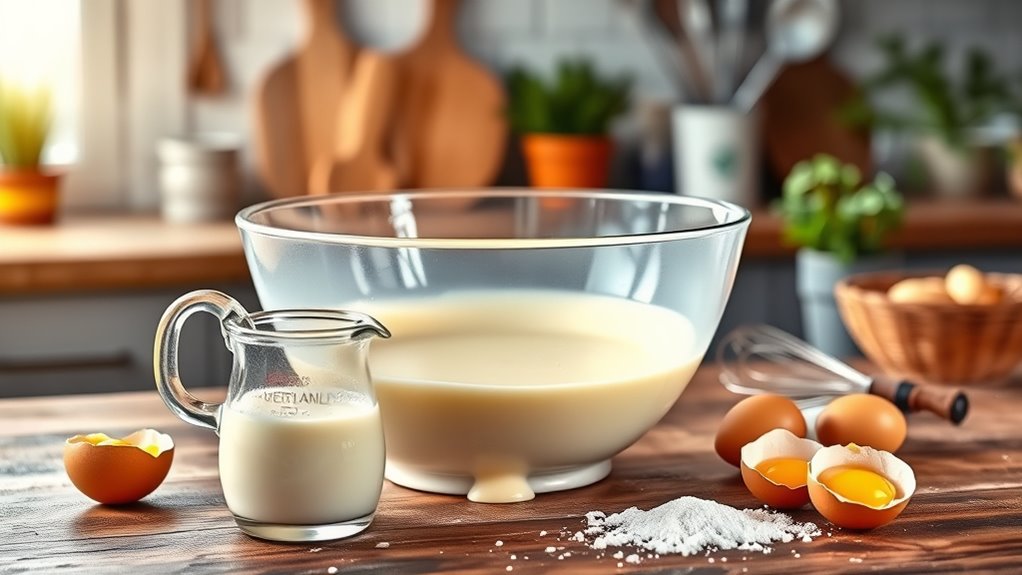
Once you’ve sifted the dry ingredients, it’s time to combine the wet ones. In a separate bowl, crack your eggs and whisk them until they’re light and frothy.
Then, add the buttermilk and melted butter to the eggs, mixing well to ensure everything’s blended smoothly. If you like, you can also stir in a splash of vanilla extract for added flavor.
Make sure your butter has cooled slightly before adding it, so it doesn’t cook the eggs. Once you’ve achieved a uniform mixture, you’re ready for the next step.
This creamy blend will add richness to your waffles, giving them that perfect texture. Now, it’s time to bring your wet ingredients together with the dry ones.
Step 4. Fold in the Batter
As you begin to combine the wet and dry ingredients, gently fold the batter together using a spatula or wooden spoon.
It’s crucial to be careful here; overmixing can lead to tough waffles. Focus on incorporating the flour mixture into the wet ingredients until you see no dry spots. You want a lumpy batter—don’t worry if it has a few small flour pockets. This method helps maintain the waffles’ light and fluffy texture.
Scrape the sides of the bowl as you fold, ensuring everything is evenly combined without overworking it. Once you achieve the desired consistency, it’s time to let the batter rest briefly.
This step will enhance the waffles’ texture, giving you the perfect base for a delicious breakfast. Additionally, allowing the batter to rest can improve the overall flavor, similar to how air fryer technology enhances healthier cooking outcomes by allowing flavors to develop.
Step 5. Cook Until Golden Brown
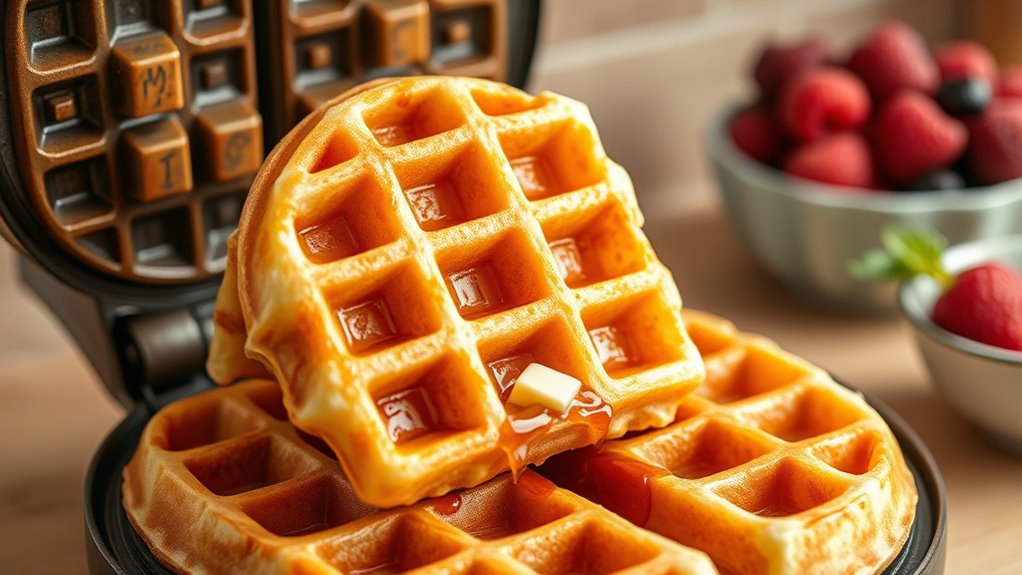
To achieve perfectly cooked waffles, preheat your waffle iron according to the manufacturer’s instructions.
Once it’s hot, lightly grease the surface with cooking spray or a small amount of melted butter to prevent sticking.
Pour the batter onto the center of the iron, using a ladle or measuring cup for even distribution.
Close the lid and let it cook. Timing can vary by model, but generally, you’ll want to cook until the steam stops and the waffles are golden brown.
Keep an eye on them to avoid overcooking. When they’re done, carefully remove them with a fork or tongs.
Serve immediately with your favorite toppings, or keep them warm in a low oven while you finish the batch.
Enjoy!

Waffle Cone Pieces | Ice Cream Topping & Dessert Decoration | by Dasher's Spice & Beans | 1 lb.
Approximately 1/4" x 1/4" sized broken pieces of waffle cone
As an affiliate, we earn on qualifying purchases.
As an affiliate, we earn on qualifying purchases.
History
Although the exact origins of waffles are somewhat unclear, their history dates back to ancient Greece, where similar cakes were cooked between two metal plates. These early versions were called “obelia,” and they eventually evolved into the waffles we know today.
By the Middle Ages, waffles had made their way to Europe, gaining popularity in France and Belgium. You’d find them cooked over open flames and served at fairs or festivals.
As time passed, different regions developed their own unique recipes and styles, with variations like the Belgian waffle emerging.
In the 20th century, waffles became a beloved breakfast staple in America, thanks to home cooks and restaurants alike, paving the way for the classic buttermilk waffle you enjoy today.

Nordic Ware Better Batter Bowl, White, 10 Cups
Designed with a convenient pour spout, to pour the batter and other ingredients without making a mess
As an affiliate, we earn on qualifying purchases.
As an affiliate, we earn on qualifying purchases.
Final Thoughts
While you may savor the taste of classic buttermilk waffles, it’s the memories they create that truly elevate the experience.
Imagine gathering around the table with loved ones, the aroma filling the air as you pour syrup over golden, fluffy waffles. Each bite transports you back to carefree mornings and special occasions.
These waffles aren’t just a dish; they’re a tradition, a reason to slow down and connect. Whether you’re whipping them up for a busy weekday breakfast or a leisurely weekend brunch, they bring joy and comfort.
So, don’t hesitate to experiment with toppings or add-ins to make them your own. Embrace the joy of making these waffles, and let them remind you of life’s simple pleasures.
Enjoy!
Frequently Asked Questions
Can I Substitute Buttermilk With Regular Milk?
You can absolutely substitute buttermilk with regular milk, but it won’t be the same culinary magic!
To mimic that tangy flavor, mix your regular milk with a bit of lemon juice or vinegar—just let it sit for about five minutes. This will give you a more comparable taste.
While it may not be the perfect match, your dish will still turn out delicious. So go ahead and make that switch with confidence!
How Do I Store Leftover Waffles?
To store leftover waffles, let ’em cool completely first.
Once they’ve cooled, stack them with parchment paper in between to prevent sticking.
Place the stack in an airtight container or a resealable plastic bag.
You can refrigerate them for up to three days or freeze them for longer storage.
When you’re ready to enjoy, just pop them in the toaster or oven to reheat.
They’ll taste almost like fresh!
Can I Freeze Cooked Waffles?
Yes, you can freeze cooked waffles!
Just make sure they’re completely cooled before you wrap them tightly in plastic wrap or aluminum foil.
Place them in an airtight container or freezer bag to prevent freezer burn.
When you’re ready to enjoy them again, simply pop them in the toaster or oven to reheat.
This way, you’ll have delicious, quick breakfasts ready whenever you want without the hassle of making them from scratch!
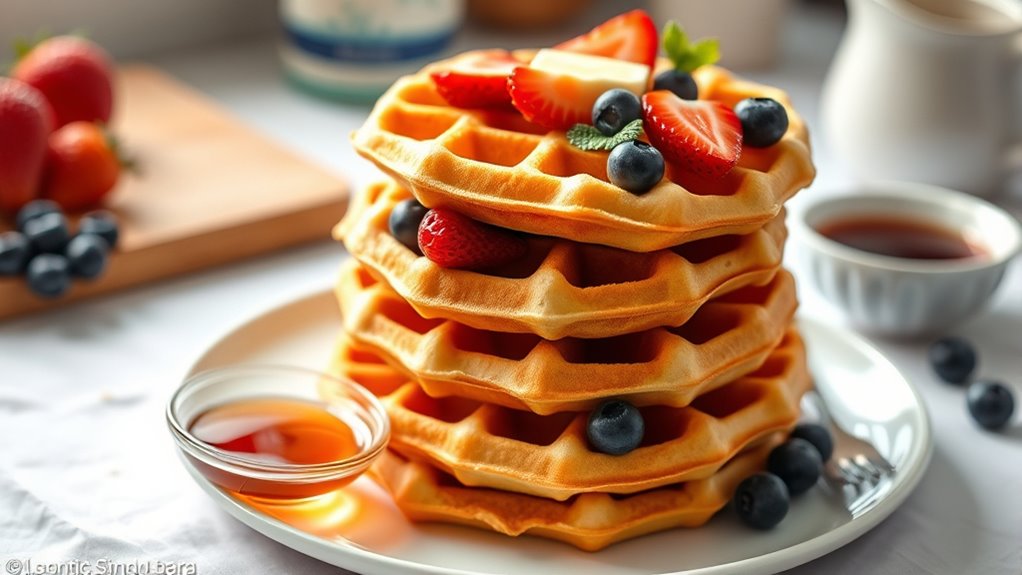
What Toppings Pair Well With Buttermilk Waffles?
When it comes to toppings for your waffles, you’ve got plenty of delicious options. Fresh fruits like strawberries or blueberries add a burst of flavor, while whipped cream brings a light, airy texture.
If you’re craving something indulgent, drizzling maple syrup or chocolate sauce will satisfy your sweet tooth. For a savory twist, try crispy bacon or a dollop of Greek yogurt.
Get creative and mix and match to find your perfect combination!
How Can I Make Waffles Gluten-Free?
To make gluten-free waffles, start by using a gluten-free flour blend instead of regular flour.
You can mix almond flour, coconut flour, or oat flour for added flavor.
Don’t forget to add a binding agent, like eggs or flaxseed meal, to help the batter hold together.
Adjust the liquid to achieve your desired consistency, and cook them in a preheated waffle iron until golden brown.
Enjoy your delicious gluten-free creation!
Conclusion
As you savor each golden, crisp waffle, the warm aroma of buttermilk fills the air, wrapping you in a cozy embrace. The subtle tang dances on your taste buds, perfectly complemented by a drizzle of maple syrup that glistens like liquid sunshine. These classic buttermilk waffles aren’t just a meal; they’re a cherished moment, a slice of nostalgia that beckons you to slow down and relish life’s simple pleasures with every bite. Enjoy the warmth!