
Buckwheat waffles are a tasty, gluten-free breakfast that you’re sure to love. Made with buckwheat flour, they have a unique nutty flavor that pairs well with both sweet and savory toppings. They’re quick to whip up in under 30 minutes, making them perfect for busy mornings. You can customize them with fresh fruits or syrup for an extra kick. If you want to learn more about their history and health benefits, keep exploring!
Key Takeaways
- Buckwheat waffles are gluten-free, nutritious, and made with simple ingredients like buckwheat flour, eggs, and milk.
- They can be served sweet or savory, making them versatile for any meal.
- The preparation takes under 30 minutes, perfect for quick breakfasts or brunches.
- Toppings like fresh fruits, maple syrup, or chia seeds can enhance flavor and nutritional value.
- Buckwheat has a rich history dating back to 6000 BC, celebrated for its health benefits and energy-boosting properties.

Cuisinart Waffle Maker, 1250W Round Classic Waffle Iron, 5-Setting Adjustable Browning Control, WMR-CANAS, Brushed Stainless
SUPERIOR FUNCTION: This Cuisinart Waffle Maker offers professional quality for home use, making delicious breakfast waffles fast and…
As an affiliate, we earn on qualifying purchases.
As an affiliate, we earn on qualifying purchases.
Recipe

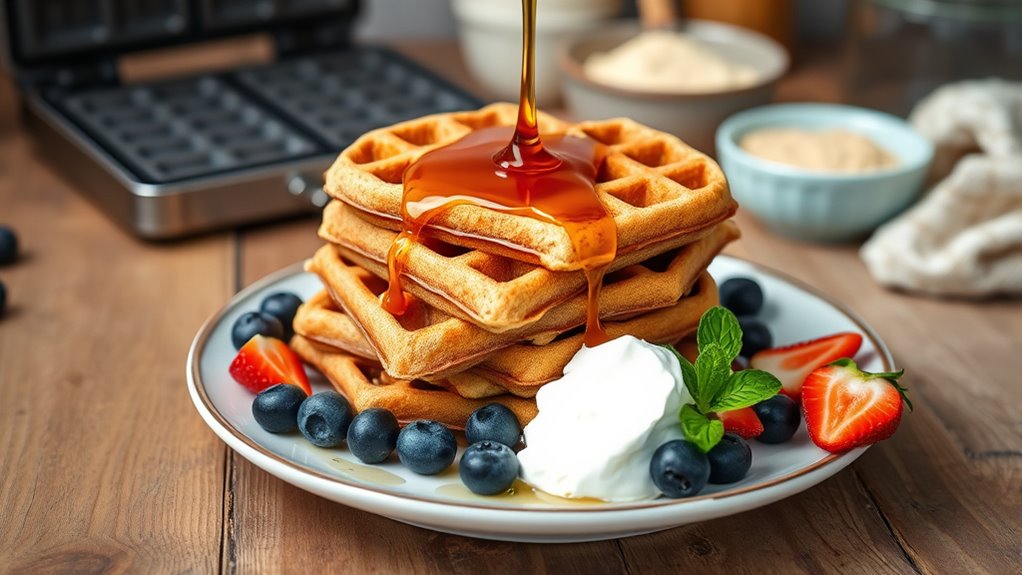
Buckwheat waffles are a delightful alternative to traditional wheat-based waffles, offering a unique flavor and a gluten-free option for those with dietary restrictions. Made from buckwheat flour, these waffles aren’t only nutritious but also provide a satisfying texture that pairs wonderfully with a variety of toppings.
Buckwheat waffles offer a unique, gluten-free alternative to traditional waffles, combining nutrition with a satisfying texture and versatile toppings.
Whether you enjoy them sweet with syrup and fruit or savory with avocado and poached eggs, buckwheat waffles can be tailored to suit your taste.
To make these waffles, you’ll need a waffle iron and a few simple ingredients. The process is straightforward and can be completed in under 30 minutes, making it an ideal breakfast or brunch option for busy mornings. The nutty flavor of buckwheat flour shines through, making each bite a delicious treat that everyone will love.
Ingredients:
- 1 cup buckwheat flour
- 1 cup milk (or dairy-free alternative)
- 2 large eggs
- 2 tablespoons vegetable oil or melted butter
- 1 tablespoon honey or maple syrup (optional)
- 1 teaspoon baking powder
- 1/2 teaspoon salt
- Cooking spray or additional oil for the waffle iron
To prepare the buckwheat waffles, start by preheating your waffle iron according to the manufacturer’s instructions. In a mixing bowl, combine the buckwheat flour, baking powder, and salt.
In a separate bowl, whisk together the milk, eggs, vegetable oil, and honey or maple syrup if using. Gradually incorporate the wet ingredients into the dry ingredients, stirring until just combined. Be careful not to overmix the batter; a few lumps are perfectly fine.
Lightly grease the preheated waffle iron with cooking spray or oil, then pour an appropriate amount of batter onto the iron, close the lid, and cook until the waffles are golden brown and crisp, typically about 5 minutes.
For best results, allow the cooked waffles to cool slightly on a wire rack to maintain their crispness. Feel free to experiment with add-ins like blueberries or chocolate chips for an extra flavor boost.
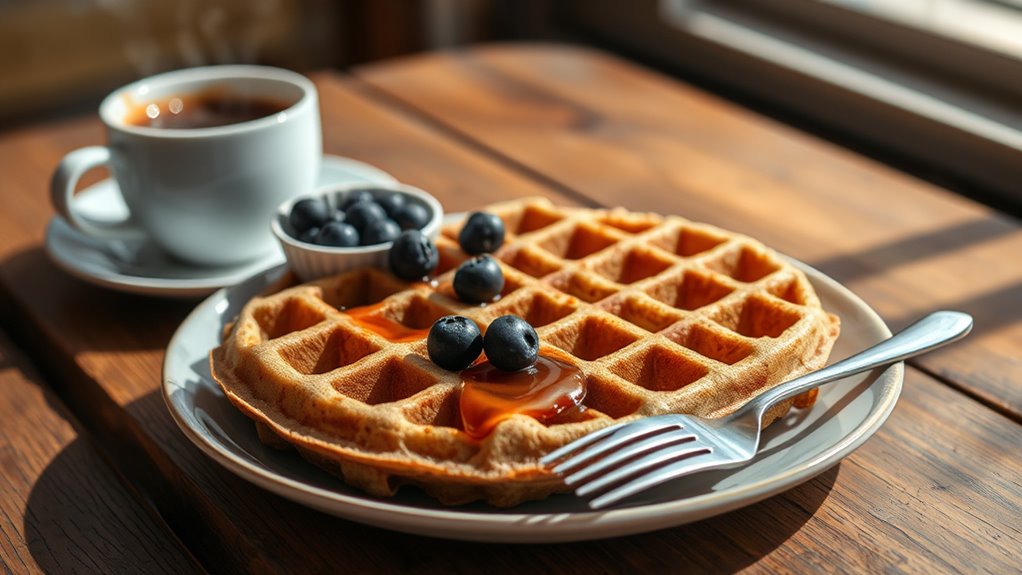
If you have leftovers, they can be frozen and reheated in a toaster for a quick breakfast option. Serve the waffles with your favorite toppings, such as fresh fruit, yogurt, or nut butter, to create a delicious and satisfying meal.

Anthony's Organic Buckwheat Flour, 3 lb, Grown in the USA, Gluten Free, Vegan
USDA Certified Organic Buckwheat Flour
As an affiliate, we earn on qualifying purchases.
As an affiliate, we earn on qualifying purchases.
Cooking Steps
To make delicious buckwheat waffles, you’ll want to start by mixing your dry ingredients thoroughly.
Next, gradually add the wet ingredients to create a smooth batter.
After letting it rest briefly, you’ll be ready to preheat your waffle iron and pour in the batter.
Step 1. Mix Dry Ingredients Thoroughly

Before you combine the wet ingredients, it’s essential to mix the dry ingredients thoroughly for the best texture and flavor in your buckwheat waffles.
Start by measuring out your buckwheat flour, baking powder, baking soda, salt, and any spices you’re using. Use a whisk to blend them together in a large bowl. This step ensures that the leavening agents are evenly distributed, preventing any clumps that could lead to uneven rising.
If you’re adding sugar or any other dry ingredients, be sure to incorporate them as well. Mixing dry ingredients well not only improves the waffles’ texture but also enhances their overall flavor, creating a delicious base for your batter.
Step 2. Add Wet Ingredients Gradually
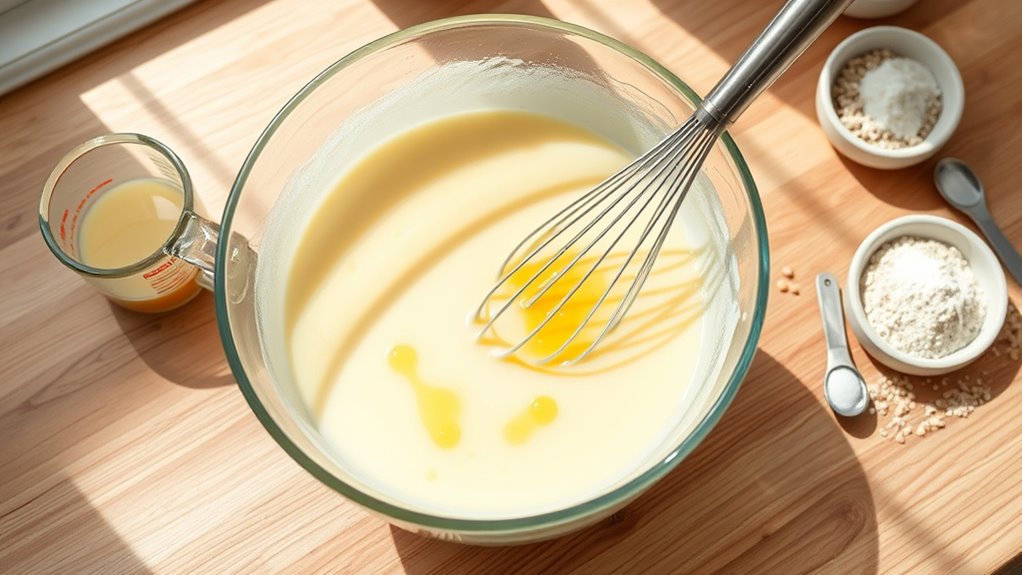
With the dry ingredients well mixed, it’s time to add the wet ingredients gradually.
Start by pouring in your liquid ingredients—like milk and melted butter—into the bowl. As you do this, use a whisk to combine everything gently.
It’s crucial to pour slowly and mix continuously to prevent lumps from forming. Keep an eye on the texture; you want a smooth, pourable batter. If it seems too thick, add a bit more liquid until you reach the desired consistency.
Remember, mixing too vigorously can make your waffles tough, so be gentle. This gradual addition helps ensure that all ingredients blend seamlessly, setting the stage for deliciously fluffy buckwheat waffles.
Enjoy the process!
Step 3. Let Batter Rest Briefly
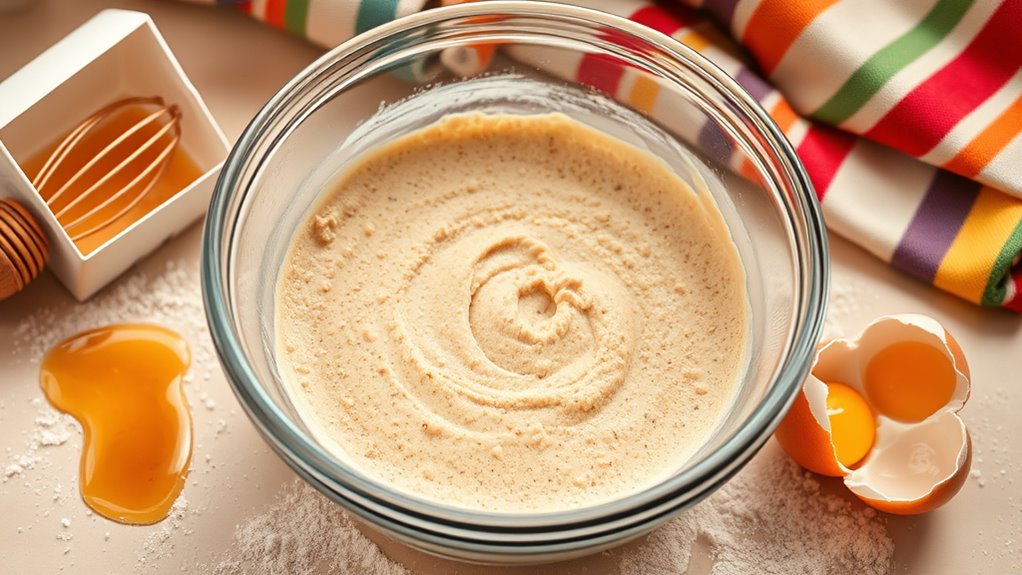
After you’ve mixed the batter, let it rest briefly to enhance the texture of your waffles.
This resting period allows the buckwheat flour to fully hydrate, resulting in a smoother batter. You’ll want to cover the bowl with a clean kitchen towel or plastic wrap to prevent any dust from settling in.
While the batter sits, the bubbles that form during mixing will dissipate slightly, leading to a lighter waffle. Aim for about 10 to 15 minutes of resting time; this small step can make a big difference in the final product. Incorporating no-bake recipes can further simplify your dessert preparations.
After the rest, you’ll notice a thicker consistency that will yield beautifully fluffy, golden waffles. Trust me, this little pause will reward you with improved results!
Step 4. Preheat Waffle Iron

Once your batter has rested and thickened, it’s time to preheat the waffle iron.
Start by plugging it in and setting it to the desired temperature, usually medium or high, depending on your appliance. If your waffle iron has a preheat indicator light, keep an eye on it; when it turns green or indicates it’s ready, you’re good to go.
Meanwhile, you can lightly grease the plates with a non-stick spray or a small amount of melted butter to ensure your waffles release easily. This step is crucial for achieving that perfect crispness.
Give it a minute or two after the indicator lights up to reach optimal heat before moving on to the next step. Happy cooking!
Step 5. Pour Batter Into Iron
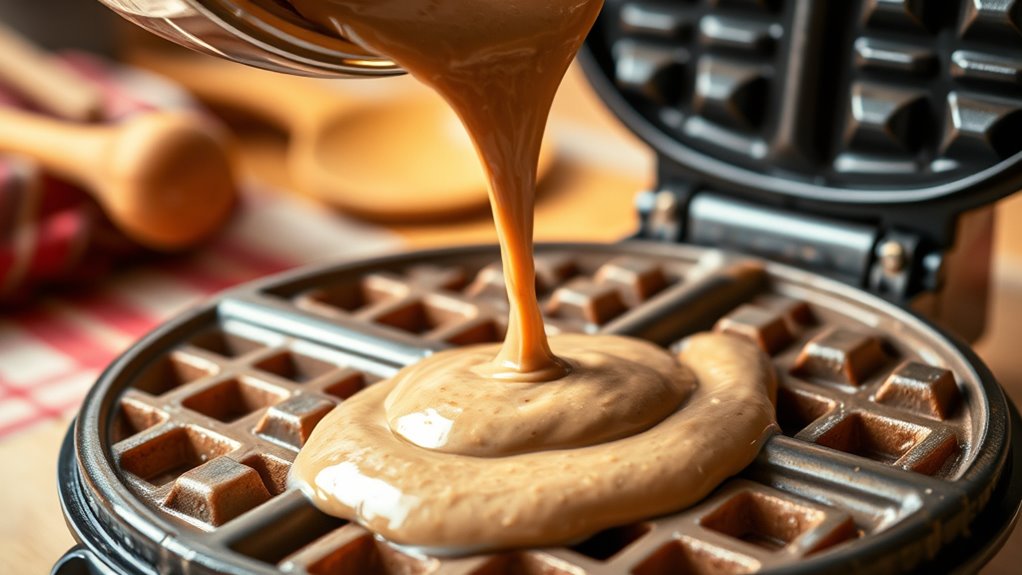
Ladle the prepared buckwheat batter into the center of the preheated waffle iron.
Use just enough batter to cover the bottom without overflowing when you close the lid. If your waffle iron has a specific measurement, follow that for best results.
Close the iron gently and lock it if it has a latch. Allow the waffles to cook according to your iron’s instructions, typically about 4 to 5 minutes.
You’ll know they’re done when the steam starts to diminish, and the exterior is golden brown.
Carefully open the waffle iron, using tongs or a fork to lift the waffle out.
Serve immediately with your favorite toppings, or keep them warm in a low oven while you finish cooking the rest.
Enjoy!
Cuisinart Waffle Maker, 1250W Round Classic Waffle Iron, 5-Setting Adjustable Browning Control, WMR-CANAS, Brushed Stainless
SUPERIOR FUNCTION: This Cuisinart Waffle Maker offers professional quality for home use, making delicious breakfast waffles fast and…
As an affiliate, we earn on qualifying purchases.
As an affiliate, we earn on qualifying purchases.
History

While you might enjoy buckwheat waffles today for their unique flavor and health benefits, their history dates back centuries.
Buckwheat, native to Asia, was cultivated as early as 6000 BC. It made its way to Europe in the Middle Ages, where it became a staple in many regions, especially in France and Russia.
By the 18th century, buckwheat flour was commonly used in waffle recipes, providing a hearty alternative to wheat flour. These waffles became popular among farmers for their nutritional value and energy-boosting properties.
By the 18th century, buckwheat flour was a favored ingredient in waffles, valued for its nutrition and energy benefits.
In the United States, they gained traction in the early 19th century, especially in New England.
Over time, buckwheat waffles have evolved, but their rich heritage remains an essential part of their charm.

Fchil Silicone Belgian Waffle Mold, 2-Cavity Non-Stick Air Fryer Muffin Pan for Baking, Gray
VERSATILE BAKING: 2-piece set of Belgian waffle molds, each featuring 2 cavities for making 4 perfectly shaped waffles…
As an affiliate, we earn on qualifying purchases.
As an affiliate, we earn on qualifying purchases.
Final Thoughts

As you savor the delightful taste of buckwheat waffles, it’s clear that these treats are more than just a delicious breakfast option; they carry a rich history and a wealth of nutritional benefits.
Packed with protein, fiber, and essential minerals, buckwheat waffles are a fantastic choice for anyone seeking a wholesome meal. They’re naturally gluten-free, making them suitable for various dietary needs. Additionally, they can be a part of a balanced diet that includes chia seeds, which promote satiety and support weight loss. Incorporating omega-3 fatty acids from chia seeds can further enhance their health benefits.
Plus, their unique flavor pairs well with a variety of toppings, from fresh fruits to maple syrup. Additionally, they can be customized with various ingredients, just like Egg Rollup and Dumpling Sauce for an even more exciting breakfast experience.
So, whether you’re looking to impress guests or simply enjoy a comforting meal at home, buckwheat waffles won’t disappoint.
Embrace this nutritious alternative and elevate your breakfast game—your taste buds and body will thank you!
Frequently Asked Questions
Are Buckwheat Waffles Gluten-Free?
Yes, buckwheat is naturally gluten-free, so if you’re avoiding gluten, you’ll be pleased to know that recipes using buckwheat flour typically don’t contain gluten.
Just make sure to check for cross-contamination if you’re buying pre-packaged products, as some may be processed in facilities that handle gluten-containing grains.
How Can I Store Leftover Buckwheat Waffles?
After a delicious meal, what’s the best way to keep those leftovers fresh?
To store leftover waffles, let them cool completely before placing them in an airtight container. You can stack them with parchment paper in between to prevent sticking.
If you want to keep them longer, freeze them in a single layer before transferring to a freezer bag.
When you’re ready to enjoy, just pop them in the toaster!
Can I Freeze Buckwheat Waffles?
Yes, you can absolutely freeze them! Just cool them completely first, then stack them with parchment paper in between to prevent sticking.
Place the stack in an airtight container or freezer bag, and make sure to remove as much air as possible.
When you’re ready to enjoy them, just pop them in the toaster or oven straight from the freezer. You’ll have a quick and delicious meal ready in no time!
What Toppings Pair Well With Buckwheat Waffles?
When it comes to toppings, you can unleash a flavor explosion that’ll make your taste buds dance!
Think about drenching your creation in maple syrup, then adding a mountain of fresh berries for a fruity kick.
Don’t forget a dollop of whipped cream or a sprinkle of nuts for that perfect crunch.
If you’re feeling adventurous, try a drizzle of honey or even a splash of yogurt—your breakfast will never be the same!
Are Buckwheat Waffles Suitable for Vegans?
Yes, buckwheat waffles can be suitable for vegans, depending on the recipe.
If the ingredients are plant-based and free from animal products, you’re all set! Typically, you’ll find recipes using buckwheat flour, plant-based milk, and flax or chia seeds as egg replacements.
Always check the specific ingredients or labels if you’re buying pre-made ones, just to ensure they meet your dietary preferences.
Enjoy experimenting with different vegan toppings!
Conclusion
As you savor your first bite of those golden-brown buckwheat waffles, you can’t help but feel a connection to the countless people who’ve enjoyed this wholesome dish for centuries. Coincidentally, while you relish the nutty flavor, you might remember a trip to a cozy café where you first discovered buckwheat. It’s amazing how a simple recipe can weave together memories and cultures, turning breakfast into a delightful journey. So, why not share this experience with someone special today?