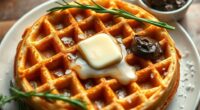
Gingerbread waffles are a delightful twist on a classic breakfast. You’ll whisk together dry ingredients like flour, baking powder, and spices before combining them with a wet mixture of melted butter, brown sugar, and buttermilk. Carefully fold the two together to create a fluffy batter. Cook the waffles in a preheated waffle maker until they’re golden brown. Top with whipped cream and spices for a festive touch. Keep going to discover more about this yummy treat!
Key Takeaways
- Combine dry ingredients like flour, baking powder, spices, and salt for a flavorful base in gingerbread waffles.
- Use melted butter, brown sugar, molasses, eggs, and buttermilk for a rich and moist wet mixture.
- Gently fold the dry mixture into the wet ingredients to create a smooth batter without over-mixing.
- Cook the batter in a preheated waffle maker for 3 to 5 minutes until golden brown and crisp.
- Serve warm waffles with whipped cream, maple syrup, and festive garnishes for a delightful breakfast treat.
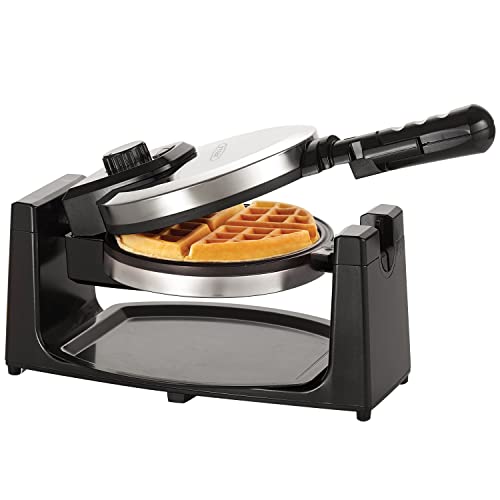
bella Classic Rotating Belgian Waffle Maker with Nonstick Plates, Removable Drip Tray, Adjustable Browning Control and Cool Touch Handles, Stainless Steel
VERSATILE COOKING: With 3 different non-stick coatings, from traditional to ceramic titanium, this waffle iron allows you to…
As an affiliate, we earn on qualifying purchases.
As an affiliate, we earn on qualifying purchases.
Recipe_

Gingerbread waffles are a delightful way to celebrate the festive season, combining the comforting flavors of ginger, cinnamon, nutmeg, and cloves into a warm and inviting breakfast treat. These waffles strike the perfect balance between spicy and sweet, making them an excellent choice for holiday brunches or cozy mornings at home.
With their rich and aromatic flavor profile, they’re sure to impress family and friends alike, whether served plain or dressed up with delicious toppings.
To prepare gingerbread waffles, you’ll need to gather your ingredients and follow a straightforward process that guarantees a delightful outcome. The key to achieving the perfect texture is to carefully combine your wet and dry ingredients without over-mixing, which can lead to dense waffles.
Once cooked, these waffles can be enjoyed fresh or stored for later, allowing you to savor the festive flavors at your convenience.
Ingredients:
- 2 cups all-purpose flour
- 2 tablespoons brown sugar
- 1 tablespoon baking powder
- 1 teaspoon ground ginger
- 1 teaspoon ground cinnamon
- ½ teaspoon ground nutmeg
- ½ teaspoon ground cloves
- ½ teaspoon salt
- 2 large eggs
- 1 ¾ cups buttermilk
- ½ cup melted butter
- ½ cup molasses
Cooking Instructions:
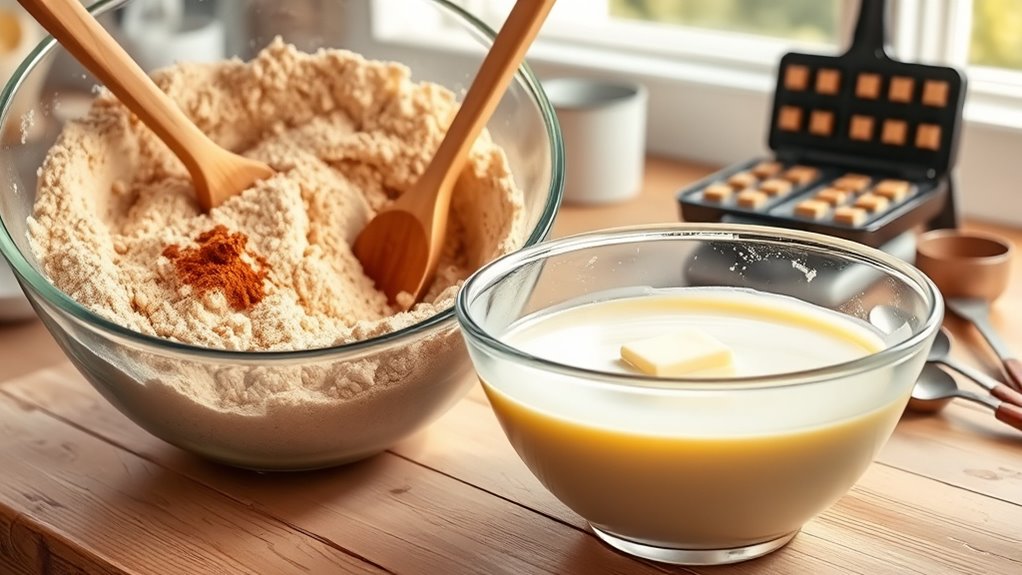
In a large mixing bowl, whisk together the flour, brown sugar, baking powder, ginger, cinnamon, nutmeg, cloves, and salt until well combined.
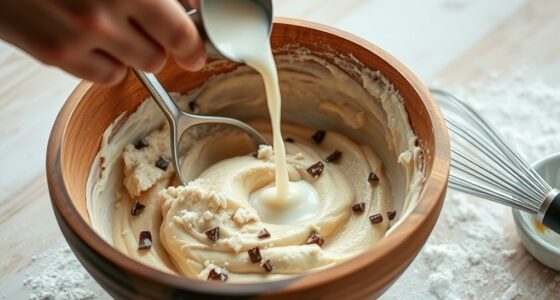
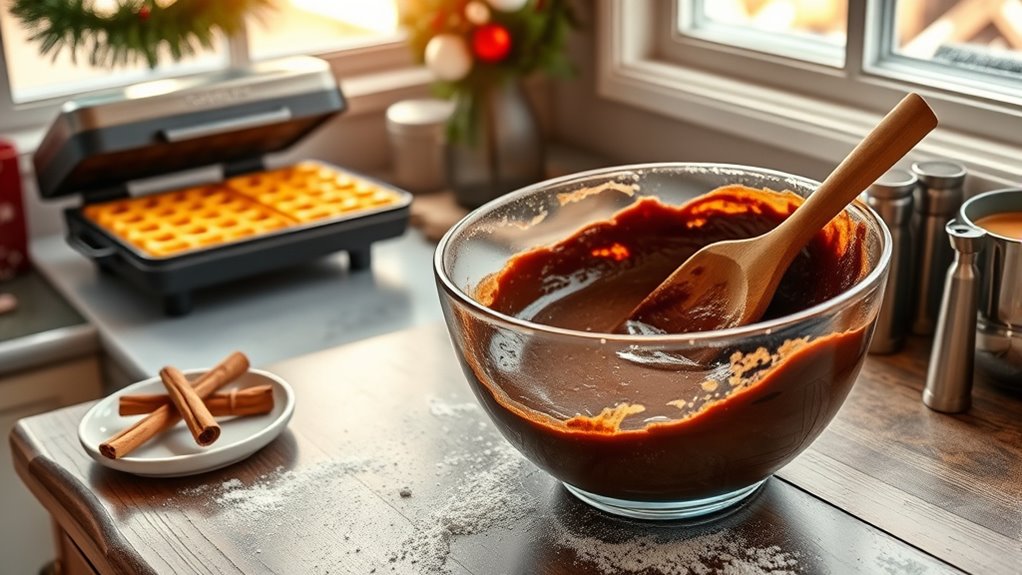
In a separate bowl, mix the eggs, buttermilk, melted butter, and molasses until smooth. Pour the wet mixture into the dry ingredients and gently stir until just combined; be careful not to over-mix, as this can affect the texture of your waffles.
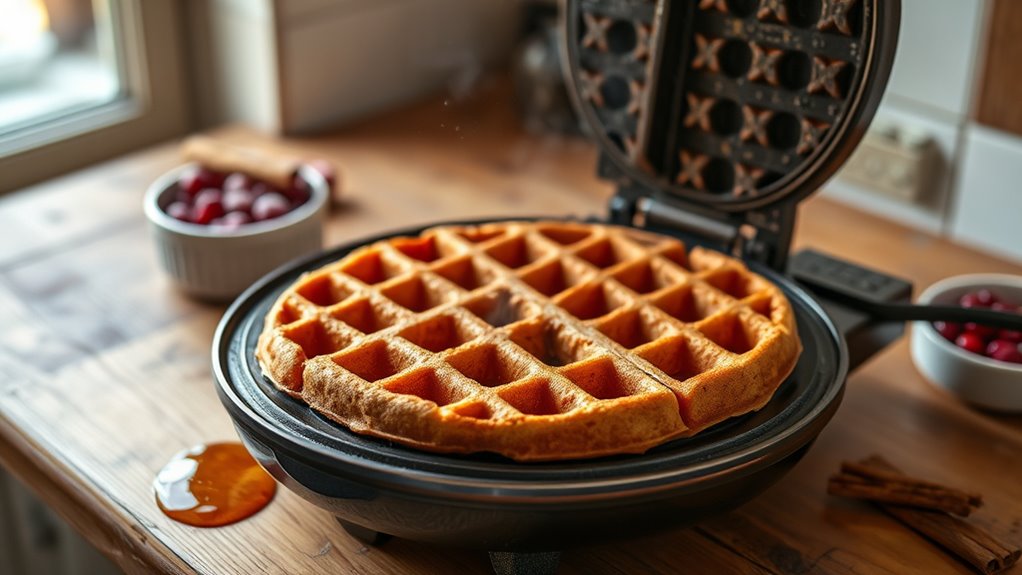
Preheat your waffle iron according to the manufacturer’s instructions, then ladle the batter into the hot iron and cook until golden brown, usually about 5 minutes. Repeat until all batter is used, yielding 4 to 5 waffles.
Extra Tips:
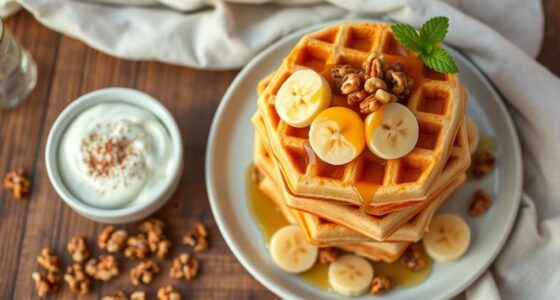
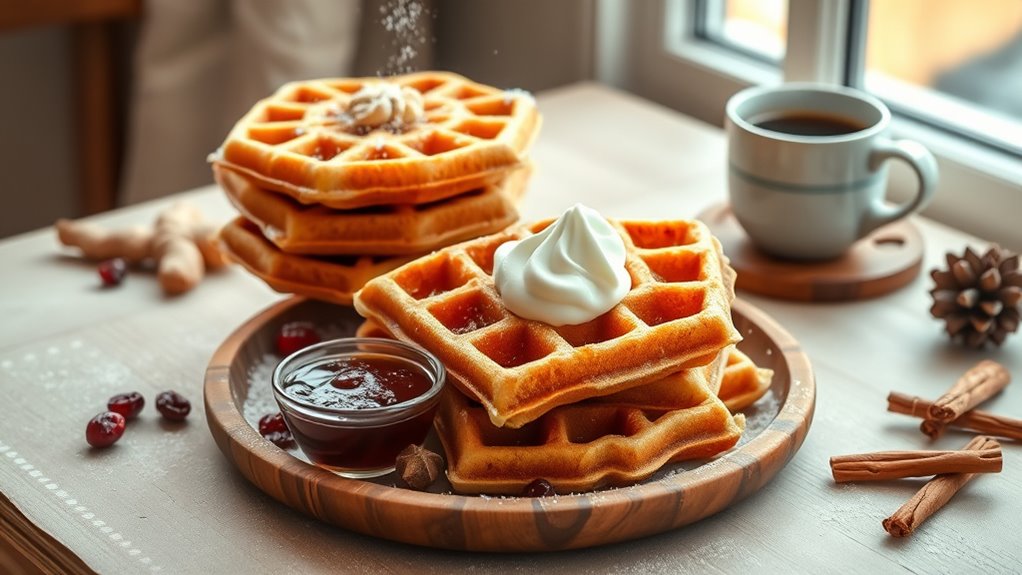
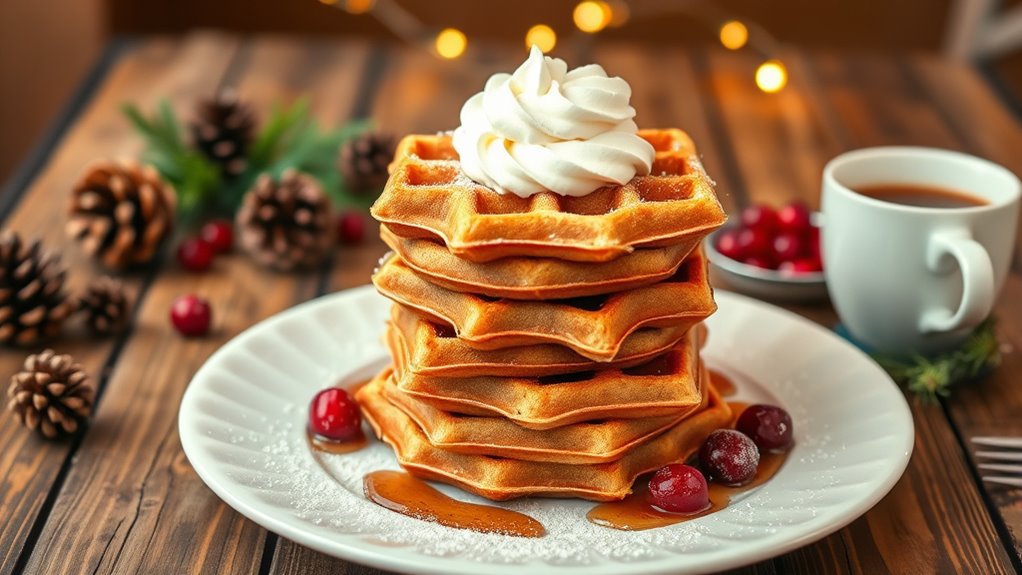
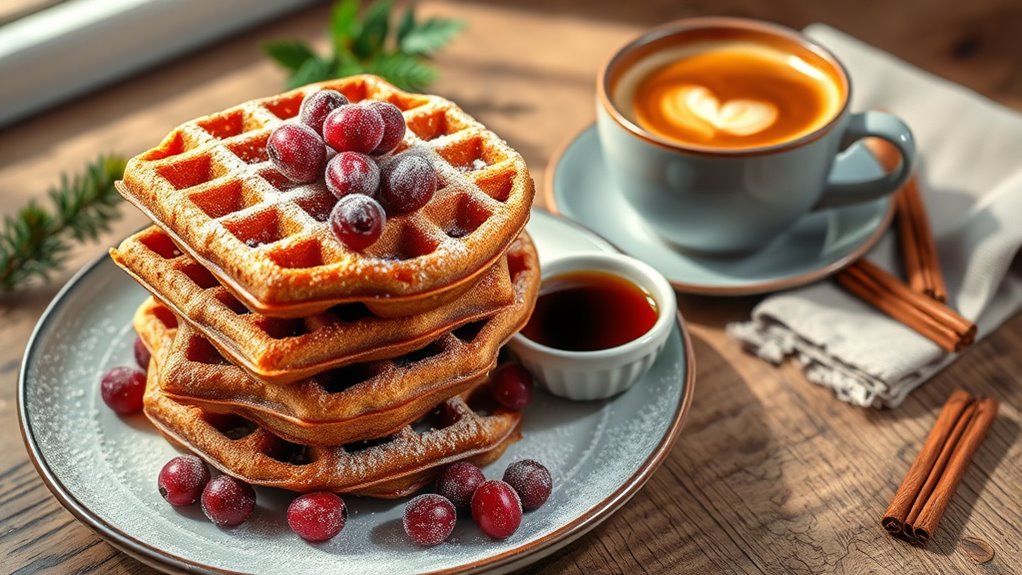
To enhance the flavor and presentation of your gingerbread waffles, consider adding optional toppings like maple pecan syrup, sugared cranberries, or a dollop of whipped cream.
If you have leftovers, store the waffles in an airtight container or freeze them for up to 3 months; simply reheat in a toaster or oven for a quick and delicious breakfast option later on.
Enjoy your gingerbread waffles with a warm cup of coffee or tea for a complete holiday experience!

Cuisinart Waffle Maker, 1250W Round Classic Waffle Iron, 5-Setting Adjustable Browning Control, WMR-CANAS, Brushed Stainless
SUPERIOR FUNCTION: This Cuisinart Waffle Maker offers professional quality for home use, making delicious breakfast waffles fast and…
As an affiliate, we earn on qualifying purchases.
As an affiliate, we earn on qualifying purchases.
Cooking Steps
Start by preheating your waffle maker and oven to 200°F (93°C) to keep those delicious waffles warm as you cook.
In a large bowl, whisk together the dry ingredients—flour, baking powder, baking soda, spices, and salt—creating a well-mixed base.
Whisk together flour, baking powder, baking soda, spices, and salt in a large bowl for a perfectly blended dry mix.
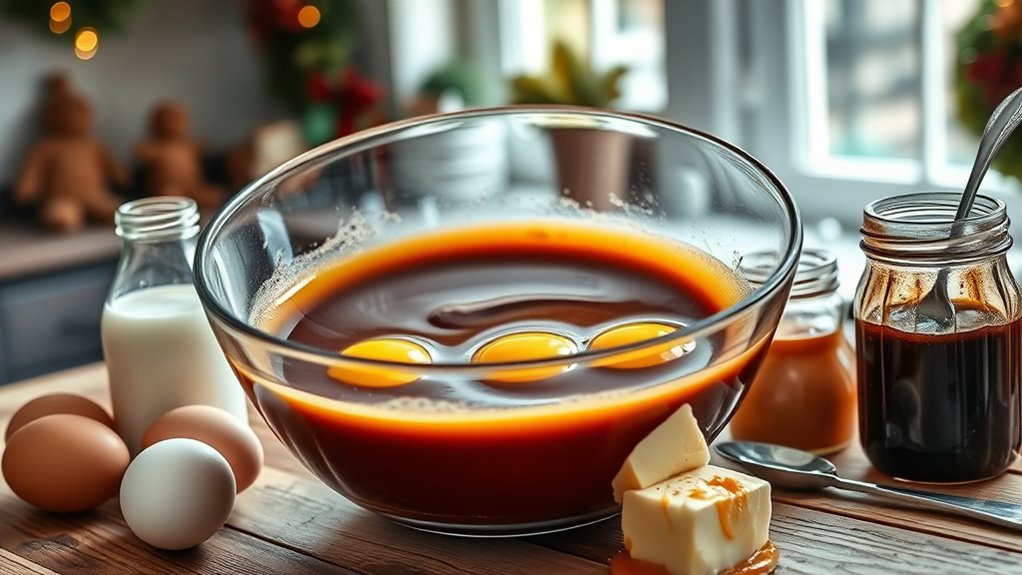
In another bowl, combine the wet ingredients: melted butter, brown sugar, molasses, eggs, and buttermilk, mixing until fully integrated.
Gently fold the wet mixture into the dry ingredients, being careful not to over-mix to guarantee your gingerbread waffles stay light and fluffy.
Pour 2/3 to 3/4 cup of batter into the preheated waffle iron and cook according to the manufacturer’s instructions for about 3 to 4 minutes, or until the waffles are golden brown and crisp.
Step 1. Mix Dry Ingredients Thoroughly

To create the perfect base for your gingerbread waffles, you’ll want to mix the dry ingredients thoroughly.
Start by accurately measuring all-purpose flour, baking powder, baking soda, salt, and spices like ginger, cinnamon, nutmeg, and cloves. In a large bowl, sift the dry ingredients together to eliminate lumps and guarantee an even mix.
Use a whisk or fork to blend everything well, aerating the mixture and preventing clumping. Be careful not to over-mix; this helps maintain the light and fluffy texture of your waffles.
If you have any leftover dry mixture, store it in an airtight container for a quick breakfast option later. Following these steps guarantees delicious gingerbread waffles every time!
Step 2. Combine Wet Ingredients Well
Once you’ve sifted the dry ingredients, it’s time to whisk together the wet components in a large bowl.
Start by adding the melted butter, brown sugar, molasses, eggs, and buttermilk. Whisk these wet ingredients until the mixture is smooth and well combined. The molasses is key here, giving your buttermilk waffles that characteristic gingerbread flavor, so make sure it’s thoroughly mixed in.
For the best results, use room temperature ingredients; they blend more easily and help create a smoother waffle batter. While it’s important to incorporate everything fully, be cautious and avoid over-mixing. Overdoing it can lead to a denser texture in your waffles, which you definitely want to avoid.
Enjoy the process!
Step 3. Fold in the Dry Mixture
Gently fold the dry mixture of flour, baking powder, baking soda, spices, and salt into your wet ingredients to create a smooth batter.
Use a spatula to carefully combine the dry ingredients, making sure no flour streaks remain visible. Be mindful not to overwork the batter, as this can lead to dense waffles instead of the light and fluffy gingerbread waffles you desire.
If you’re using gluten-free flour, follow the same folding technique to maintain the batter’s integrity.
Once combined, let the batter rest for a few minutes; this step enhances the texture and guarantees your waffles recipe yields perfect results.
Step 4. Cook in Waffle Maker
As you prepare to cook your gingerbread waffles, preheat the waffle maker to medium-high heat to guarantee even cooking.
Grease the waffle iron with cooking spray or melted butter; this helps prevent sticking and creates a deliciously crispy exterior.
Pour about 2/3 to 3/4 cup of your gingerbread batter recipe into the center of the hot waffle iron, ensuring even distribution.
Close the lid and cook the waffle for about 3 to 5 minutes, or until it’s golden brown and crisp on the outside.
Carefully remove the waffle using tongs or a fork, and place it on a cooling rack.
This step helps maintain the texture and keeps the waffles from getting soggy before you serve them.
Step 5. Serve With Whipped Cream
After removing the crisp gingerbread waffles from the waffle maker, it’s time to elevate your dish with a delightful homemade whipped cream.
Start by beating heavy cream with sugar and vanilla until soft peaks form. For an enhanced flavor, mix in a dash of ground ginger or cinnamon before beating.
Make sure your waffles are warm and crisp, then add a generous dollop of whipped cream on top. To give your dish a festive touch, garnish it with a sprinkle of nutmeg or a few sugared cranberries.
Don’t forget to serve your delicious waffles with a side of maple syrup and perhaps some pecans for an indulgent breakfast experience.
Enjoy your homemade waffles!
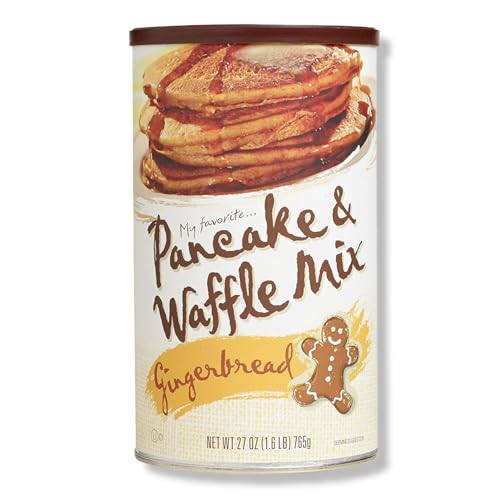
My Favorite Pancake & Waffle Mix Gingerbread Flavor, Baking Mixes for Pancakes & Crispy Waffles, Easy Breakfast Food with Warm Spices, Pancake Mix Batter for Desserts, Snacks & Family Meals, 27 oz
GINGERBREAD-INSPIRED FLAVOR – Enjoy warm and nostalgic notes of cinnamon, ginger and sweet treat spices in every bite….
As an affiliate, we earn on qualifying purchases.
As an affiliate, we earn on qualifying purchases.
History

Gingerbread’s rich history stretches back to ancient Greece and Egypt, where bakers used honey and spices to create early versions of this beloved treat.
By the 15th century, gingerbread gained popularity in Europe, especially in Germany, where it was shaped into decorative forms and sold at fairs.
During the 19th century, the introduction of molasses as a substitute for honey led to a sweeter, more accessible modern gingerbread.
This treat became synonymous with the holiday season, symbolizing warmth and comfort, and is often featured in festive recipes.
The tradition of making gingerbread houses, inspired by the fairy tale “Hansel and Gretel,” further cemented gingerbread’s place in the Christmas season, adding to its festive spirit.

Mystic Sprinkles Christmas Holiday sprinkle Decorating Kits (Dreaming of a White Christmas in Silver Sprinkle Decorating Kit 7oz)
Each kit has TEN Adorable Seasonal Options
As an affiliate, we earn on qualifying purchases.
As an affiliate, we earn on qualifying purchases.
Final Thoughts
The enchanting history of gingerbread naturally leads to its delightful modern interpretations, like gingerbread waffles.
You’ll find that following waffle makers instructions guarantees you achieve that light, crispy texture that makes these waffles shine. With nonstick cooking surfaces, it’s easy to remove the waffle without hassle.
If you have leftovers, store them in a freezer-safe container for up to three months, perfect for those busy holiday mornings. Just pop them in a toaster for quick reheating.
In a medium bowl, you can mix your favorite spices for a rich flavor.
And don’t forget those optional toppings! Maple pecan syrup, whipped cream, or sugared cranberries can elevate your gingerbread waffles into a festive treat everyone will love.
Frequently Asked Questions
Can I Freeze Leftover Gingerbread Waffles?
Absolutely, you can freeze leftover waffles!
Just make sure they’re completely cool before you wrap them up. Place them in an airtight container or freezer bag, squeezing out as much air as possible.
When you’re ready to enjoy them again, simply pop them in the toaster or oven straight from the freezer.
You’ll have a quick and delicious breakfast ready in no time, without losing any of that yummy flavor!
What Toppings Pair Well With Gingerbread Waffles?
Imagine a cozy winter morning, the aroma of spices dancing in the air.
When you’re thinking about toppings, consider pairing warm maple syrup for a sweet hug or whipped cream for a fluffy cloud on top.
Fresh fruits like sliced apples or berries add a pop of color and zing. You could even sprinkle crushed nuts for a crunchy surprise.
Each topping transforms your dish into a delightful winter wonderland. Enjoy!
How Can I Make Gingerbread Waffles Gluten-Free?
To make your waffles gluten-free, start by replacing regular flour with a gluten-free blend or almond flour.
You’ll want to add a binding agent like xanthan gum to maintain the texture.
When mixing your wet ingredients, confirm they’re all gluten-free as well.
If your recipe calls for baking powder, check that it’s gluten-free.
Finally, cook the waffles as usual, and enjoy your delicious gluten-free treat without missing a beat!
Can I Use a Different Type of Syrup?
Absolutely, you can use different types of syrup! Maple syrup is a classic choice, but you might also enjoy honey, agave syrup, or even fruit syrups for a unique twist.
Each option brings its own flavor profile, so feel free to experiment and find what you love best.
Just keep in mind that some syrups might be sweeter than others, so adjust the amount you use based on your taste preferences!
How Long Do Gingerbread Waffles Last in the Fridge?
You’d think food would last forever in the fridge, right?
Well, gingerbread waffles actually hold up pretty well for about 3 to 5 days if stored properly in an airtight container.
Just make sure you let them cool completely before sealing them up.
If you find yourself with leftovers, you might even enjoy the surprise of having a festive breakfast later in the week!
Who knew efficiency could taste so good?
Conclusion
As you savor your gingerbread waffles, you might wonder: did these delicious treats originate in Germany or the United States? Surprisingly, both claim a piece of the gingerbread legacy! The spices and sweetness we love today evolved over centuries, blending cultures and traditions. So, every bite isn’t just breakfast; it’s a taste of history. Next time you whip up a batch, remember, you’re not just cooking—you’re connecting with a rich culinary past that’s as warm and comforting as your waffles!