

Making waffle cones at home is a rewarding treat that enhances your ice cream experience. Start by mixing egg whites, sugar, vanilla, flour, and melted butter into a smooth batter. Once preheated, cook the batter in a waffle cone maker for about 1 minute and 30 seconds, then roll into shape. Let them cool before storing. Pair with your favorite ice cream flavors for an unforgettable dessert, and there’s more to discover about perfecting your waffle cone game.
Key Takeaways
- Gather key ingredients: egg whites, sugar, vanilla extract, flour, salt, and melted butter for the batter.
- Prepare batter by mixing ingredients, including optional chocolate chips, and let it rest for 10 minutes.
- Preheat the waffle cone maker and brush with oil, then cook 2 tablespoons of batter for 1 minute and 30 seconds.
- Shape the cooked waffle into a cone immediately, pinching the tip to seal, and cool it in the mold.
- Store cooled cones in an airtight container at room temperature, ideally consumed the same day for best texture.
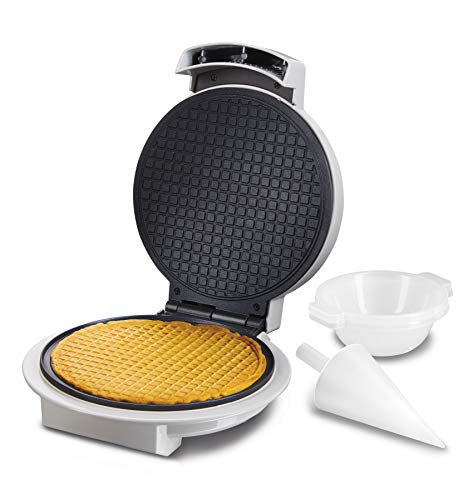
Proctor Silex Waffle Cone and Ice Cream Bowl Maker with Browning Control, Shaper Roller and Cup Press, 7.5” PFAS-Free Nonstick Plates, White (26410MN)
COOKS CRISP BUTTERY SUGAR CONES AND BOWLS QUICKLY IN 2-3 MINUTES 800 watts of power cooks batter fast…
As an affiliate, we earn on qualifying purchases.
As an affiliate, we earn on qualifying purchases.
Ingredients for Waffle Cones
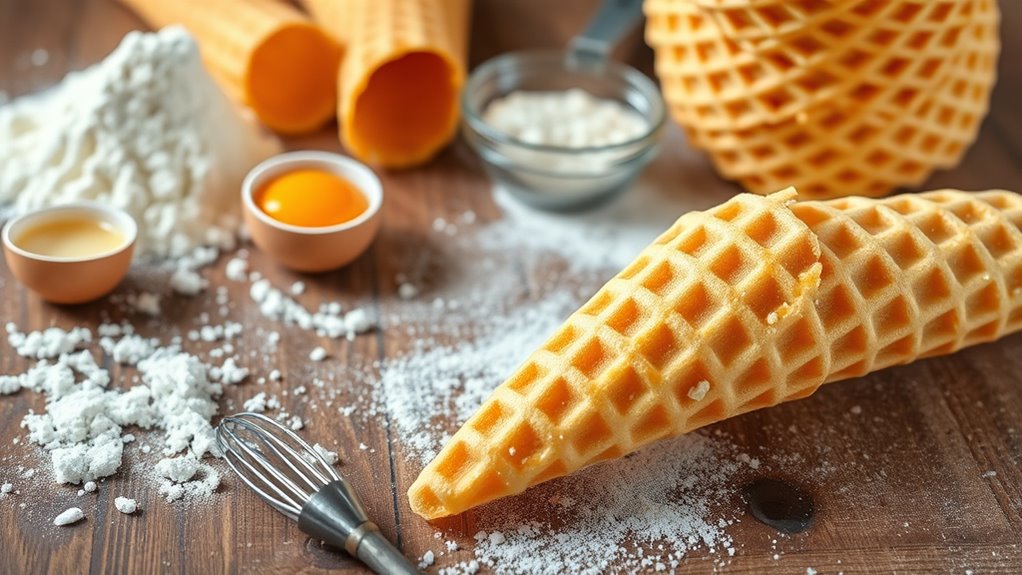
To make delicious waffle cones at home, you’ll need a few key ingredients. Your waffle cone recipe will require egg whites, sugar, vanilla extract, salt, all-purpose flour, and melted unsalted butter.
These ingredients come together to create a batter that’s both crispy and crunchy, perfect for holding your favorite ice cream. If you want to add an extra surprise, mix in some chocolate chips; they not only enhance flavor but also help prevent any drips.
With this combination, you’ll be able to craft homemade waffle cones using waffle cone makers. Each recipe yields about eight cones, making it a delightful treat for ice cream lovers. Enjoy the deliciousness while knowing exactly what’s in your cones!

Crispy Waffle Cone Mold Kit Plastic Cream Horn Mold Cone Roller Egg Roll DIY Mold Kitchen Cooking Baking Decorating Accessory 3Pcs
★Material:Food grade PVC materials.
As an affiliate, we earn on qualifying purchases.
As an affiliate, we earn on qualifying purchases.
Making the Batter
To make the perfect waffle cone batter, you’ll start with some essential ingredients and straightforward mixing techniques.
It’s vital to pay attention to the resting time, as it helps the flour hydrate and improves the texture.
Let’s break down each step to guarantee your cones turn out just right!
Essential Ingredients Overview
Creating the perfect waffle cone starts with a simple yet essential batter made from just a few key ingredients.
To whip up this homemade recipe, begin by beating together 2 egg whites, 1/2 cup of sugar, and 1 teaspoon of vanilla extract until the mixture lightens in color.
Next, incorporate 2/3 cup of all-purpose flour and 1/4 teaspoon of salt. Then, add in 4 tablespoons of melted butter to achieve a smooth batter.
Don’t forget to mix in some chocolate chips; they’ll not only add flavor but also help prevent ice cream from dripping out of your cone.
Allow the batter to rest for about 10 minutes, enhancing the texture of your delicious waffle cones.
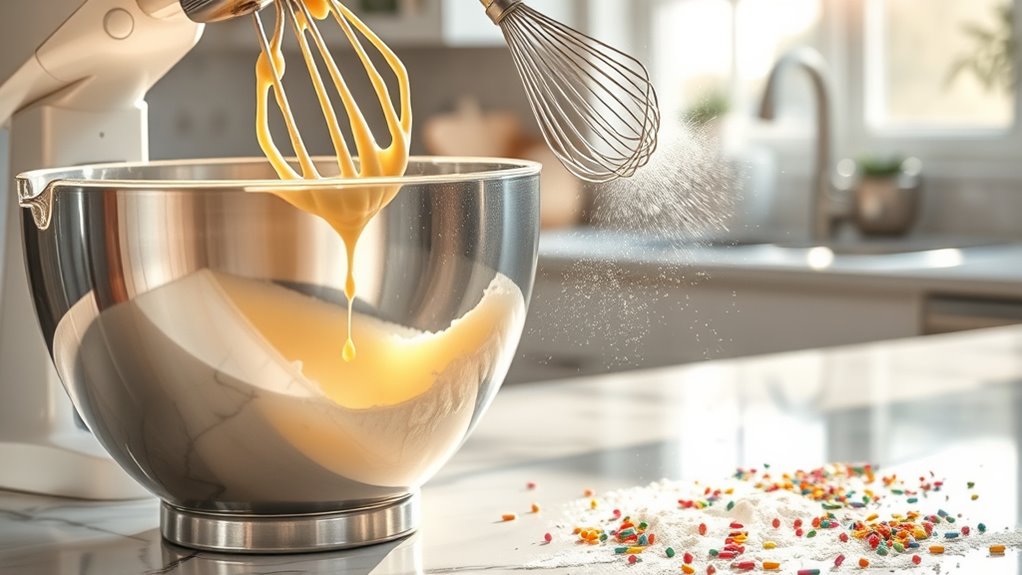
Mixing Techniques Explained
While making the batter for your waffle cones, start by beating the egg whites with sugar and vanilla extract in a medium bowl until the mixture becomes light and frothy.
Next, whisk together the eggs and gradually add half of the all-purpose flour to the egg mixture, mixing until you achieve a smooth consistency.
Then, incorporate a pinch of salt and melted unsalted butter, adding the remaining flour until the batter is lump-free. This step is essential for the structural integrity of your cones.
Keep in mind to avoid overmixing, as it can negatively affect the batter’s texture.
Once done, pour the batter into the center of your waffle cone maker and prepare for delicious results!
Resting Time Importance
After mixing the batter, letting it rest for about 10 minutes plays a key role in achieving the perfect waffle cone. This resting time allows the flour to fully hydrate and the sugar to liquefy, creating a smoother, cohesive waffle cone batter.
It also enhances gluten development, which contributes to the structural integrity of your cones, preventing breakage during shaping. Additionally, this period improves flavor, allowing the ingredients to meld perfectly.
While you may need to overmix the batter initially for the desired texture, resting is essential for ensuring your cones turn out crisp on the outside and slightly chewy on the inside. A well-rested batter truly elevates the ice cream experience!

Cream Horn Molds 16pcs Large Size 4.7 inch Baking Cones Stainless Steel Roll Horn Forms Conical Danish Pastry Croissant Cones Moulds
High quality:Our Cream Horn Molds are made from Stainless Steel,so it is Non-toxic,it is environmentally friendly.For its fast…
As an affiliate, we earn on qualifying purchases.
As an affiliate, we earn on qualifying purchases.
Cooking the Waffle Cones
Now that you’ve made your batter, it’s time to cook those waffle cones.
Start by preheating your waffle cone maker and brushing it with oil for a smooth cook.
Once you’re set, pour in the batter and keep an eye on the cooking time to get that perfect crispiness.
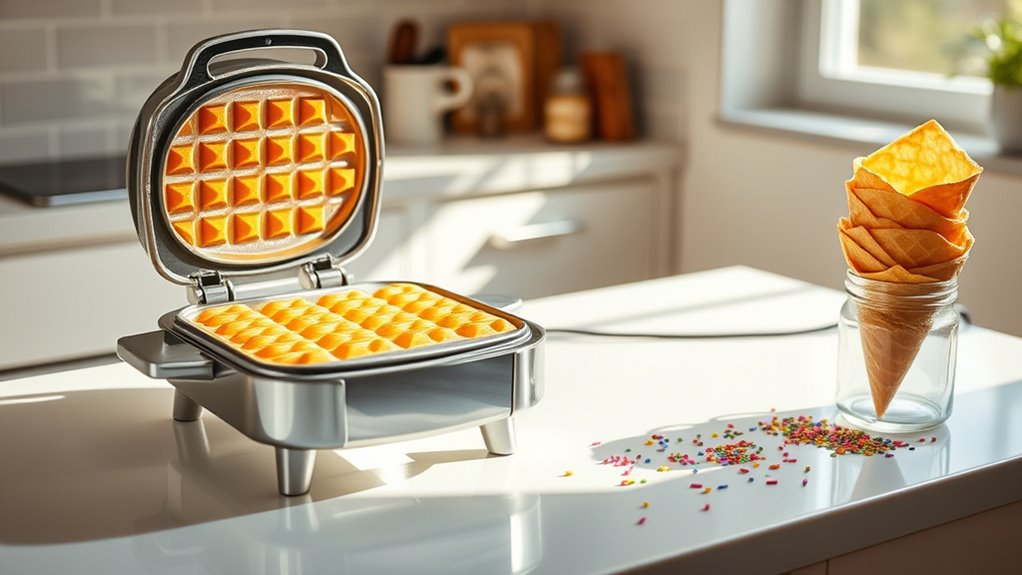
Preheating the Waffle Cone Maker
Preheating your waffle cone maker is key to achieving that perfect crispy texture. Start by setting your machine to #4 and allow it to preheat for about 5 minutes. This guarantees even cooking and best crispness for your cones.
Before adding the batter, brush both sides of the preheated waffle cone maker with vegetable oil to prevent sticking. For the ideal cone, use 2 tablespoons of batter in the center of the machine. Cook it for approximately 1 minute and 30 seconds, adjusting as needed based on your desired crispness.
Once done, immediately roll the waffle into a cone shape using a plastic mold to maintain the desired structure. Interestingly, the brewing methods you use for coffee can also enhance your ice cream experience by pairing flavors effectively. Enjoy your homemade waffle cones!
Cooking Time and Temperature
Cooking your waffle cones to perfection requires precise timing and temperature control.
Start by preheating your waffle cone maker for 5 minutes on heat setting #4 to guarantee even heat distribution.
Next, use 2 tablespoons of batter, placing it in the center of the maker. Cook the batter for approximately 1 minute and 30 seconds to achieve that desired crispy texture.
Keep a close eye on the cooking time, as it may vary based on your specific waffle cone maker model.
Once cooked, immediately roll the waffle into a cone shape using a plastic mold. This step helps maintain its form while cooling, assuring you enjoy delicious, homemade waffle cones every time.
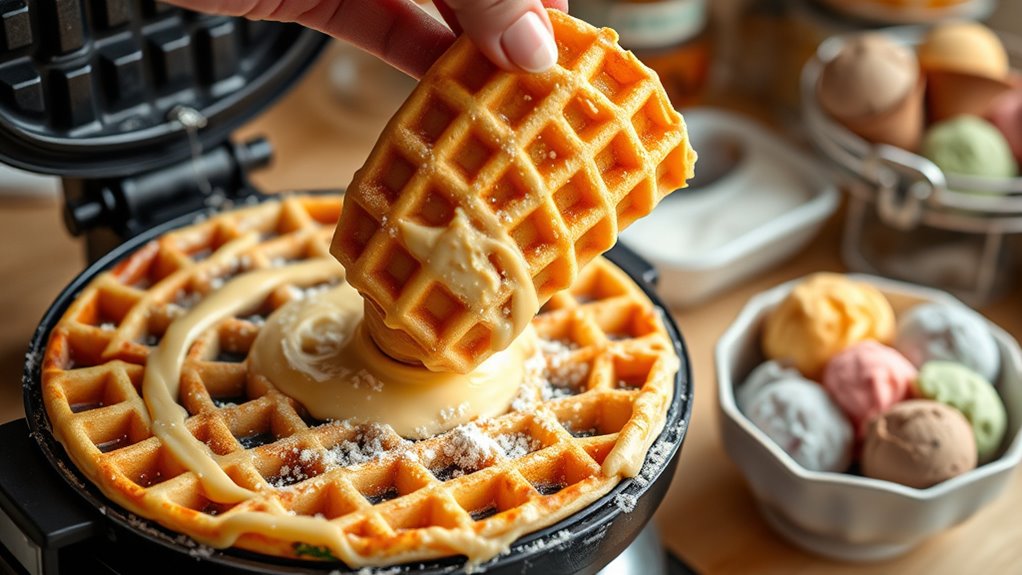
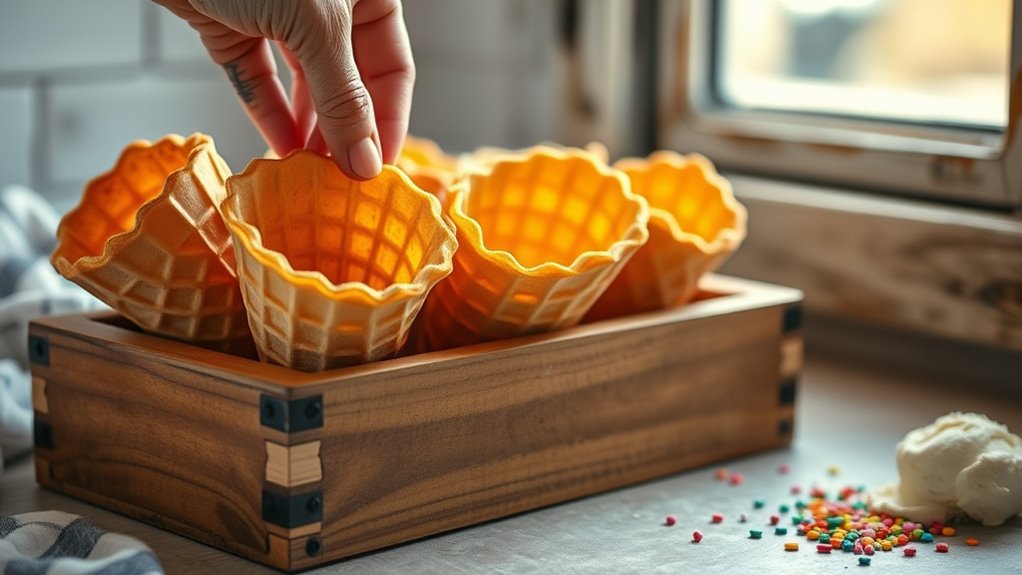
Shaping and Cooling Techniques
Once your waffle cones are cooked to a golden-brown perfection, the next step is shaping and cooling them properly.
Carefully remove the waffle from the maker and use a kitchen towel to roll it around a cone mold, pinching the tip to seal it. This prevents ice cream from spilling out.
Allow the shaped cone to cool in the mold for a few minutes to guarantee it retains its shape and becomes sturdy.
Rest the cones seam side down on a cooling rack or clean dish towel to maintain their form while they cool completely.
Make certain the cones are fully cooled before storing them in an airtight container to prevent them from becoming soft, assuring ideal texture for your delicious creations.

Tuauoe Cream Horn Molds for Baking, 23pcs Horn Forms Set, Non-stick Stainless Steel 15pcs Cone Shaped with Cleaning Brush, Piping Tip, Piping Bag, for ice Cream Cones, Puff Pastry, Baking Cones
High Quality: Cream horn molds are made of food-grade stainless steel with no coating on both inside and…
As an affiliate, we earn on qualifying purchases.
As an affiliate, we earn on qualifying purchases.
Shaping the Cones

Shaping your waffle cones is an essential step in the process, and you’ll want to act quickly while the waffle is still warm. Here’s how to get that perfect cone shape:
- Remove the cooked waffle from the waffle maker and place it on a clean dish towel to prevent sticking.
- Use a cone mold or tightly rolled parchment paper to shape the waffle into a cone, pinching the tip to seal it.
- Hold the cone in place for a few seconds until it cools and firms up, ensuring it maintains its shape.
- Allow the shaped cones to cool seam side down to avoid any unwanted openings, making them ready for your favorite ice cream.
Storing Waffle Cones
To keep your homemade waffle cones crisp and fresh, store them in an airtight container at cool room temperature. This method helps maintain their texture and prevents them from becoming soft.
For best taste, try to consume the cones the same day you make them, but if you need to store them, aim to enjoy them within a week.
Make sure to avoid exposing your cones to warmth and moisture, as this can cause misshaping and a loss of crunchiness.
When storing, stack the cones upright or use a plastic storage bag to prevent breakage.
With proper storage, you can savor the delightful flavor of your homemade waffle cones longer!
Uses for Leftover/Broken Cones

Leftover or broken waffle cones can be transformed into delightful culinary creations instead of being tossed aside. Here are some fun uses for your broken cones:
- Pie Crust Alternative: Grind them up for a unique flavor and texture in your favorite desserts.
- Chocolate Coating: Dip broken cones in melted chocolate for a tasty crunchy snack or dessert topping.
- Ice Cream Topping: Crumble leftover cones to sprinkle on sundaes or yogurt bowls for added crunch.
- Whimsical Garnishes: Use broken cones as creative garnishes for ice cream, enhancing both flavor and presentation.
With these ideas, your leftover waffle cones won’t go to waste and can bring joy to your next sweet treat!
Ice Cream Pairings
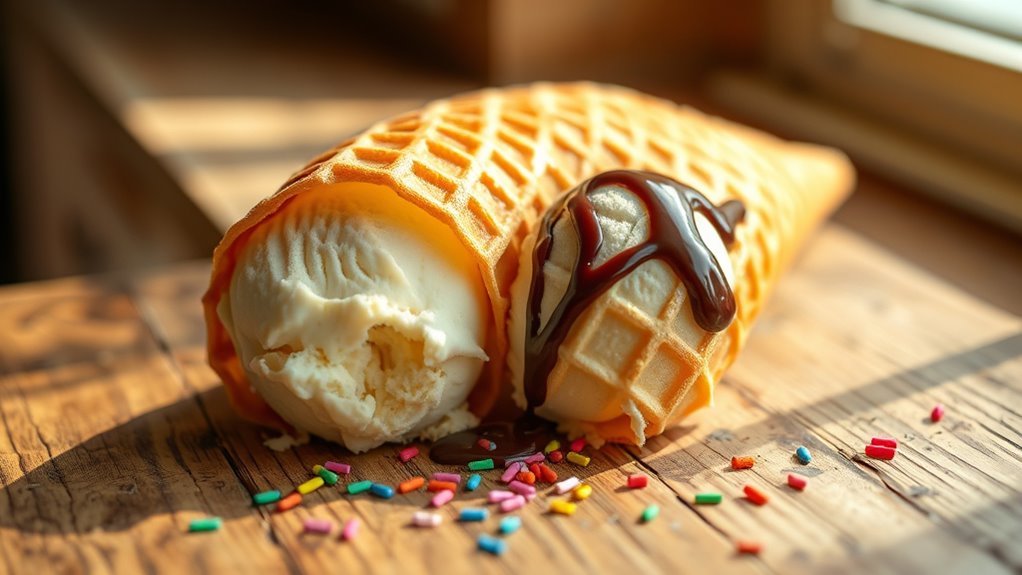
When it comes to enjoying ice cream, choosing the right flavor to pair with your waffle cone can elevate your treat to a whole new level. Classic flavors like Vanilla Bean Ice Cream enhance the buttery taste of the cone, while fruity options like Strawberry and Peach provide a revitalizing contrast. Rich flavors, such as Best Ever Chocolate, create a decadent experience, especially with chocolate chips at the bottom to prevent dripping. Unique pairings, like Blueberry Ice Cream, introduce a tartness that balances the sweetness. For added texture, consider ice creams with mix-ins like nuts or cookie pieces.
| Flavor Type | Example Pairing |
|---|---|
| Classic | Vanilla Bean |
| Fruity Options | Strawberry, Peach |
| Rich and Decadent | Best Ever Chocolate |
| Unique Pairings | Blueberry |
Tips for Perfect Waffle Cones
Perfecting your waffle cones involves a few key techniques that can make all the difference. Follow these tips to guarantee your cones are delicious and sturdy:
Perfect your waffle cones with key techniques to ensure they are both delicious and sturdy.
- Preheat your waffle iron for at least 5 minutes to achieve a crispy texture.
- Use 2 tablespoons of batter for each cone to maintain the ideal thickness.
- Incorporate chocolate chips into the batter; they’ll melt and create a seal that prevents ice cream from dripping.
- Immediately pinch the tip of the cone closed after rolling to maintain the cone form and prevent spills.
Once you’ve made your waffle cones, let them cool completely.
Store them in an airtight container at room temperature to keep them fresh for up to a week. Enjoy your homemade treats!
Frequently Asked Questions
Can I Use Pancake Mix to Make Waffle Cones?
You can use pancake mix to make waffle cones, but it’s not the best choice.
Pancake mix lacks the structural integrity and flavor needed for a crispy cone. You might end up with a softer texture that won’t hold ice cream well.
If you really want to use it, try adding extra flour and sugar to improve the result.
However, sticking to a traditional waffle cone recipe will give you the best outcome.
How Do You Make Waffle Cones Not Soggy?
To keep your waffle cones from getting soggy, start by incorporating chocolate chips at the bottom. They’ll create a seal as they melt, blocking moisture.
Make sure your cones are fully cooled before adding ice cream; warm cones lead to quick sogginess.
Store them in an airtight container at room temperature to maintain crispness, and use a well-balanced batter with enough fat for a sturdy structure.
Cook them until golden brown for the best results.
What Is the Difference Between a Waffle Cone and a Sugar Cone?
When you compare waffle cones and sugar cones, you’ll notice key differences.
Waffle cones are light, crispy, and buttery, often flavored with vanilla, while sugar cones are denser, crunchier, and focus on sweetness.
The texture of waffle cones complements ice cream perfectly, whereas sugar cones are sturdier, reducing breakage.
Nutritionally, waffle cones have about 123 calories, while sugar cones can have around 140, making them a bit sweeter overall.
Why Are My Homemade Waffle Cones Soggy?
If your homemade waffle cones are soggy, it likely means you’ve used too much batter or didn’t preheat your waffle maker properly.
Both can result in excess moisture, preventing the cones from crisping up.
Also, if you’re storing them in a humid environment or haven’t sealed them well, they’ll absorb moisture.
Finally, make certain you allow the cones to cool completely in their rolled shape; otherwise, they might lose their crispness.
Conclusion
Making waffle cones at home is like crafting little edible masterpieces that elevate your ice cream experience. With the right ingredients and a bit of practice, you can create delicious cones that are crispy and flavorful. Don’t forget to experiment with flavors and pairings to find your perfect match. Whether you’re enjoying them fresh or using leftovers creatively, homemade waffle cones add a delightful touch to your treats. So grab that batter and start cone-making!