
Banana nut waffles are a delicious way to start your day! You’ll love how the sweetness of ripe bananas blends perfectly with crunchy nuts. They’re quick and easy to whip up, making them ideal for brunch or special occasions. Just mash the bananas, mix in some nuts, and combine with dry ingredients. Cook in a waffle iron until golden and crisp. Top them with maple syrup or whipped cream for extra flavor. There’s plenty more to explore about this delightful dish!
Key Takeaways
- Banana nut waffles are a delightful blend of ripe bananas and crunchy nuts, perfect for brunch or special occasions.
- The recipe is quick and easy, using simple ingredients like flour, baking powder, and ripe bananas.
- Mash overripe bananas for the best flavor and texture, and mix in your choice of nuts.
- Cook the batter in a preheated waffle iron until golden brown, typically 3 to 5 minutes.
- Serve warm with toppings like maple syrup or whipped cream for a delicious treat.

Cuisinart Waffle Maker, 1250W Round Classic Waffle Iron, 5-Setting Adjustable Browning Control, WMR-CANAS, Brushed Stainless
- Professional-quality waffle maker: Fast, easy breakfast waffles
- Large traditional waffle: Bakes one big waffle at a time
- Deep waffle pockets: Extra-deep for toppings
As an affiliate, we earn on qualifying purchases.
As an affiliate, we earn on qualifying purchases.
Recipe
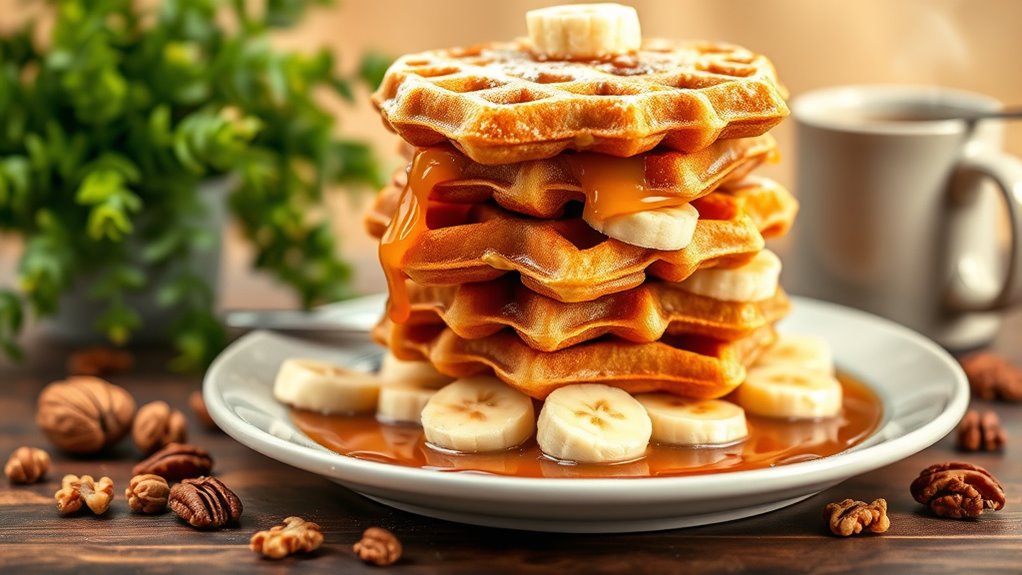
Banana nut waffles are a delightful twist on traditional waffles, combining the sweetness of ripe bananas with the crunch of nuts for a breakfast treat that’s both satisfying and delicious. Perfect for a weekend brunch or a special occasion, these waffles are quick and easy to make, ensuring that you can whip them up in no time.
The warm, fluffy texture paired with the rich flavors of cinnamon and vanilla creates a comforting dish that everyone will love. To make these waffles even more versatile, you can customize them with your favorite nuts, such as walnuts or pecans, and serve them with a drizzle of maple syrup or a dollop of whipped cream.
Whether you enjoy them plain or topped with fresh fruit, banana nut waffles are sure to become a family favorite. So gather your ingredients and get ready to indulge in a breakfast that’s both nutritious and delicious!
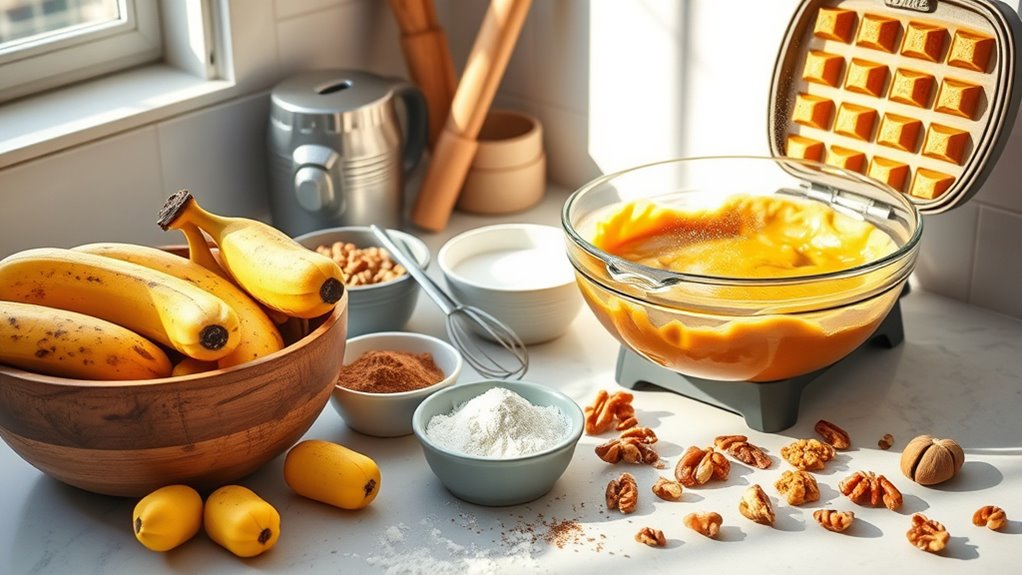
Ingredients:
- 1 cup all-purpose flour
- 1 tablespoon baking powder
- 1/2 teaspoon salt
- 1 teaspoon ground cinnamon
- 1 tablespoon sugar
- 1 cup milk
- 1 large egg
- 2 ripe bananas, mashed
- 1/4 cup vegetable oil
- 1/2 cup chopped walnuts or pecans
- Cooking spray or butter for greasing the waffle iron
Instructions:
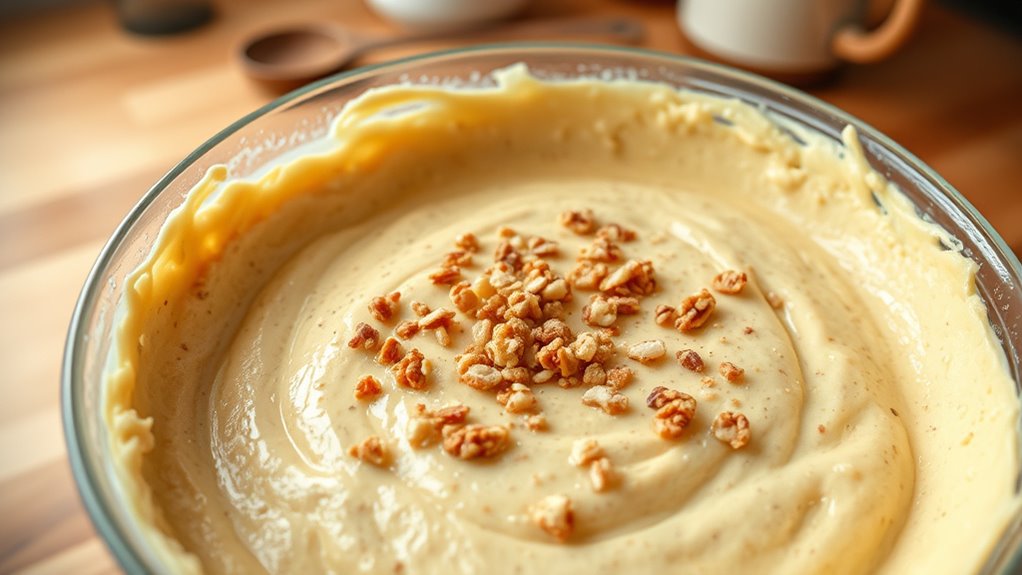
In a large mixing bowl, combine the flour, baking powder, salt, cinnamon, and sugar. In another bowl, whisk together the milk, egg, mashed bananas, and vegetable oil until well blended.
Gradually add the wet ingredients to the dry ingredients, stirring until just combined. Fold in the chopped nuts. Preheat your waffle iron and lightly grease it with cooking spray or butter.
Pour the batter onto the hot waffle iron according to the manufacturer’s instructions, cooking until golden brown and crisp. Serve warm with your favorite toppings.
Extra Tips:
For the best flavor and texture, use overripe bananas, as they’re sweeter and easier to mash. You can also experiment with adding chocolate chips or dried fruit to the batter for an extra treat.
If you have leftover waffles, they freeze well; simply place them in an airtight container and reheat in a toaster or oven for a quick breakfast option. Enjoy your banana nut waffles fresh, and don’t hesitate to get creative with toppings and flavors to suit your taste!
Cooking Steps
To get started on your banana nut waffles, you’ll want to mash those ripe bananas thoroughly.
Next, add the chopped nuts evenly into the mix before incorporating the dry ingredients.
Once the batter’s ready, pour it onto the waffle iron and cook until it’s golden brown.
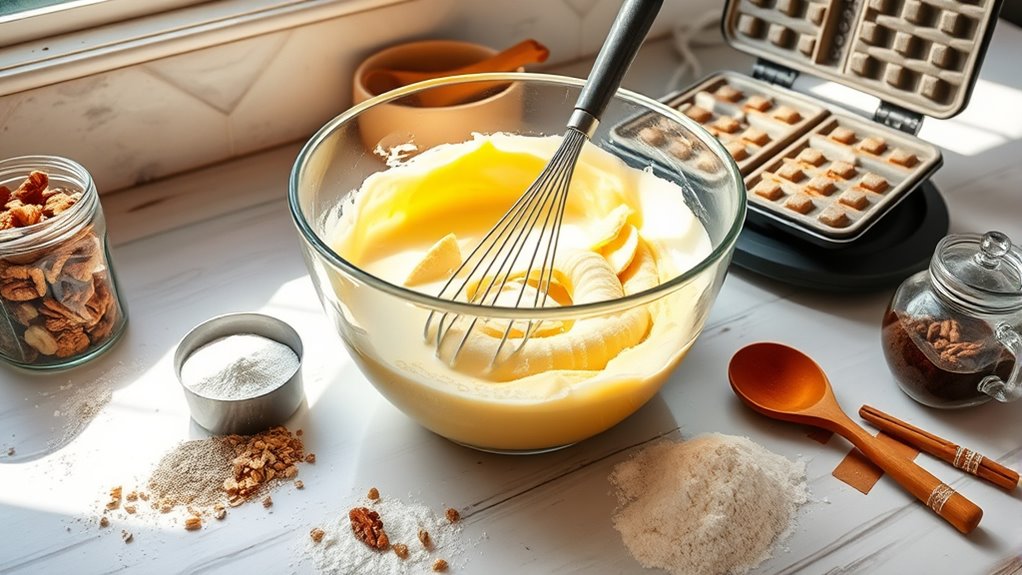
Step 1. Mash Ripe Bananas Thoroughly
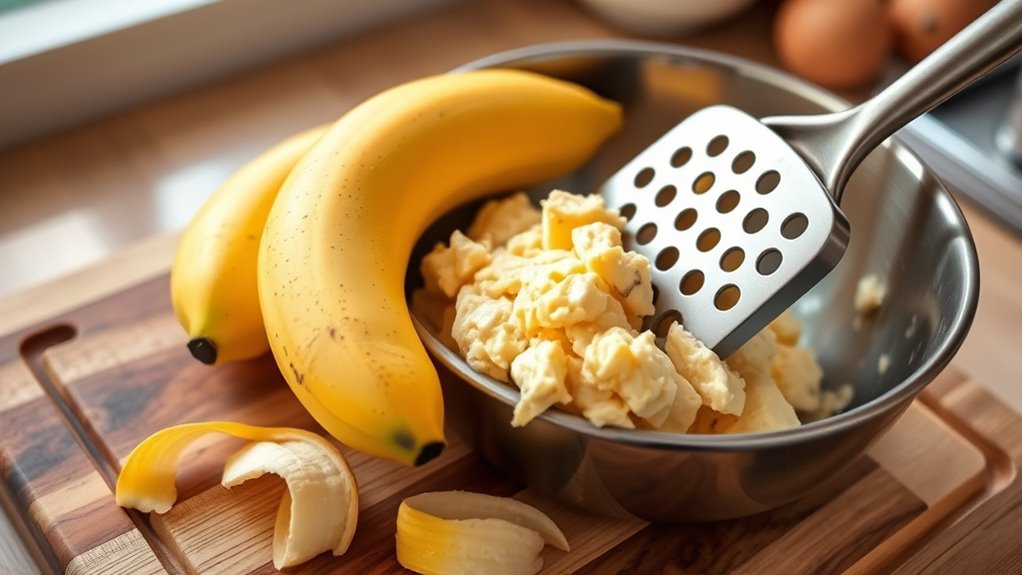
Mashing ripe bananas thoroughly is a key step in achieving the perfect texture for your waffles. Start by selecting bananas that are well-ripened, as their natural sweetness enhances flavor.
Place the bananas in a mixing bowl and use a fork or potato masher to break them down until they’re smooth and free of lumps. You want a creamy consistency, as this will blend seamlessly into your batter.
Don’t rush this step; take your time to ensure the bananas are mashed well. If you prefer a bit of texture, you can leave a few small chunks, but keep it minimal.
Once you’re satisfied with the mash, you’re ready to move on to the next step in creating delicious banana nut waffles.
Step 2. Add Chopped Nuts Evenly
With the bananas perfectly mashed, it’s time to enhance your waffles with a delightful crunch.
Grab your chopped nuts—walnuts or pecans work wonderfully—and prepare to add them to the mix. Sprinkle an even layer of nuts over the mashed bananas, making sure to distribute them evenly. This ensures that every bite of your waffle will have that satisfying nutty flavor.
Gently fold the nuts into the banana mixture, being careful not to overmix. You want to maintain the fluffiness of the batter while ensuring the nuts are well incorporated.
Once you’ve done this, you’re ready to move on to the next step. Your waffle batter is well on its way to becoming a delicious treat!
Step 3. Mix in Dry Ingredients
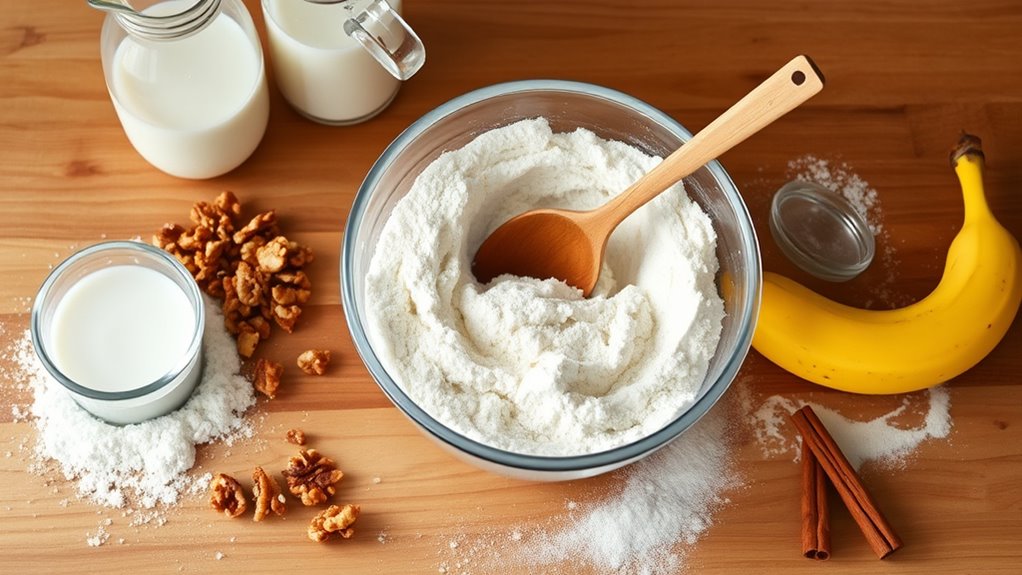
Now that your banana and nut mixture is ready, it’s time to bring in the dry ingredients.
Start by sifting together the flour, baking powder, baking soda, and a pinch of salt in a separate bowl. This step ensures everything’s well combined and helps your waffles rise perfectly.
Once sifted, gradually fold the dry mixture into the banana and nut blend. Use a spatula or wooden spoon to mix gently, being careful not to overwork the batter. You want to maintain a few lumps for a fluffy texture.
If you like, you can stir in a dash of cinnamon for added flavor. Remember, the key is to combine until just mixed; you’re almost ready to cook those delicious waffles!
Step 4. Pour Batter Onto Waffle Iron

Heat up your waffle iron according to the manufacturer’s instructions and lightly coat it with non-stick cooking spray or a bit of melted butter.
Once your batter‘s ready, give it a good stir to ensure everything’s well combined.
Pour an appropriate amount of batter onto the center of the preheated waffle iron; typically, this is about one cup, but check your iron’s instructions for specifics.
Avoid overfilling, as the batter will spread.
Close the lid gently, ensuring it doesn’t touch the batter.
You want to create a nice, even waffle, so don’t rush this step.
Let it sit for a moment while the magic happens, and get excited for those delicious banana nut waffles coming your way!
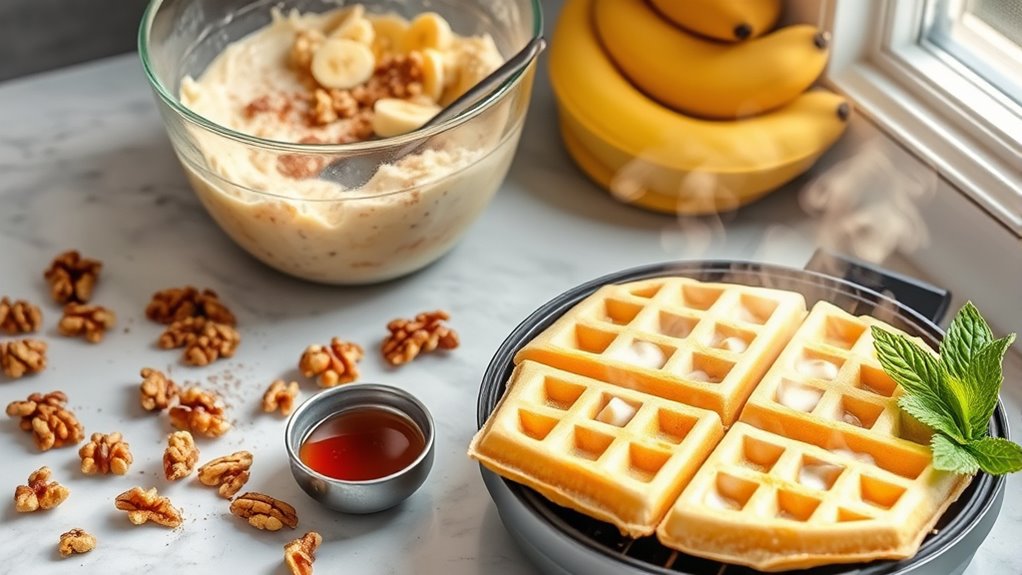
Step 5. Cook Until Golden Brown
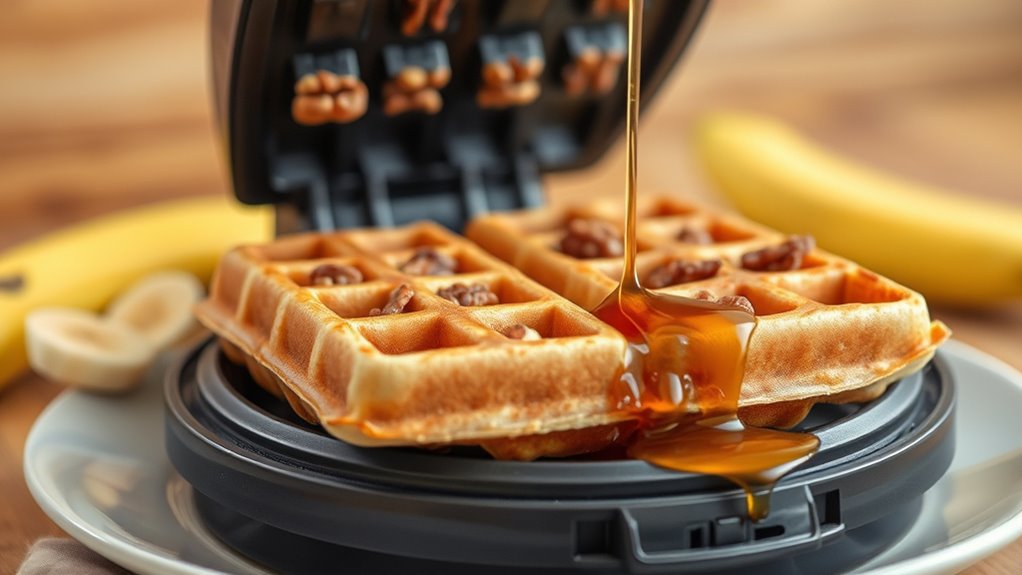
As the batter cooks, keep an eye on the timer; most waffle irons will take about 3 to 5 minutes to achieve that perfect golden brown color.
You’ll want to resist the urge to peek too frequently, as lifting the lid can release steam and affect the cooking process. Instead, trust your waffle iron’s indicator light, if it has one, to signal when it’s time to check.
When you finally lift the lid, look for a beautifully crisp exterior with a rich, golden hue. If it’s not quite there, close it back up and give it another minute.
Once they’re done, gently remove the waffles and let them cool slightly before serving. Enjoy your delicious banana nut waffles!
History
Although the exact origins of banana nut waffles aren’t well-documented, they likely emerged from the broader tradition of waffle-making that dates back to the Middle Ages.
During this time, waffles were made using simple ingredients and cooked over an open flame. As culinary practices evolved, so did waffle recipes, incorporating various flavors and ingredients.
Final Thoughts

Waffle-making has come a long way since the Middle Ages, and banana nut waffles are a delightful testament to that evolution. They combine the comforting flavors of ripe bananas and crunchy nuts, making each bite a perfect fusion of taste and texture.
Whether you’re whipping them up for breakfast or serving them at a brunch gathering, these waffles never disappoint. You can easily customize the recipe to suit your preferences, adding chocolate chips or spices like cinnamon.
Plus, they’re an excellent way to use overripe bananas, reducing waste while treating yourself. So, next time you crave something special, remember these banana nut waffles.
They’re not just a meal; they’re an experience that brings joy to your table. Enjoy every bite!
Frequently Asked Questions
Can I Freeze Leftover Banana Nut Waffles?
Yes, you can definitely freeze leftover waffles!
Just let them cool completely, then stack them with parchment paper in between to prevent sticking.
Place the stacked waffles in an airtight container or a freezer bag, removing as much air as possible.
When you’re ready to enjoy them again, simply reheat them in a toaster or oven.
They’ll taste just as delicious as when you first made them!
What Toppings Pair Well With Banana Nut Waffles?
You might think toppings can’t elevate a classic dish, but they can transform your breakfast experience!
For your waffles, try a drizzle of maple syrup for sweetness, or add a dollop of Greek yogurt for creaminess.
Chopped nuts bring crunch, while fresh berries add a burst of flavor.
If you want a twist, sprinkle some chocolate chips or a hint of cinnamon.
Each topping enhances your waffles in delicious ways!
Are Banana Nut Waffles Gluten-Free?
When it comes to gluten-free options, it really depends on the recipe you’re using.
If you’re making them from scratch, you can easily substitute regular flour with gluten-free alternatives like almond flour or a gluten-free baking mix. Just make sure to check the labels of any pre-made mixes or ingredients.
If you’re dining out, ask the staff about gluten-free options to ensure your meal meets your dietary needs.
Enjoy your cooking!
How Can I Make Banana Nut Waffles Healthier?
To make your waffles healthier, start by swapping white flour for whole wheat or almond flour.
Use mashed bananas to add natural sweetness and reduce added sugars. You can also substitute Greek yogurt for oil or butter to boost protein.
Add nuts for healthy fats and extra crunch.
Finally, consider incorporating oats or flaxseed for added fiber.
These simple changes can elevate your waffles while keeping them delicious and nutritious!
Can I Use Ripe Bananas for This Recipe?
Absolutely, you can certainly utilize those perfectly ripened bananas for your recipe! They bring a delightful sweetness and moisture, enhancing the overall flavor.
Their natural sugars eliminate the need for additional sweeteners, making your dish even more wholesome. Just mash them up, and you’ll find they blend beautifully into the mixture.
Conclusion
In conclusion, banana nut waffles bring a delightful dash of decadence to your breakfast table. Their warm, wonderful aroma wafts through the air, tempting taste buds and sparking smiles. You’ll savor each scrumptious bite, enjoying the perfect pairing of sweet bananas and crunchy nuts. So, next time you’re craving a comforting, cozy morning meal, whip up these waffles and let the blissful benefits of this beloved dish brighten your day. Happy cooking!