
Classic buttermilk waffles are a delicious breakfast option you can whip up effortlessly. You’ll mix together flour, baking powder, and sugar with tangy buttermilk and eggs for a light batter. By carefully combining the ingredients, you create fluffy waffles with a crispy finish. After pouring the batter into a preheated waffle iron, you’ll cook until golden brown. These waffles are perfect for soaking up syrup or adding fresh fruit, and there’s plenty more you can explore about them.
Key Takeaways
- Combine 2 cups of all-purpose flour, baking powder, baking soda, and salt for the dry mixture.
- Whisk together 2 cups of buttermilk, eggs, melted butter, and vanilla extract for the wet mixture.
- Gently fold the wet and dry mixtures together, leaving small lumps for fluffy waffles.
- Preheat your waffle iron and spray with non-stick cooking spray before pouring in the batter.
- Cook the waffles for 2 to 3 minutes until golden brown and serve immediately for the best flavor.

Cuisinart Waffle Maker, 1250W Round Classic Waffle Iron, 5-Setting Adjustable Browning Control, WMR-CANAS, Brushed Stainless
SUPERIOR FUNCTION: This Cuisinart Waffle Maker offers professional quality for home use, making delicious breakfast waffles fast and…
As an affiliate, we earn on qualifying purchases.
As an affiliate, we earn on qualifying purchases.
Recipe_
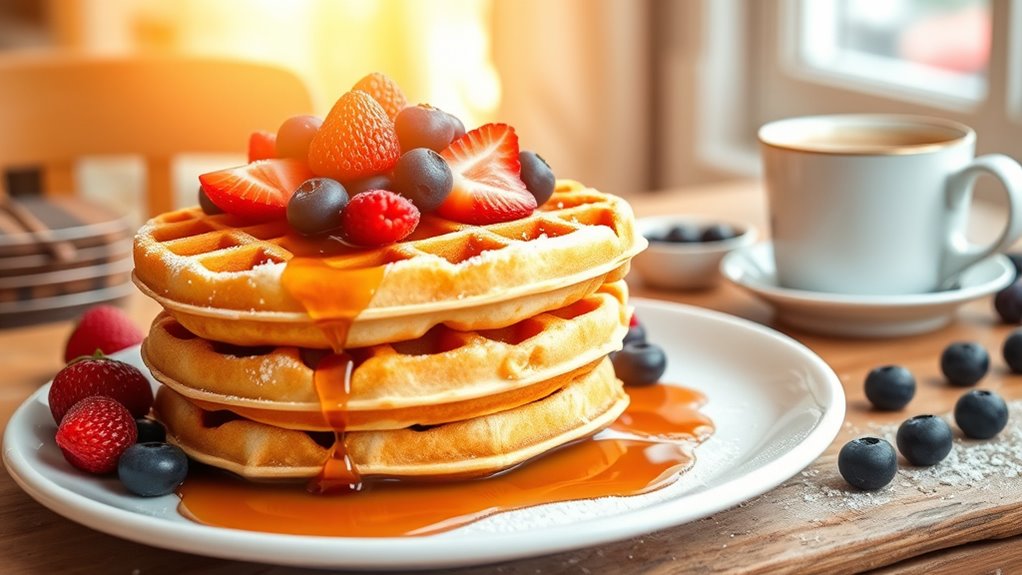
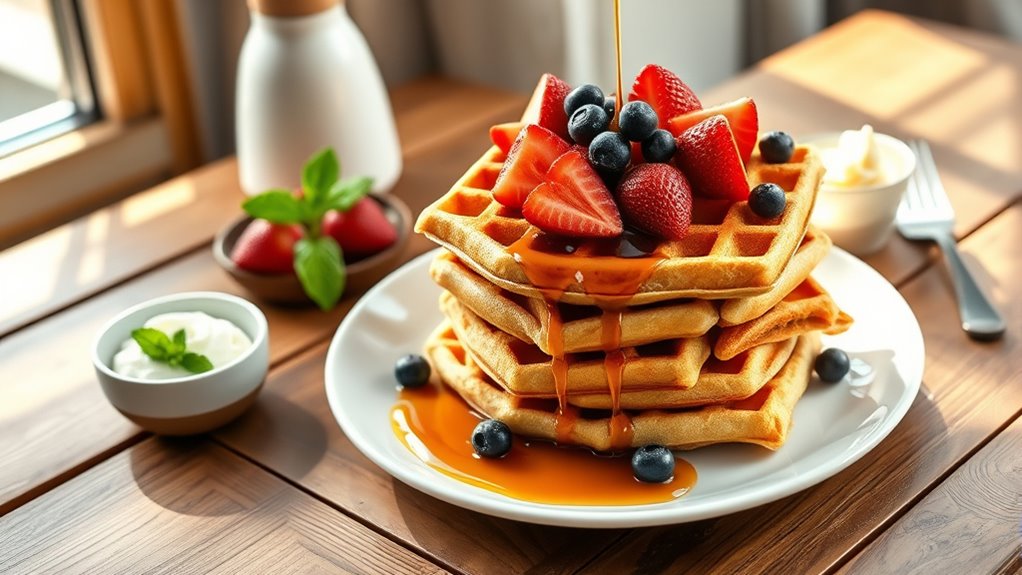
Classic Buttermilk Waffles are a delightful breakfast treat that can elevate any morning routine. These waffles are characterized by their light and fluffy texture, which is achieved through a careful balance of ingredients and cooking techniques. The use of buttermilk not only adds a subtle tang but also contributes to the overall richness and moistness of the waffles.
Whether you enjoy them topped with fresh fruit, syrup, or whipped cream, these waffles promise to satisfy your cravings and bring a smile to your face.
To guarantee the best results, it’s important to follow the recipe closely, particularly when it comes to mixing the batter. Over-mixing can lead to dense waffles, so it’s best to leave a few small lumps in the batter. This allows air pockets to form, which are essential for achieving that perfect fluffiness.
Plus, serving them immediately after cooking guarantees that they remain crisp on the outside while tender on the inside.
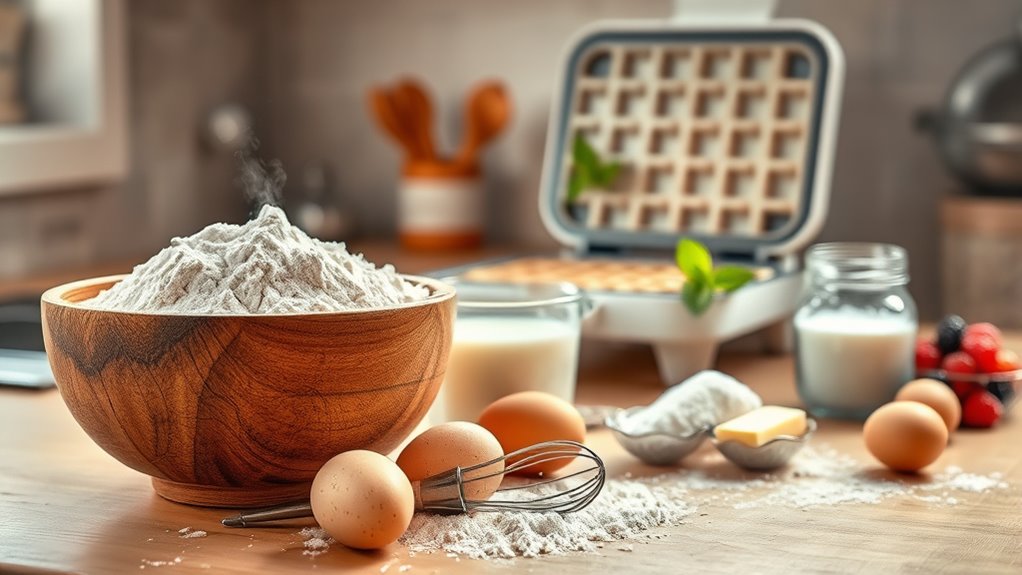
Ingredients:
- 2 cups all-purpose flour
- 2 tablespoons sugar
- 1 tablespoon baking powder
- 1/2 teaspoon baking soda
- 1/2 teaspoon salt
- 2 cups buttermilk
- 2 large eggs
- 1/2 cup melted butter
- 1 teaspoon vanilla extract
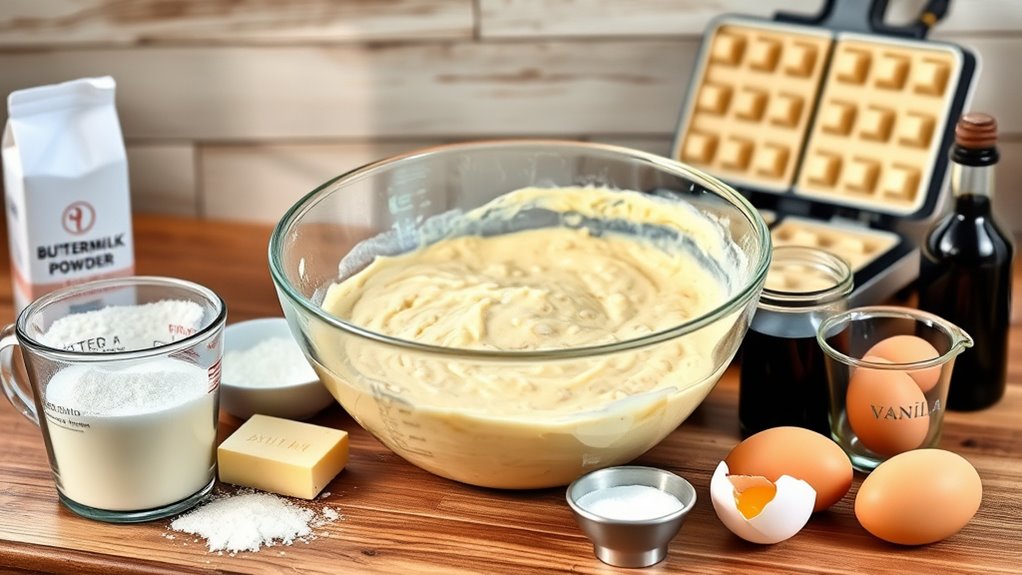
To cook the waffles, preheat your waffle iron according to the manufacturer’s instructions. In a large mixing bowl, whisk together the flour, sugar, baking powder, baking soda, and salt.
In another bowl, combine the buttermilk, eggs, melted butter, and vanilla extract. Pour the wet ingredients into the dry ingredients and stir gently until just combined, leaving a few small lumps.
Lightly grease the waffle iron if necessary, then pour about 1/3 cup of batter onto the center of the iron. Close the lid and cook for 2 to 3 minutes, or until the steaming stops. Carefully remove the waffle and serve immediately.
For best results, it’s advisable to avoid over-mixing the batter as it can lead to denser waffles. If you have leftovers, store them in the refrigerator for up to 4 days or freeze them for up to 2 months.
When reheating, place them in a toaster or a preheated 350°F oven for 6 to 10 minutes to restore their crispiness. Additionally, feel free to experiment with toppings such as fresh berries, maple syrup, or even a sprinkle of powdered sugar to enhance your waffle experience.

bella Flip-n-Store Waffle Maker with EverGood™ Ceramic Nonstick Coating, Fits-anywhere™ Kitchenware, Power Indicator Light, Cool Touch Handle & Cord Wrap, 7” Wide & 1" Deep Plates, 1000 Watt, Oatmilk
Diner-Style Waffles at Home: Craving those thick, fluffy diner-style waffles? The bella Flip & Store Waffle Maker delivers…
As an affiliate, we earn on qualifying purchases.
As an affiliate, we earn on qualifying purchases.
Cooking Steps
Begin your waffle-making adventure by whisking together the dry ingredients in a large bowl. Combine 2 cups of all-purpose flour, 1 teaspoon of baking powder, ½ teaspoon of baking soda, and ½ teaspoon of salt until evenly mixed.
In a separate bowl, whisk together the wet ingredients: 2 cups of buttermilk, 2 large eggs, ½ cup of melted butter, and 1 teaspoon of vanilla extract.
Gently combine the wet and dry mixtures, stirring until just combined—it’s okay to leave a few small lumps for fluffiness.
Preheat your waffle iron according to the manufacturer’s instructions and spray it with non-stick cooking spray.
Pour in about ⅓ to ½ cup of batter, then cook the waffles for 2 to 3 minutes until golden brown.
Enjoy!
Step 1. Preheat Your Waffle Iron
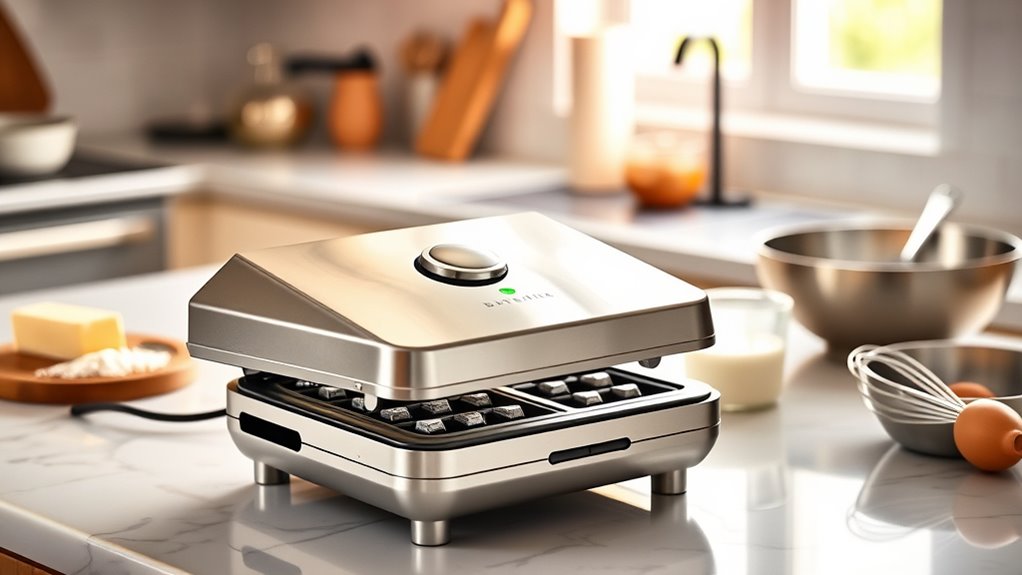
Before you pour in the batter, make certain to preheat your waffle iron according to the manufacturer’s instructions. This step is vital for peak cooking and guarantees your waffles turn out perfectly.
Typically, it takes about 5-10 minutes for most models to reach the right temperature. You’ll know it’s ready when a drop of water sizzles on the surface.
To avoid sticking, spray the preheated waffle iron with non-stick cooking spray or grease it with butter.
Once you add the batter, keep an eye on the cooking time. Your waffles are done when the steam stops and the exterior is crisp and golden.
Enjoy the delicious results of your properly preheated waffle iron!
Step 2. Mix Dry Ingredients Thoroughly
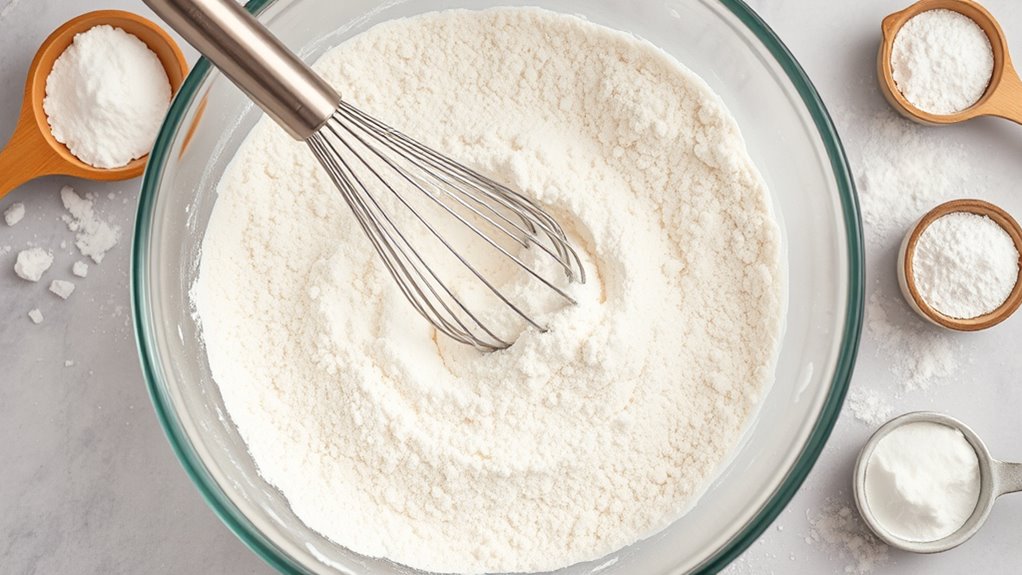
To create the perfect waffle batter, you’ll want to measure out all your dry ingredients—flour, sugar, baking powder, baking soda, and salt—accurately.
Use a whisk to mix the dry ingredients thoroughly until they’re evenly combined. This step is essential for distributing the leavening agents, ensuring your waffles rise uniformly.
If you’re feeling adventurous, consider adding nutty flavors from pecan meal or almond flour to enhance the taste.
Pay attention to the texture of your flour mixture; it should be light and fluffy, indicating that air has been incorporated.
Don’t forget to break up any lumps in the flour before mixing to achieve a smooth batter that will yield the best results when you combine it with the wet ingredients.
Step 3. Combine Wet Ingredients Carefully
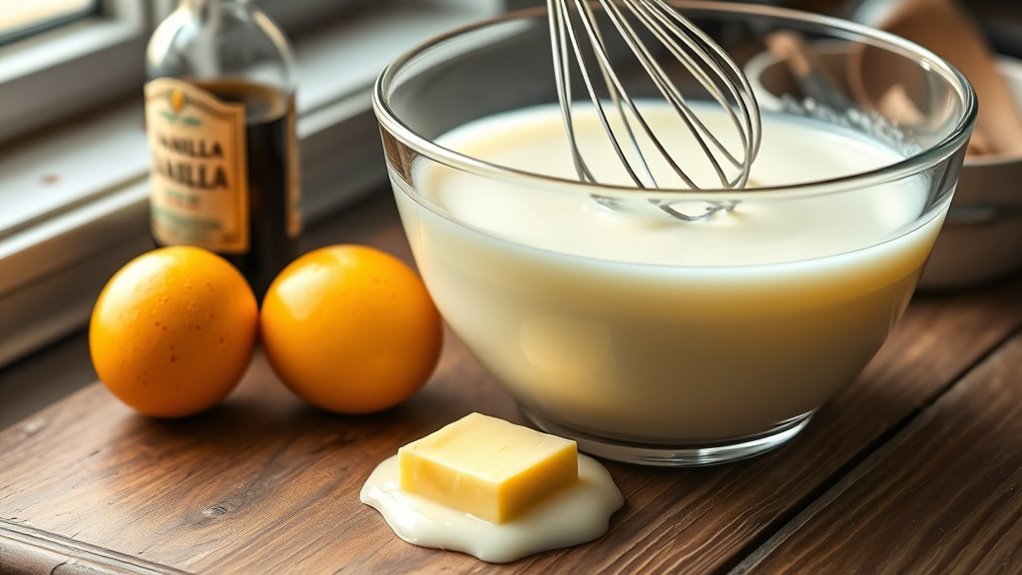
As you gather your wet ingredients, whisk together the buttermilk, melted butter, eggs, and vanilla extract in a medium bowl until everything’s well combined.
Make sure the melted butter has cooled slightly before adding it to the mixture; this prevents cooking the eggs. It’s essential to incorporate the eggs thoroughly, as they provide structure and moisture to your waffles.
Remember, when you combine the wet ingredients with the dry, stir gently to avoid over-mixing. Over-mixing can lead to dense waffles instead of the fluffy texture you want.
Aim for a batter that’s slightly lumpy, which indicates you’ve maintained that perfect balance for light, airy waffles. Additionally, using unsalted butter allows you to control the saltiness of your recipe. Enjoy the process; delicious results await!
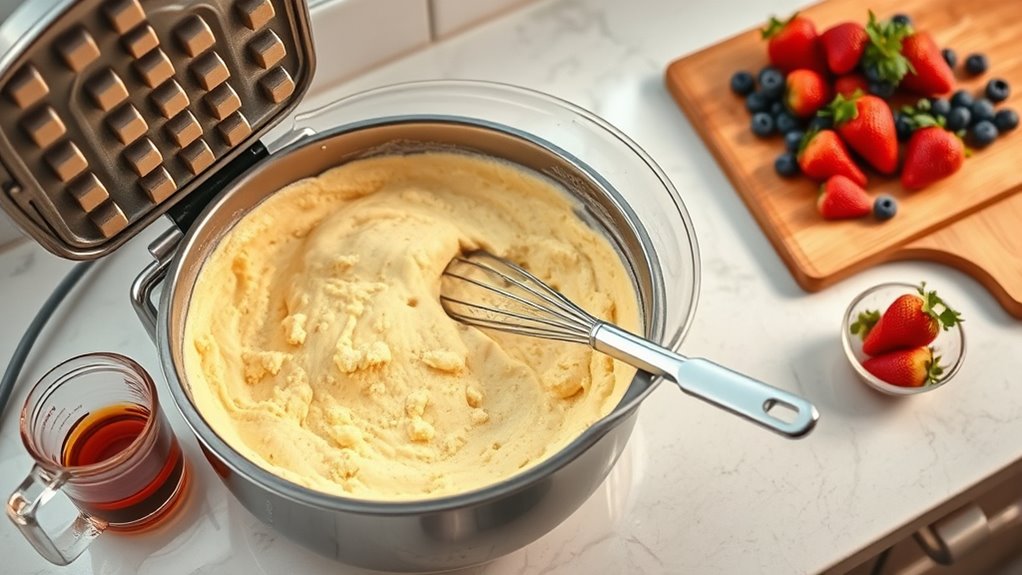
Step 4. Fold Ingredients Until Combined
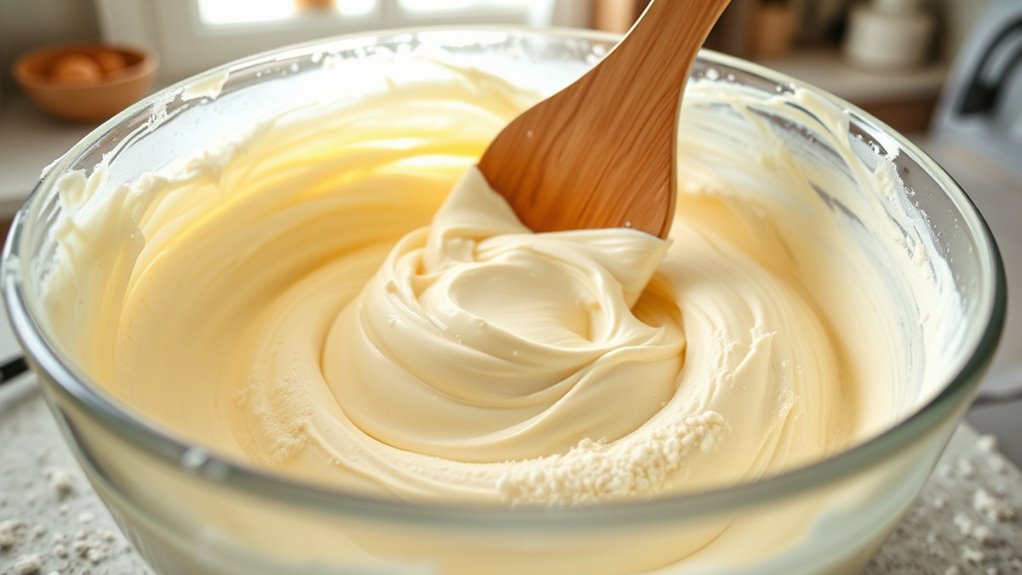
Once you’ve combined the wet and dry ingredients, gently fold them together using a spatula or wooden spoon.
Be careful not to over-mix, as this can lead to dense waffles instead of the fluffy texture you want. It’s perfectly fine for the batter to remain slightly lumpy; those lumps help create air pockets, guaranteeing a lighter final product.
Gradually incorporate the wet ingredients—like buttermilk, melted butter, eggs, and vanilla—into the dry mix, which includes flour and baking powder.
Verify all dry ingredients are evenly distributed before mixing to promote uniform rising and flavor.
After folding, let the batter rest for about 30 minutes; this enhances the overall texture and rise during cooking.
To achieve the best results, consider using high-quality waffle irons, as they can significantly impact the cooking process and final outcome.
Enjoy your delicious waffles!
Step 5. Pour Batter Into Waffle Iron
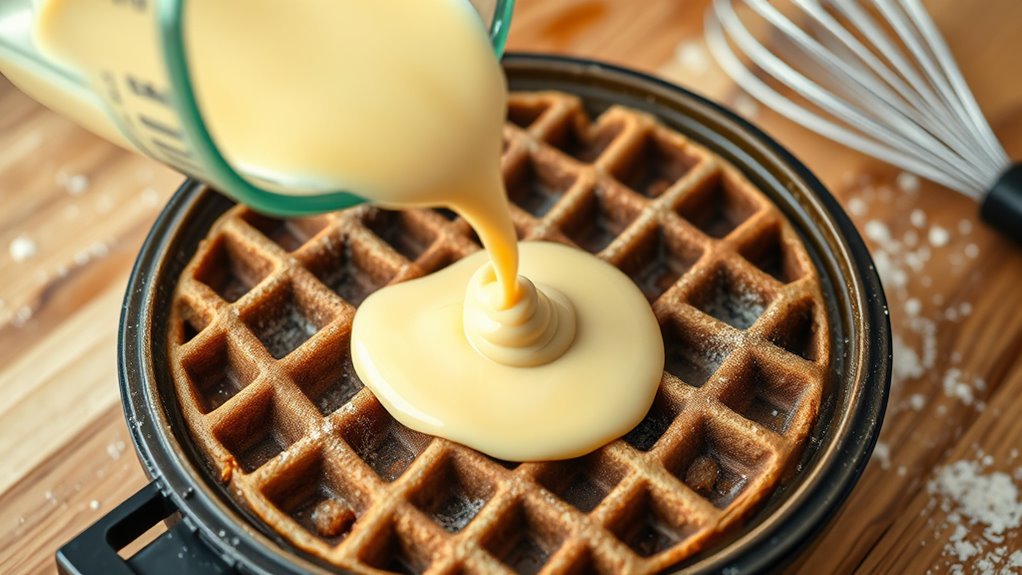
Preheat your waffle iron according to the manufacturer’s instructions to guarantee your waffles cook evenly and achieve that perfect golden-brown finish.
Once it’s ready, use a measuring cup to portion out about 1/3 to 1/2 cup of buttermilk batter, filling the iron just to the edge without overfilling.
Close the waffle iron lid gently to avoid any spilling and make sure even cooking throughout the waffle.
Cook for about 2 to 3 minutes, or until the steam stops, signaling they’re done.
Carefully remove the waffles using a fork or tongs, taking care not to break them.
Serve immediately for the best texture and flavor, and enjoy your delicious homemade buttermilk waffles!

Nordic Ware Better Batter Bowl, White, 10 Cups
Designed with a convenient pour spout, to pour the batter and other ingredients without making a mess
As an affiliate, we earn on qualifying purchases.
As an affiliate, we earn on qualifying purchases.
History
Waffles have a fascinating history that stretches back to ancient Greece, where they were cooked over an open flame using a primitive waffle iron.
As time went on, waffles gained popularity in medieval Europe, especially in Belgium and France, where they became a staple at fairs and were enjoyed with various toppings.
The classic buttermilk waffle emerged in the United States in the 19th century, blending European influences with the unique addition of buttermilk for extra flavor and tenderness.
The invention of the electric waffle iron in the early 20th century made waffle-making more accessible, solidifying buttermilk waffles as a beloved breakfast item in American cuisine, often topped with syrup, fruit, and whipped cream.

Vegalene Grid Iron Non-Stick Spray, 14oz Aerosol, 6-Pack
Superior blend of release agents provides long-lasting performance allowing you to avoid spraying the iron after each use,…
As an affiliate, we earn on qualifying purchases.
As an affiliate, we earn on qualifying purchases.
Final Thoughts
As you savor the delightful experience of classic buttermilk waffles, it’s clear why they’ve earned a cherished spot on breakfast tables across the country.
Their light, fluffy texture and crispy outside make them irresistible, especially when drizzled with warm maple syrup. The tanginess of buttermilk enhances the flavor, while incorporating whipped egg whites helps achieve that perfect rise.
When you make waffles, remember to avoid over-mixing the batter to keep those air pockets intact.
If you happen to have leftovers, you can store them in the refrigerator for up to four days or freeze them for up to three months. Just pop them in the toaster for a quick and crispy breakfast treat.
Enjoy your classic buttermilk waffles!
Frequently Asked Questions
What Does Buttermilk Do to Waffles?
Buttermilk does wonders for your waffles! It reacts with baking powder and baking soda, creating those delightful bubbles that make them light and fluffy.
Its acidity tenderizes the gluten, giving you a softer texture. You’ll also notice a subtle tanginess that adds depth to the flavor.
Plus, the fat content helps keep them moist, while its lower water content promotes a crispier exterior. You’ll love the difference buttermilk makes!
What Is the Secret to Good Waffles?
The secret to good waffles lies in a few key steps.
First, you’ve got to use buttermilk for that perfect flavor and fluffy texture.
Don’t over-mix your batter—keep some small lumps to create air pockets.
Preheat your waffle iron thoroughly for a crispy exterior.
Combine baking powder and baking soda for the right rise.
Finally, experiment with different flours and add-ins to elevate the flavor.
Enjoy your delicious, homemade waffles!
What’s the Difference Between Belgian Waffles and Buttermilk Waffles?
When it comes to waffles, the difference is as vast as the ocean!
Belgian waffles are thick and fluffy, with deep pockets perfect for holding syrup, while buttermilk waffles are lighter and fluffier, offering a tangy bite from the buttermilk.
You’ll notice Belgian waffles often require more cooking time due to their size, while buttermilk waffles cook up quickly, making them a versatile choice for any meal.
Enjoy them with your favorite toppings!
What Is the Difference Between Homestyle Waffles and Buttermilk Waffles?
When you compare homestyle waffles to buttermilk waffles, you’ll notice a few key differences.
Buttermilk waffles are lighter and fluffier, thanks to the reaction between buttermilk and baking powder, which creates air pockets. They also have a unique tanginess that enhances their flavor.
In contrast, homestyle waffles tend to be denser and less crispy, often lacking the elevated texture and richness that buttermilk provides.
You’ll definitely enjoy the difference!
Conclusion
So, you’ve mastered the art of classic buttermilk waffles, yet who knew such a simple dish could spark culinary debates? You’ve combined the ingredients with care, only to realize that your friends might prefer frozen store-bought ones instead. Ironically, the effort you poured into each fluffy bite could be overshadowed by their nostalgic cravings for the easy way out. But hey, at least you can relish in the satisfaction of knowing you created something truly special, even if they don’t appreciate it!