
Coconut waffles are a delightful twist on traditional waffles, infusing tropical sweetness from coconut milk and shredded coconut. They boast a crispy exterior and soft interior, making them perfect for breakfast or brunch. You can easily customize them with various toppings to suit your taste. These waffles not only add flair to your meal but also have a rich history and appeal. Keep exploring to discover cooking tips and serving suggestions that will elevate your waffle game!
Key Takeaways
- Coconut waffles are a delicious breakfast option made with coconut milk and shredded coconut, offering a tropical twist on traditional waffles.
- The recipe includes simple ingredients like flour, baking powder, and sugar, making it easy to prepare at home.
- They have a crispy exterior and soft interior, providing a delightful texture contrast that enhances the eating experience.
- Coconut waffles can be customized with various toppings, allowing for creativity and personalization in flavor.
- This dish has a rich history, evolving from ancient culinary practices to a popular brunch choice in modern cooking.

Cuisinart Waffle Maker, 1250W Round Classic Waffle Iron, 5-Setting Adjustable Browning Control, WMR-CANAS, Brushed Stainless
SUPERIOR FUNCTION: This Cuisinart Waffle Maker offers professional quality for home use, making delicious breakfast waffles fast and…
As an affiliate, we earn on qualifying purchases.
As an affiliate, we earn on qualifying purchases.
Recipe
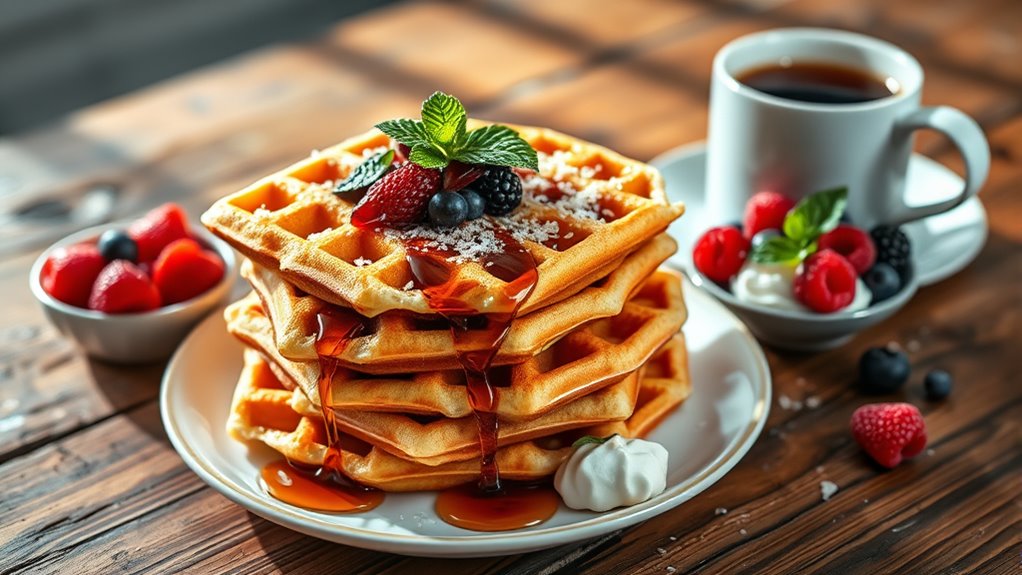
Coconut waffles are a delightful twist on the classic breakfast treat, infusing the light and fluffy texture of traditional waffles with the tropical sweetness of coconut. Whether you’re looking to impress guests at brunch or simply enjoy a satisfying breakfast at home, these waffles are sure to please. The combination of coconut milk and shredded coconut gives each bite a rich flavor, while the crispy exterior and soft interior create a perfect contrast.
Making coconut waffles isn’t only easy but also allows for a variety of toppings to enhance your meal. You can serve them with fresh fruit, a drizzle of maple syrup, or even a dollop of whipped cream for an indulgent treat. This recipe is versatile and can be adjusted to suit your dietary preferences, whether you want to use whole wheat flour, gluten-free options, or low-sugar alternatives.
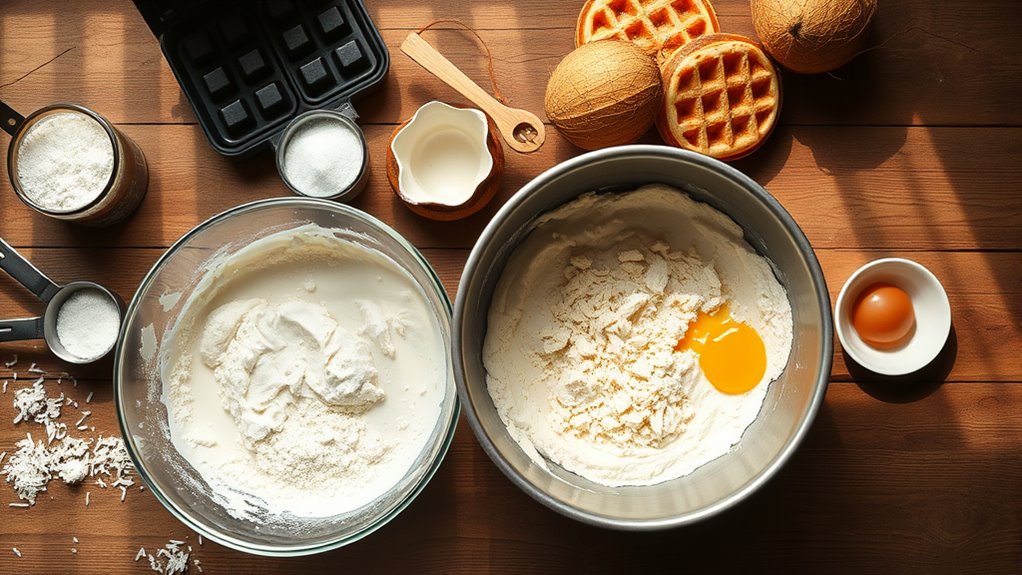
Ingredients:
- 1 cup all-purpose flour
- 1 cup shredded coconut (sweetened or unsweetened)
- 1 tablespoon baking powder
- 1/2 teaspoon salt
- 1 tablespoon sugar
- 1 cup coconut milk
- 2 large eggs
- 1/4 cup melted coconut oil or vegetable oil
- 1 teaspoon vanilla extract
To make the coconut waffles, begin by preheating your waffle iron according to the manufacturer’s instructions. In a large bowl, combine the flour, shredded coconut, baking powder, salt, and sugar.
In a separate bowl, whisk together the coconut milk, eggs, melted coconut oil, and vanilla extract. Gradually add the wet ingredients to the dry ingredients, mixing until just combined. Be careful not to over-mix; a few lumps are okay.
Once your waffle iron is ready, pour the batter onto the hot surface, close the lid, and cook until the waffles are golden brown and crisp.
When preparing coconut waffles, consider these extra tips: Make sure your waffle iron is properly preheated to achieve that perfect crispiness. You can also experiment with different types of coconut, such as using coconut flour for a more intense coconut flavor or adding chocolate chips for a sweet twist.
If you have leftovers, these waffles can be frozen and reheated in a toaster for a quick, delicious breakfast on busy mornings. Enjoy your coconut waffles with your favorite toppings for a truly delightful experience!

Thai Kitchen Coconut Milk, Unsweetened, Non Dairy Milk Substitute, Gluten Free, Non GMO, For Smoothies, Ice Cream, Oatmeal, Coffee, and More, 13.66 fl oz
VERSATILE INGREDIENT: Unsweetened coconut milk lends the perfect flavor and texture to both sweet and savory recipes and…
As an affiliate, we earn on qualifying purchases.
As an affiliate, we earn on qualifying purchases.
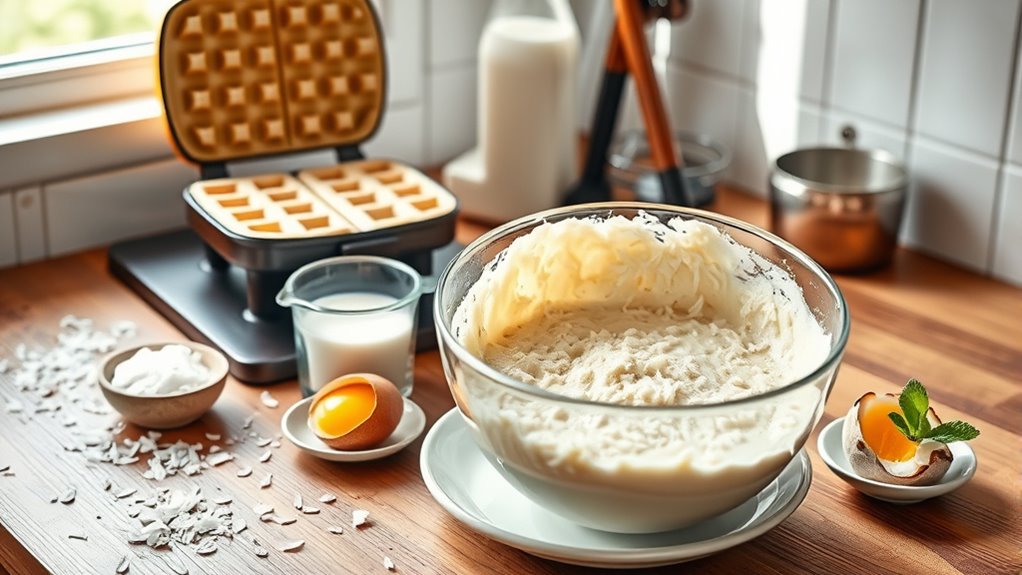
Cooking Steps
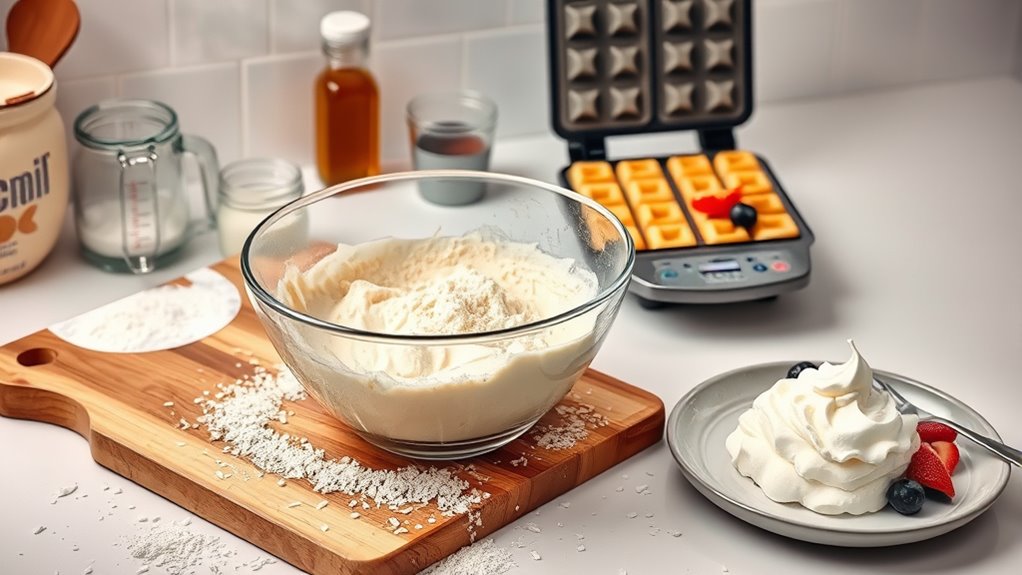
To make your coconut waffles, start by mixing the dry ingredients thoroughly in a bowl.
Next, add the coconut milk gradually and fold in the shredded coconut for that perfect texture.
Once your batter’s ready, preheat your waffle iron and get ready to cook until golden brown!
Step 1. Mix Dry Ingredients Thoroughly
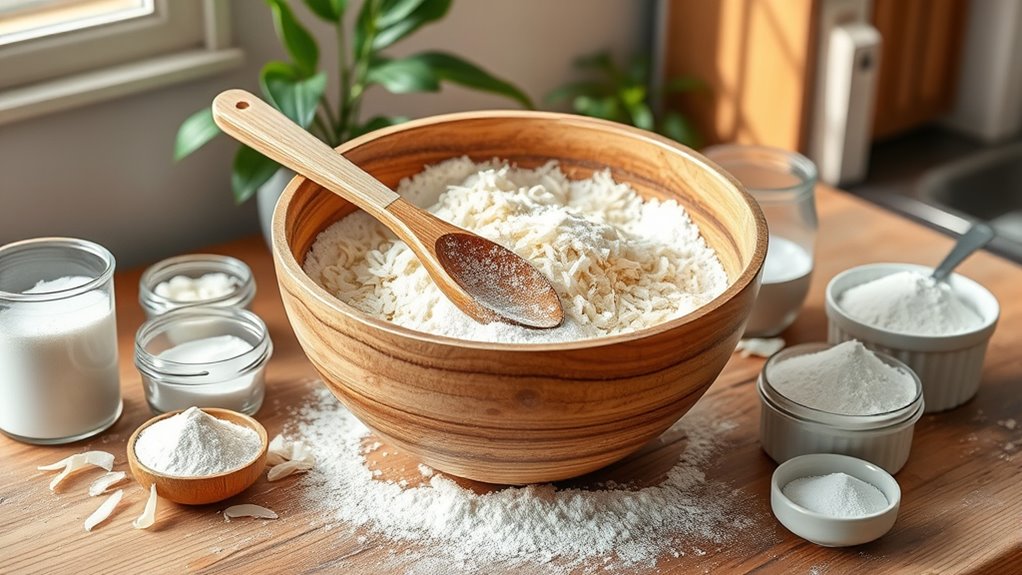
Before you dive into making your coconut waffles, it’s crucial to mix the dry ingredients thoroughly.
Start by gathering your flour, baking powder, sugar, and salt in a large bowl. Use a whisk to combine them well; this ensures even distribution of the leavening agents and flavors.
It’s important to break up any clumps in the flour, as this can lead to uneven texture in your waffles. Take your time here—properly mixed dry ingredients will give your waffles a light, fluffy texture.
Once everything’s well integrated, you’re ready to move on to the next step. Remember, a solid foundation makes all the difference in your waffle-making journey, setting you up for delicious results!
Step 2. Add Coconut Milk Gradually
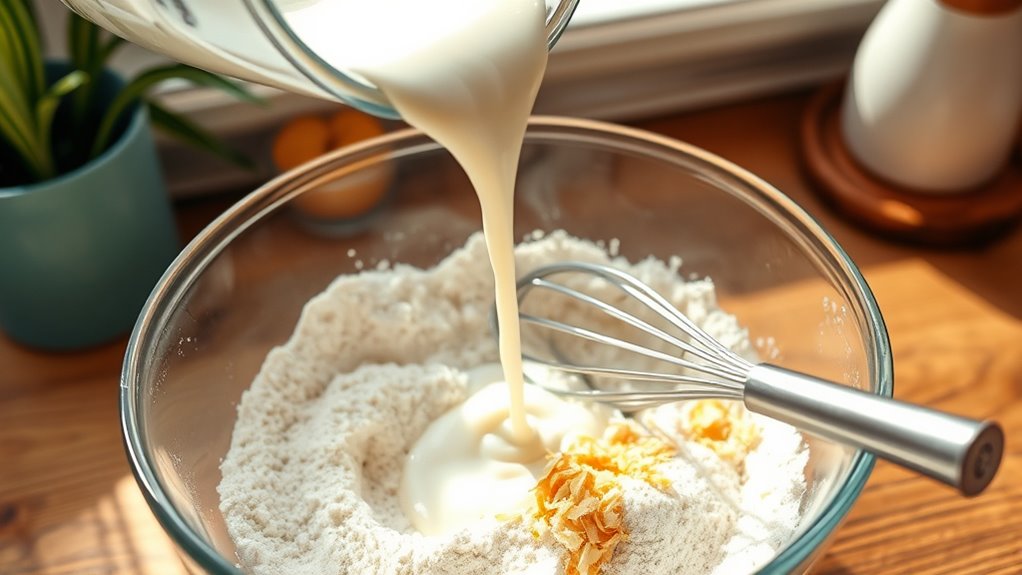
As you prepare to incorporate the coconut milk into your dry mixture, it’s essential to add it gradually.
Start by pouring a small amount into the bowl while stirring continuously. This technique helps achieve a smooth batter without clumps. You want to avoid any sudden splashes that might disrupt the consistency.
As you mix, keep an eye on the texture; it should become creamy and cohesive. If it feels too thick, add a little more coconut milk until you reach the desired consistency.
Remember, you’re aiming for a batter that flows easily but isn’t too runny.
Once you’ve fully blended in the coconut milk, you’ll create a delightful base for your coconut waffles, setting the stage for the next steps.
Step 3. Fold in Shredded Coconut
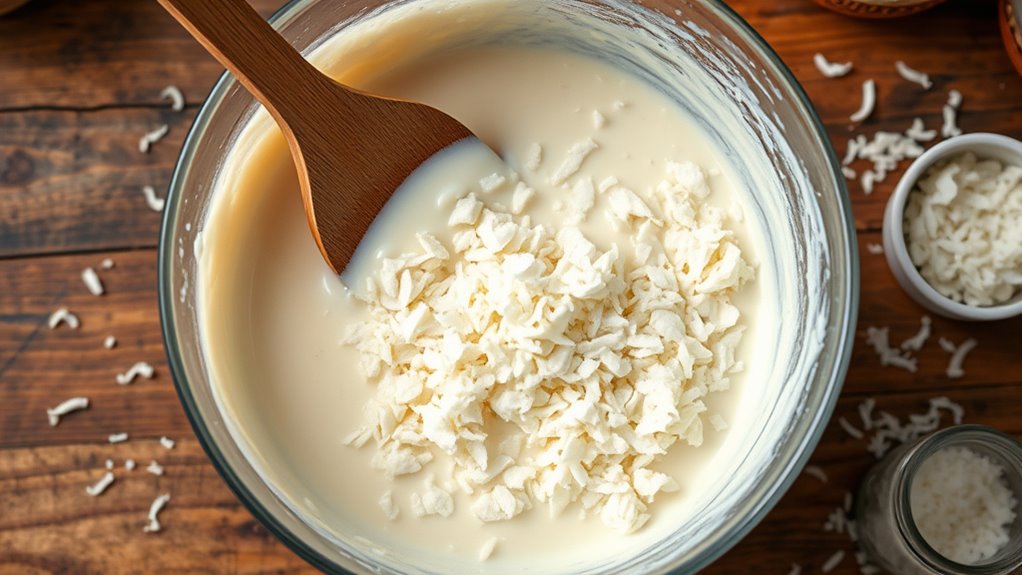
Once your coconut milk is smoothly incorporated into the batter, it’s time to add in the shredded coconut.
Grab your bag of shredded coconut and measure out about one cup. Gently sprinkle it over the batter, ensuring an even distribution.
Using a spatula, carefully fold in the coconut. Start from the edges and work your way to the center, being cautious not to overmix. You want to keep the airiness of the batter while ensuring the coconut is well integrated.
Keep folding until you see no dry batter left, and the coconut is evenly mixed throughout. This step adds a delightful texture and rich flavor to your waffles, making them truly irresistible.
Now, you’re almost ready to cook!
Step 4. Preheat Waffle Iron
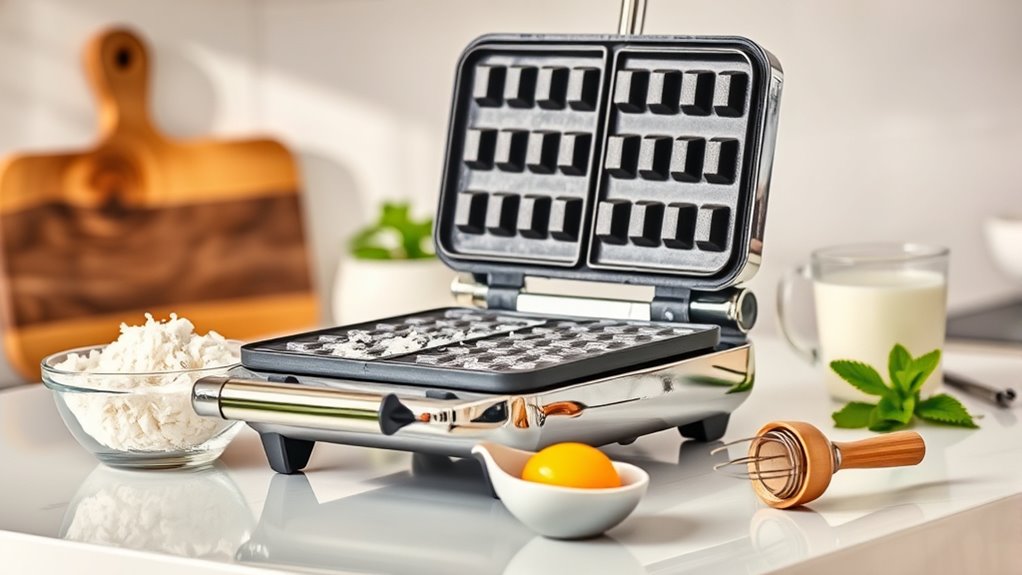
To ensure your waffles cook evenly and achieve that perfect golden-brown crispiness, preheating your waffle iron is essential.
Start by plugging in the waffle iron and setting it to the desired temperature, usually medium to high heat. Allow it to heat up for about 5 minutes, or until the indicator light shows it’s ready.
While you’re waiting, make sure your batter is well-prepared and ready to pour. This preheating step is crucial; it helps create that delightful texture you crave in each bite.
If your waffle iron has specific settings for crispiness, adjust accordingly. Once it’s hot enough, you’ll be ready to pour in the batter and get cooking.
Happy waffle-making!
Step 5. Cook Until Golden Brown
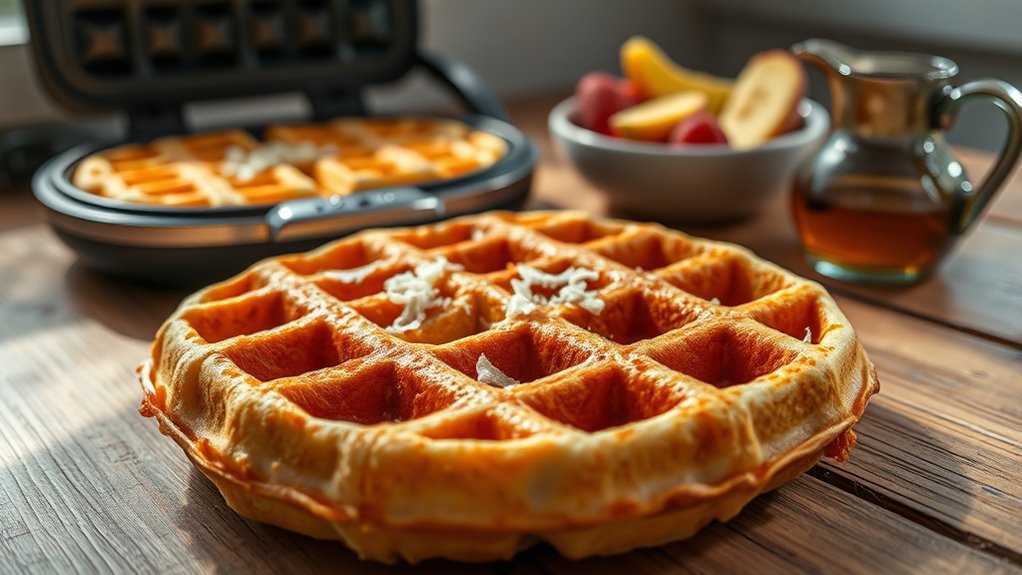
Now that your waffle iron is preheated and ready, it’s time to pour in your coconut waffle batter. Use a ladle to scoop the batter into the center, then close the lid.
Cook the waffles for about 5 to 7 minutes, but keep an eye on them. You’ll know they’re done when they turn golden brown and you can smell that delicious coconut aroma wafting through the kitchen. If you like your waffles crispier, let them cook an extra minute or two.
Once done, carefully remove them using a fork or tongs to avoid burns. Serve immediately with your favorite toppings, like syrup or fresh fruit, and enjoy that delightful, fluffy texture of your homemade coconut waffles!

Baker's Angel Flake Coconut Sweetened 7 Ounce (2-pack)
Two 7-Ounce Bags
As an affiliate, we earn on qualifying purchases.
As an affiliate, we earn on qualifying purchases.
History
Although the origins of waffles date back to ancient Greece, coconut waffles have a more modern twist that reflects the evolving culinary landscape.
You’ll find that the combination of coconut and waffles likely emerged in the Caribbean and tropical regions, where coconut is a staple ingredient. As cultures blended, so did culinary practices, leading to the fusion of traditional waffle recipes with coconut flavors.
This delightful variation gained popularity in the 20th century, as chefs began experimenting with alternative ingredients to create unique breakfast experiences.
Today, coconut waffles are celebrated for their light texture and rich flavor, often enjoyed with fresh fruit, syrup, or whipped cream. They showcase how innovation can breathe new life into classic dishes while embracing diverse influences.

Waffle Cone Pieces 1 lb. | Crunchy Ice Cream & Dessert Topping | Crispy Crumbles for Sundaes, Milkshakes, Cakes, Frozen Yogurt & Baking | Ready to Use | Resealable Container | Dasher’s Spice & Beans
CRISPY WAFFLE CONE CRUNCH – Adds sweet flavor and crunchy texture to ice cream, frozen yogurt, milkshakes, sundaes,…
As an affiliate, we earn on qualifying purchases.
As an affiliate, we earn on qualifying purchases.
Final Thoughts
Coconut waffles embody the spirit of culinary innovation, blending tradition with modern tastes. You’ve discovered a delightful way to elevate your breakfast game, combining the rich flavor of coconut with the comforting texture of waffles. This unique dish invites you to experiment with toppings and syrups, enhancing your culinary experience. Whether you enjoy them plain, with fresh fruit, or drizzled with maple syrup, coconut waffles offer versatility that caters to your preferences.
Coconut waffles blend tradition with modern flavors, elevating breakfast into a delightful culinary experience.
They’re not just a treat; they’re a conversation starter, perfect for brunch gatherings or cozy mornings at home. So, embrace this tropical twist, and don’t hesitate to share your creations with friends and family. Incorporating neutral color palettes in your dining area can enhance the overall ambiance during your brunches. You’ll find that coconut waffles can become a cherished favorite in your kitchen! Additionally, experimenting with global flavors can elevate your culinary creations even further.
Frequently Asked Questions
Can I Substitute Coconut Flour for Regular Flour?
Yes, you can substitute coconut flour for regular flour, but you’ll need to adjust the recipe.
Coconut flour absorbs more moisture, so use less of it—typically about 1/4 to 1/3 of the amount of regular flour.
You’ll also want to increase the liquid in your recipe, like adding extra eggs or milk.
Keep experimenting until you find the right balance, and you’ll create delicious, gluten-free treats that everyone will enjoy!
How Can I Make Coconut Waffles Vegan?
To make your waffles vegan, start by replacing eggs with flaxseed meal or applesauce.
Use a plant-based milk like almond or oat milk instead of dairy.
For butter, opt for coconut oil or a vegan butter substitute.
When it comes to sweeteners, maple syrup or agave can work wonders.
Mix these ingredients together, and you’ll have a delicious vegan batter ready to go.
Enjoy your perfectly fluffy waffles without any animal products!
What Toppings Pair Well With Coconut Waffles?
When it comes to toppings, you’ll want to make your dish sing! Fresh fruits like bananas or berries add a burst of flavor, while a drizzle of maple syrup or agave brings sweetness.
Consider sprinkling shredded coconut or chopped nuts for extra texture. A dollop of dairy-free yogurt can also give it a creamy finish.
Finally, a sprinkle of cinnamon or nutmeg can elevate your creation to new heights!
Can I Freeze Leftover Coconut Waffles?
Yes, you can definitely freeze leftover waffles! Just let them cool completely first.
Once they’re cool, stack them between sheets of parchment paper to prevent sticking, then place them in an airtight container or a freezer bag.
When you’re ready to enjoy them again, pop them in the toaster or oven directly from the freezer, and they’ll taste almost as good as fresh.
Enjoy your quick breakfast or snack anytime!
Are Coconut Waffles Gluten-Free?
Did you know that about 1 in 100 people have celiac disease, making gluten-free diets essential for many?
If you’re wondering whether coconut waffles are gluten-free, it largely depends on the ingredients you use. Most coconut flour is naturally gluten-free, but always check for cross-contamination.
If you’re making them from scratch or buying pre-made, look for certified gluten-free labels to ensure you’re safe.
Enjoy your delicious, worry-free breakfast!
Conclusion
As you savor those coconut waffles, think of them as a warm hug on a chilly morning. Just like a comforting embrace, each bite wraps you in the sweet, tropical flavors that transport you to a sun-soaked beach. Whether you whip them up for a special brunch or a cozy breakfast, these waffles are more than just a dish—they’re a delightful escape. So, enjoy every moment, and let the coconut goodness brighten your day!