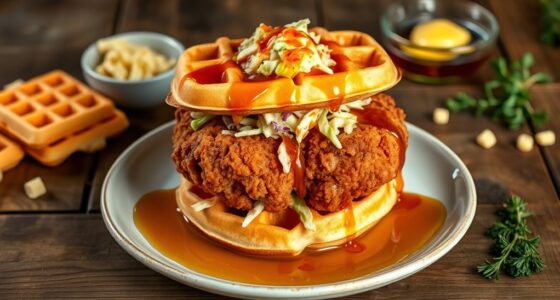
If you’re craving a delicious breakfast, gluten-free waffles are a fantastic option! Start by preheating your waffle iron and greasing it with gluten-free spray. Mix your dry ingredients, like gluten-free flour and sugar, then combine with wet ingredients such as milk and melted butter. Pour the batter into the waffle maker, and cook until golden brown for a crispy finish. Keep exploring different recipes to uncover more delightful twists on this classic dish!
Key Takeaways
- Use a blend of gluten-free flour, sugar, baking powder, and salt for the dry ingredients to ensure a fluffy texture.
- Combine wet ingredients like beaten egg yolks, milk, and melted butter or oil, mixing them gradually with dry ingredients.
- Fold in whipped egg whites gently to maintain the lightness of the batter before cooking.
- Preheat the waffle iron and grease it with gluten-free cooking spray for optimal crispiness.
- Cook waffles until they are golden brown, adjusting the time for desired crispness, typically 3-5 minutes.

Cuisinart Waffle Maker, 1250W Round Classic Waffle Iron, 5-Setting Adjustable Browning Control, WMR-CANAS, Brushed Stainless
SUPERIOR FUNCTION: This Cuisinart Waffle Maker offers professional quality for home use, making delicious breakfast waffles fast and…
As an affiliate, we earn on qualifying purchases.
As an affiliate, we earn on qualifying purchases.
Recipe_
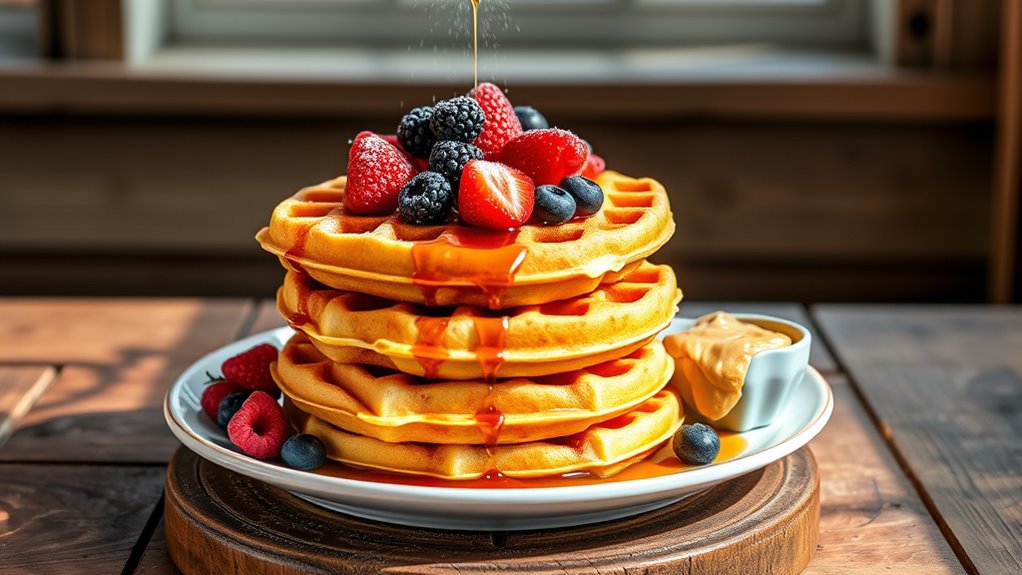
Starting your day with a delicious gluten-free waffle can be both quick and satisfying. These waffles aren’t only easy to whip up, but they also provide a light and fluffy texture that everyone will enjoy. Perfect for busy mornings, this recipe yields six servings, and you can have them ready in just 12 minutes. The key to achieving that perfect consistency lies in how the egg whites are treated, so pay close attention to that step!
Start your day with quick, fluffy gluten-free waffles that everyone will love—ready in just 12 minutes!
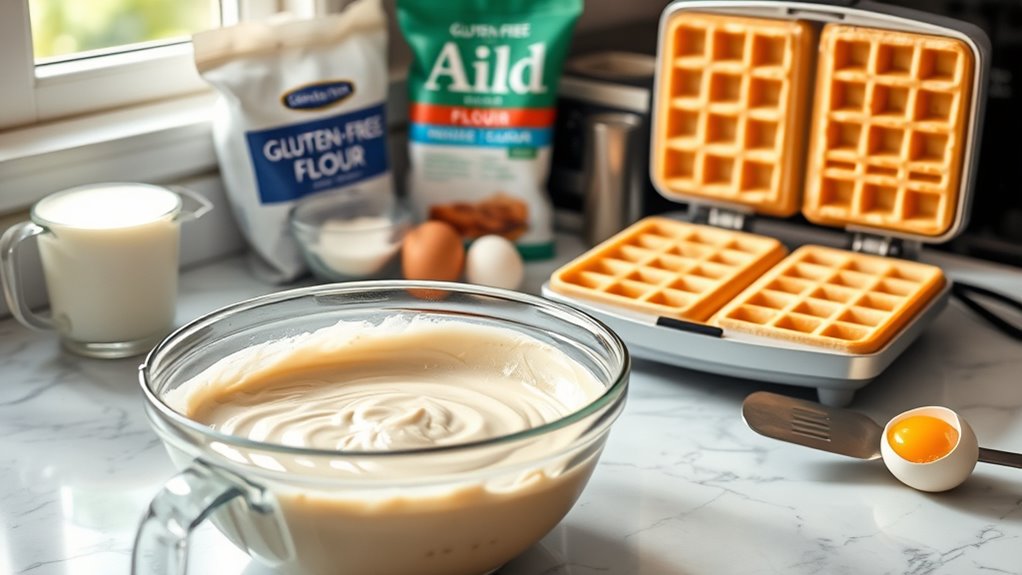
The ingredients are simple and can be found at most grocery stores. Using gluten-free all-purpose flour guarantees that those with dietary restrictions can indulge without worry. Plus, you can easily store any leftovers, making these waffles a great option for meal prep. Whether you top them with fresh fruit, syrup, or your favorite nut butter, gluten-free waffles are sure to be a hit!
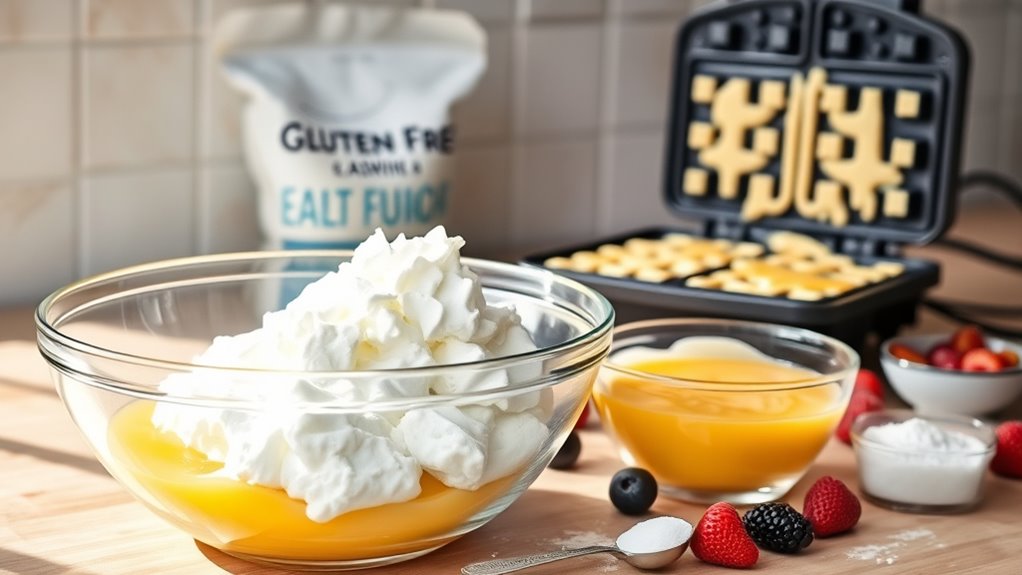
Ingredients
- 1 ½ cups gluten-free all-purpose flour (Pillsbury, Bob’s Red Mill, or King Arthur)
- 2 tablespoons baking powder
- 2 eggs
- 1 cup milk
- 2 tablespoons sugar
- ¼ cup vegetable oil
- Gluten-free cooking spray
Instructions
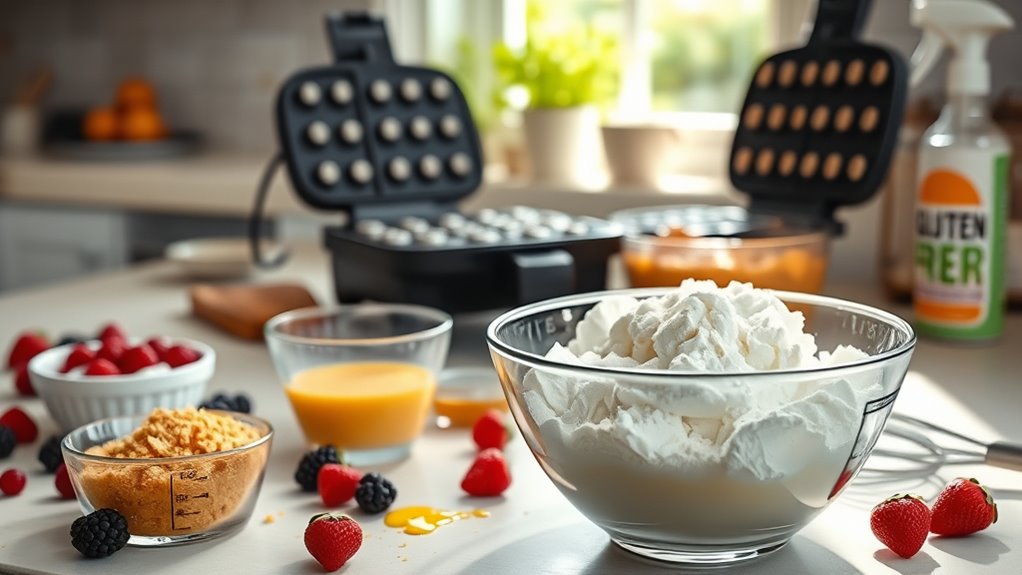
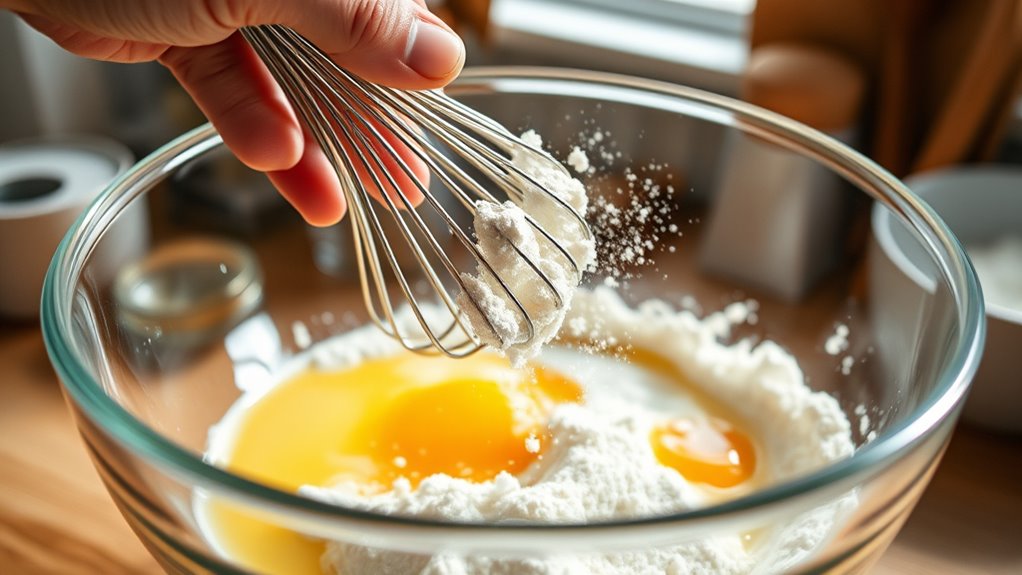
In a mixing bowl, combine the gluten-free flour and baking powder. In a separate bowl, beat the egg whites until stiff peaks form and set aside. In another bowl, whisk together the egg yolks, milk, sugar, and vegetable oil until smooth.
Gradually mix the dry ingredients into the wet mixture until just combined, then gently fold in the whipped egg whites. Preheat your waffle maker and lightly spray it with gluten-free cooking spray. Pour the batter into the preheated waffle maker and cook according to the manufacturer’s instructions, typically about 4-6 minutes, or until golden brown.
Extra Tips
To guarantee your waffles come out perfectly crispy, always preheat your waffle maker before adding the batter and use a generous amount of gluten-free cooking spray. If you have a specific brand of gluten-free flour that you prefer, stick with that for the best results.
Also, remember that leftover waffles can be a fantastic breakfast option; simply cool them completely before storing in the refrigerator for up to 3 days or freezing for up to 3 months. This way, you can enjoy a quick breakfast anytime!

King Arthur Measure for Measure Gluten-Free Flour: All-Purpose 1:1 Substitute for Wheat Flour, Non-GMO, Kosher Certified, 3 lbs Bag for Baking Cookies, Cakes, Muffins
Versatile Baking: Perfect 1:1 substitute for wheat flour in non-yeasted recipes, ideal for gluten-free cookies, cakes, muffins, and…
As an affiliate, we earn on qualifying purchases.
As an affiliate, we earn on qualifying purchases.
Cooking Steps
To create delicious gluten-free waffles, begin by whisking together the dry ingredients in a large bowl, ensuring an even mix of gluten-free flour, sugar, baking powder, and salt.
In a separate bowl, combine the wet ingredients, like beaten egg yolks, milk, and melted butter or oil. Mix them thoroughly before adding to the dry ingredients.
Next, carefully fold in whipped egg whites until just combined, taking care not to overmix, which keeps your waffles light and fluffy.
Preheat your waffle maker according to the manufacturer’s instructions and grease it with gluten-free cooking spray to prevent sticking.
Pour in the batter and cook until the waffles are golden brown and crispy, adjusting the time based on your specific waffle maker’s settings.
Enjoy!
Step 1. Preheat the Waffle Iron
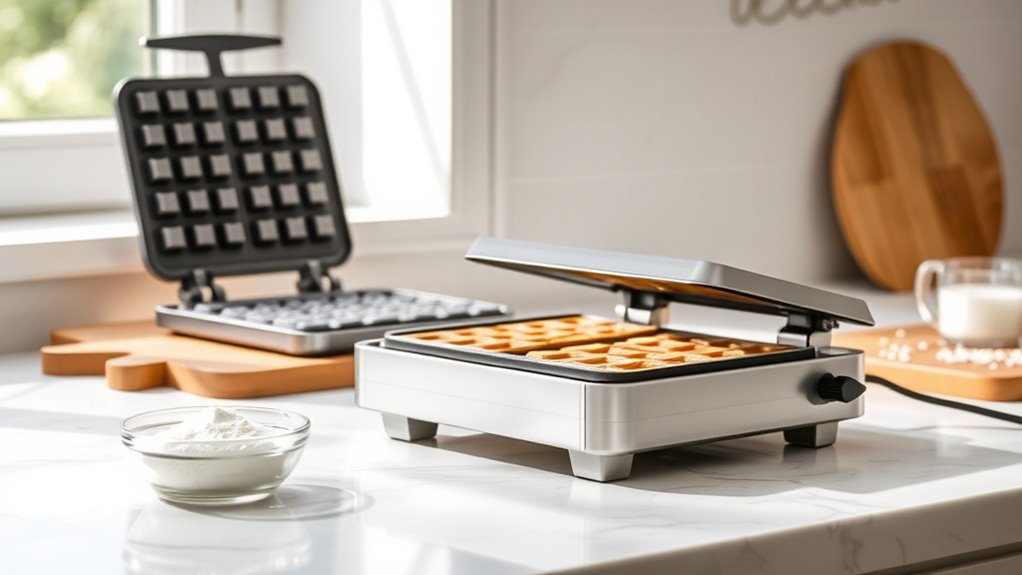
Before you pour in your batter, it’s important to preheat the waffle iron for best results. Preheating guarantees even cooking and helps achieve that perfect crispy texture you desire.
Most waffle makers need about 5 minutes to heat up, but check your manufacturer’s instructions for specifics. Once it’s ready, you’ll often see a light indicator.
Don’t forget to grease the preheated waffle iron with gluten-free cooking spray or oil to prevent sticking and enhance crispiness.
Cooking times can vary depending on your waffle maker, so keep an eye on the color. Look for that golden brown finish to determine doneness, guaranteeing your waffles come out perfectly cooked every time.
Also, remember that using the right ingredients can significantly improve the taste and texture of your gluten-free waffles, ensuring a delightful breakfast experience.
Step 2. Mix Dry Ingredients Together

With your waffle iron preheated and ready to go, it’s time to focus on mixing the dry ingredients. Start by measuring out the gluten-free flour blend using the spoon and level method to avoid overpacking, which can lead to dense waffles.
In a large mixing bowl, combine the measured flour with granulated sugar, baking powder, and salt to create a uniform dry mixture that enhances the waffles’ texture and flavor. Whisk the dry ingredients together thoroughly to break up any lumps and guarantee even distribution.
If your gluten-free flour blend doesn’t include xanthan gum, consider adding it, as it provides essential structure and elasticity to the waffles. Set aside your dry mixture until you’re ready to mix in the wet ingredients.
Step 3. Add Wet Ingredients Gradually
As you prepare to create your waffle batter, gradually adding the wet ingredients is essential for achieving a smooth, lump-free mixture.
Start by mixing milk and oil in a separate bowl before you add the wet to the dry ingredients. This method enhances the blending process and helps you accomplish the desired consistency.
Use a whisk to gently combine the wet and dry ingredients; overmixing can lead to dense waffles instead of the fluffy texture you want.
Remember, gluten-free flours might need a bit more liquid to reach the right batter consistency.
Step 4. Pour Batter Into Waffle Iron
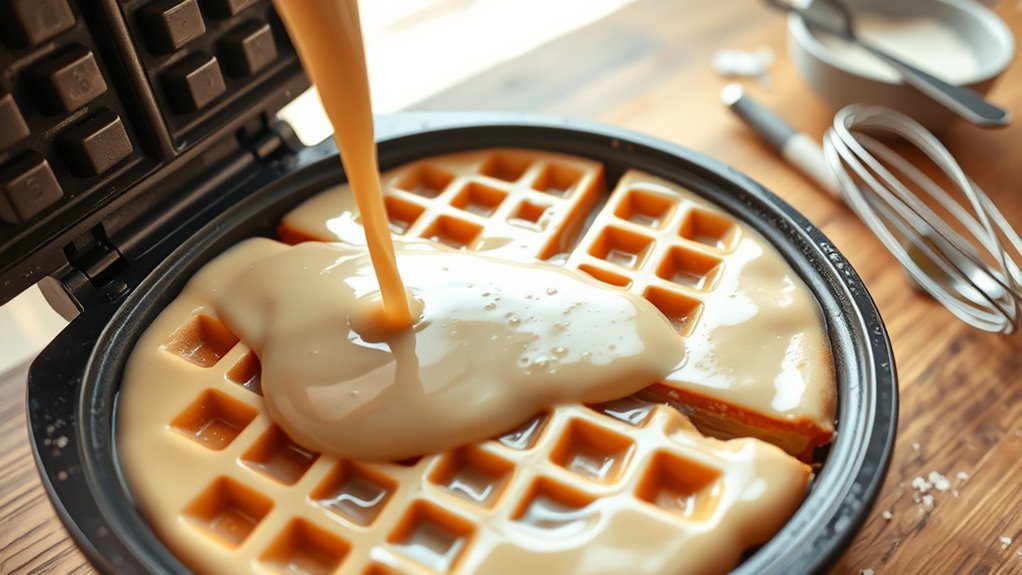
Preheat your waffle iron to the recommended temperature for the best results.
To prevent sticking and enhance crispiness, spray the waffle iron with gluten-free cooking spray or a light coating of oil.
Now, it’s time to pour batter into the center of the waffle iron. Use a ladle to guarantee even distribution, but don’t overfill it, as the batter will spread during cooking.
Close the waffle iron and follow the manufacturer’s instructions for cooking time, usually about 3-5 minutes.
Keep an eye on it; you’re aiming for those delicious golden brown waffles. For extra crispiness, consider cooking them for an additional 1-2 minutes, checking frequently to avoid burning.
Enjoy your perfectly cooked gluten-free waffles!
Step 5. Cook Until Golden Brown
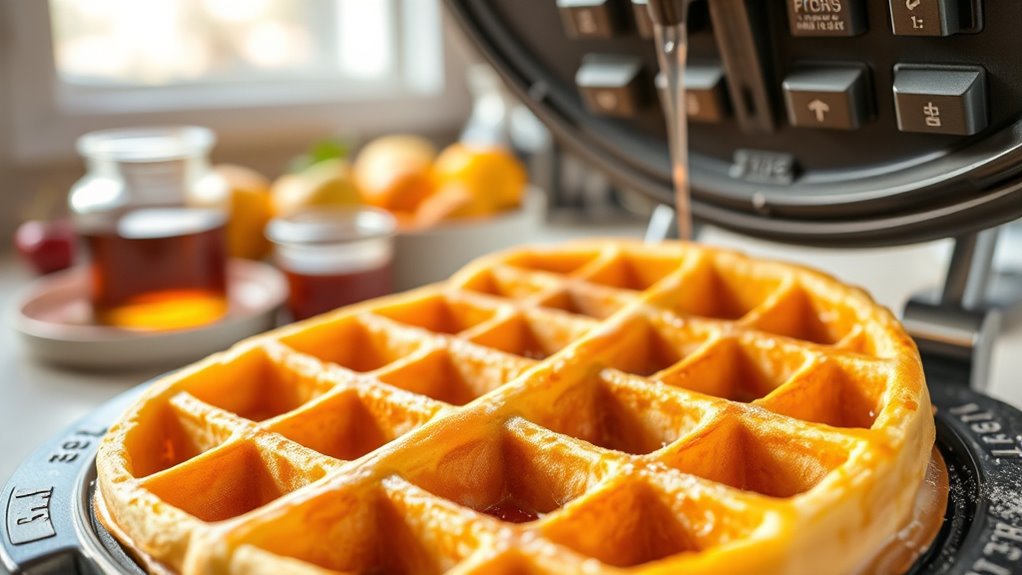
After pouring the batter into the waffle iron, it’s time to focus on cooking them until they reach that perfect golden brown hue.
First, make sure you’ve preheated your waffle maker; this step is essential for achieving a crispy exterior. Cooking times can vary, but most standard models take about 4-5 minutes.
Keep an eye on your waffles, as a deeply golden brown color usually indicates they’re fully cooked and will have that desirable texture. If they aren’t adequately browned, don’t hesitate to cook them for an additional minute or two.
Always follow the manufacturer’s instructions for your specific waffle maker to get the best results.
Enjoy your delicious gluten-free waffles!

La Tourangelle All Purpose Baking Spray, Gluten Free, Non Stick, 147 ML
Gluten-Free: La Tourangelle Baking Spray is gluten-free. Many other baking sprays contain flour to keep them non-stick, however…
As an affiliate, we earn on qualifying purchases.
As an affiliate, we earn on qualifying purchases.
History
The history of gluten-free waffles reflects a growing awareness of celiac disease and gluten sensitivities that emerged in the late 20th century, which sparked a demand for alternatives to traditional recipes.
You’ll find that gluten-free waffles evolved from basic cooking recipes using alternative flours like rice, almond, and oat flour to more sophisticated versions with gluten-free all-purpose blends that mimic wheat’s texture.
The gluten-free movement in the 2000s greatly influenced the food industry, resulting in frozen gluten-free products that cater to consumer needs.
Many cooking methods now incorporate ingredients like xanthan gum or psyllium husk to replicate gluten’s elasticity.
Today, adaptations include vegan and dairy-free options, making these cooked waffles accessible to a wider audience.

Hamilton Beach 6-Speed Electric Hand Mixer with Whisk, Traditional Beaters, Snap-On Storage Case, 250 Watts, White
NO MORE LOST BEATERS: The snap-on storage case that comes with the Hamilton Beach hand mixer neatly holds…
As an affiliate, we earn on qualifying purchases.
As an affiliate, we earn on qualifying purchases.
Final Thoughts
As you explore the world of gluten-free waffles, you’ll discover that they not only offer a delicious alternative for those with dietary restrictions but also provide a quick and easy meal option for anyone.
With a simple recipe featuring gluten-free flour, baking powder, egg whites, milk, and oil, you can whip up light and fluffy waffles in under 15 minutes.
Enjoy the satisfaction of customizing your waffles with toppings like fruits, chocolate chips, or nuts.
Plus, you’ll appreciate the convenient storage options — refrigerate them for up to 3 days or freeze for up to 3 months.
Whether you’re gluten-free or not, these waffles are sure to please everyone at the table, making breakfast or snack time a delightful experience.
Frequently Asked Questions
Does Eggo Have Gluten Free Waffles?
Yes, Eggo does offer gluten-free waffles.
If you’re looking for a safe option due to gluten sensitivities or celiac disease, you can find their Eggo Gluten-Free Original Waffles.
They’re made with a blend of gluten-free flour alternatives, sugar, and vegetable oil, aiming to replicate the classic taste.
While the texture might differ slightly, they’re certified gluten-free and available in most grocery stores, ready to be toasted for a quick breakfast.
Which Waffles Are Gluten-Free?
When you’re looking for gluten-free waffles, you’ll find several options made from alternative flours like almond or rice flour.
Popular brands like Kashi and Nature’s Path offer frozen varieties that taste great.
You can also whip up homemade versions using ingredients like baking powder and non-dairy milk.
Just check the labels for gluten-free certification to guarantee they meet your dietary needs.
Enjoy your delicious, gluten-free breakfast without worry!
What Gluten Free Flour Is Best for Waffles?
When you’re choosing a gluten-free flour for your recipes, consider options like Bob’s Red Mill 1-to-1 Baking Flour or King Arthur Measure for Measure Flour.
Both provide a great texture and mimic traditional flour well. Make sure to look for blends that include xanthan gum, as it helps bind the ingredients and enhances the overall structure.
Don’t hesitate to experiment with different brands to find the one that works best for your specific needs.
Are Chick Fil a Waffles Fries Gluten-Free?
When you think of crispy, golden fries, it’s hard not to crave them.
Chick-fil-A’s Waffle Fries are indeed gluten-free, but there’s a catch. While they don’t contain gluten ingredients, cross-contamination can happen since they’re fried in the same oil as gluten-laden items.
If you have a severe gluten intolerance, it’s wise to tread carefully. Chick-fil-A does take steps to minimize this risk, but caution’s always a good companion.
Conclusion
To sum up, making gluten-free waffles is a breeze that’ll have your taste buds dancing like there’s a party in your mouth! You’ve mastered the art of blending flavors and textures, creating a delightful breakfast that everyone can enjoy. Whether you’re whipping these up for yourself or serving them to guests, they’re sure to impress. So grab your waffle iron and get ready to indulge in a deliciously fluffy treat that’s simply unforgettable!